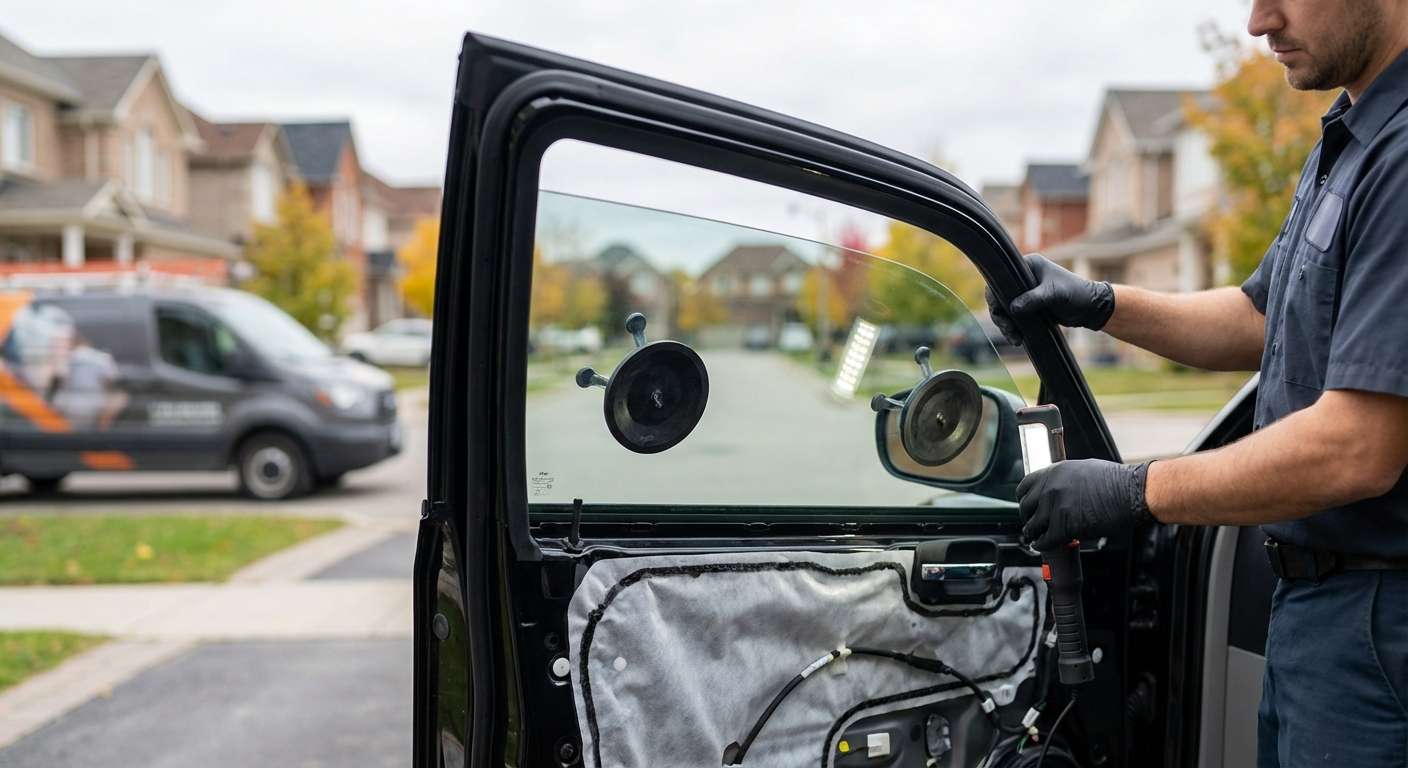
Resurrecting the Muscle: Expert Door Glass Replacement for the 2006-2010 Dodge Charger
The 2006-2010 Dodge Charger resurrected the legendary American muscle car spirit, trading the classic two-door layout for a robust four-door LX platform without sacrificing a single ounce of its aggressive, road-commanding stance. Whether you drive the efficient V6 SE or the tire-shredding 6.1L Hemi SRT8, the unmistakable chopped-roof aesthetic and high beltline of this generation rely heavily on the precise fitment of its side glass. When a door glass shatters—whether due to a break-in, an accident, or severe weather—it compromises not only the striking visual profile of your Charger but also its structural security and cabin acoustics. At AlexWindshield, our Master Technicians understand the unique architectural nuances of the 2006-2010 Dodge Charger, ensuring your door glass is replaced with factory-level precision.
Serving the Greater Toronto Area: Your Local Auto Glass Experts
Driving a powerful vehicle like the Dodge Charger requires absolute confidence in your safety and visibility. When disaster strikes, you need a rapid, reliable response. AlexWindshield proudly provides premium mobile auto glass services across the Greater Toronto Area (GTA). We bring our fully equipped mobile workshops directly to your driveway, office, or emergency location. Our highly specialized mobile replacement services are heavily focused on assisting drivers in Vaughan, Richmond Hill, and Markham. We understand the local climate and driving conditions of the GTA, ensuring that every glass replacement is built to withstand extreme Canadian weather fluctuations, keeping your Charger sealed, secure, and ready for the highway.
The Technical Blueprint: 2006-2010 Dodge Charger Door Glass Characteristics
The 2006-2010 Dodge Charger utilizes a specialized tempered safety glass for its side doors. Unlike laminated windshields that spiderweb upon impact, tempered door glass is engineered to shatter into thousands of small, blunt pebble-like pieces to prevent severe lacerations during a collision. While this is a critical safety feature, it creates a massive mess inside the vehicle's cabin and deep within the internal door cavity. Furthermore, the heavyweight doors of the Charger house complex window regulators, locking mechanisms, and acoustic moisture barriers that must be meticulously handled during the replacement process. A proper repair requires far more than simply dropping in a new pane of glass; it requires a systematic, A-to-Z teardown and rebuild.
Step-by-Step Replacement Process: From Shattered to Flawless
Step 1: Vehicle Preparation and Interior Protection
Before any tools touch your vehicle, our Master Technicians prioritize the protection of your Charger's interior. We begin by laying down heavy-duty protective drop cloths over the seats, center console, and floorboards. Protecting the interior from sharp debris, stray adhesive drops, and accidental scratches is paramount. We also mask off the exterior door paint using specialized automotive tape to ensure the clear coat remains pristine during the hardware removal process.
Step 2: Complete Removal of the Interior Door Panel
Accessing the inner workings of the Dodge Charger door requires the careful removal of the interior door trim panel. Our technicians use non-marring nylon pry tools to safely unclip the perimeter fasteners without damaging the plastic interior. We locate and remove the hidden Torx and Phillips screws concealed behind the door latch mechanism and the grab handle. Once the fasteners are removed, the panel is gently lifted off the door frame. We then carefully disconnect the complex wiring harnesses responsible for the power windows, power locks, and side mirrors, setting the door panel safely aside.
Step 3: Comprehensive Debris Extraction and Vacuuming
This is one of the most critical steps in a side glass replacement. We meticulously begin vacuuming all broken glass shards from the vehicle's interior. Using high-powered industrial shop vacuums fitted with specialized crevice tools, we extract every piece of tempered glass from the seats, the floor mats, and the AC vents. Next, we peel back the delicate vapor barrier and vacuum deep inside the steel door cavity. If glass shards are left inside the door shell, they will rattle aggressively when driving and can jam the window regulator gears or block the door's bottom water weep holes, leading to severe rust issues. We ensure the inner door shell is surgically clean.
Step 4: Removing the Old Glass Hardware and Regulator Inspection
With the door cavity empty, we lower the window regulator to the service position. We loosen the heavy-duty mounting bolts and mounting clips that held the original shattered glass in place. We carefully extract any remaining chunks of glass still glued or bolted into the track guides. During this phase, the Master Technician thoroughly inspects the window regulator cables, pulleys, and motor. The 2006-2010 Charger is known for heavy window glass that can strain older regulators; if any damage from the shattering event is detected, it is addressed immediately.
Step 5: Surface Cleaning and Track Preparation
The rubber run channels (weatherstripping) that guide the window up and down must be perfectly clean. We perform a deep surface cleaning of the door frame, the internal rubber tracks, and the pinch weld areas. Using an alcohol-based, automotive-grade glass cleaner and lint-free cloths, we scrub away years of dirt, old grease, and microscopic glass dust. This ensures that the new glass will glide smoothly without scratching and that all sealing surfaces are completely decontaminated.
Step 6: Primer Application and Moisture Barrier Resealing
While the main roll-up glass is mechanically fastened, the structural integrity of the door's weatherproofing and specific stationary glass components rely heavily on chemical bonding. To guarantee a watertight cabin, we proceed with the primer application along the required bonding zones of the door frame and the vapor barrier perimeters. This specialized urethane primer promotes maximum chemical adhesion and prevents bare-metal rust. Following the primer flash-off period, we proceed with the installation of the new glass using high-quality adhesive where necessary, particularly when resealing the acoustic vapor barrier, reinforcing the run-channel guides, or securing the rear door stationary quarter glass components. This high-quality adhesive creates a permanent, flexible seal that eliminates wind noise and prevents water leaks.
Step 7: Inserting and Securing the New Door Glass
The new, premium-quality tempered door glass is carefully angled and lowered into the exterior door slot. Our technicians expertly guide the glass into the front and rear rubber run channels, ensuring it seats perfectly into the regulator mounting brackets. Once aligned perfectly with the Charger's distinct roofline curvature, the mounting bolts are torqued to the exact manufacturer specifications. Over-tightening can stress the new glass, while under-tightening will cause the glass to slip off-track; our Master Technicians ensure absolute precision.
Step 8: Electrical Testing and Door Panel Reassembly
Before the door panel is reinstalled, we temporarily reconnect the window switch to test the entire system. We run the new door glass up and down multiple times to ensure smooth, bind-free operation and to verify the auto-up/auto-down electrical functions. We check the alignment against the upper weatherstripping to ensure an airtight seal. Once validated, we carefully reapply the acoustic moisture barrier, reconnect all interior wiring harnesses, and snap the interior door panel back into place, securing all hidden screws and trim pieces.
Step 9: Final Polish and Quality Assurance Inspection
The final step involves a thorough cleaning of the newly installed door glass, both inside and out, using streak-free glass polish. We conduct a final walk-around inspection of your 2006-2010 Dodge Charger, checking all door gaps, wiping down the interior door panel to remove any fingerprints, and ensuring the work area is cleaner than when we arrived. Your muscle car is now fully restored, secure, and ready for the road.
Why Trust AlexWindshield for Your Dodge Charger Glass Replacement?
Replacing the door glass on a powerful, heavy-duty vehicle like the Dodge Charger requires more than just basic tools; it requires deep automotive knowledge and a commitment to uncompromising safety standards. Improper installation can result in mechanical regulator failure, severe water leaks that damage interior electronics, and irritating wind whistling at highway speeds. By choosing a Master Technician, you are guaranteeing that every single piece of shattered debris is removed and that the new glass is flawlessly integrated into your vehicle's complex door architecture.
At AlexWindshield, we pride ourselves on delivering unparalleled craftsmanship to the Greater Toronto Area (GTA). Whether you are at home in Markham, at your workplace in Richmond Hill, or visiting a friend in Vaughan, our mobile fleet is ready to deploy directly to you. We use only premium-grade replacement glass, industry-leading urethane adhesives, and state-of-the-art tools to ensure your vehicle is returned to factory specifications.
Your peace of mind is our ultimate priority. That is why every single door glass replacement performed by AlexWindshield is backed by our comprehensive Lifetime Warranty. This covers any issues related to workmanship, air leaks, or water leaks for as long as you own your Dodge Charger. When you demand fast, professional, and guaranteed mobile auto glass services, trust the experts at AlexWindshield to get you back on the road safely and stylishly.


