Glazing Variations and Door Shell Architecture on the LR3
Working on the doors of this vehicle means dealing with heavy, upright steel shells rather than sleek frameless setups. The glass rides within rigid, stamped window frames, which demands careful alignment so the panel drops squarely into the bottom carrier clamps. Factory front door glass across Base, SE, and HSE trims carries a standard green solar-control tint. Out back, the rear passenger doors split the glass into two separate sections: a movable drop window and a stationary triangular quarter vent separated by an upright metal division bar channel. Depending on the factory equipment packages ordered when new, those rear sections might carry standard green solar glass or dark factory privacy tint, meaning I always verify the rear tint match before setting the new panel into place.
Because the body styling carried forward into the subsequent Discovery 4 lineup, the physical door glass cut patterns remain completely interchangeable from the 2005 through 2009 build cycle into the later 2010 to 2016 production runs. Under the Land Rover parts catalog, the front left door glass traces to OEM part number LR040917. Unlike the front windscreen on this model, which houses heated elements, light sensors, and rain sensor brackets, the side door panels are purely mechanical, free of wiring, defroster lines, or antenna grids.
Mechanical Regulators and Frame Hardware Nuances
The glass pane itself rests inside two plastic bottom-edge clip retainers that are clamped using Torx hardware with dedicated spacer bushings. When a side window drops completely into the door cavity, the failure often lies within the dual-rail cable-operated regulator assembly rather than shattered glass. The plastic cable pulleys crack under stress, or the steel bowden cables fray and tangle around the motor drum. If the glass simply tilts crookedly during travel, deteriorated felt glass run channels (part LR048818) or worn exterior waist seals (such as LR044650) often allow too much lateral play inside the door frame.
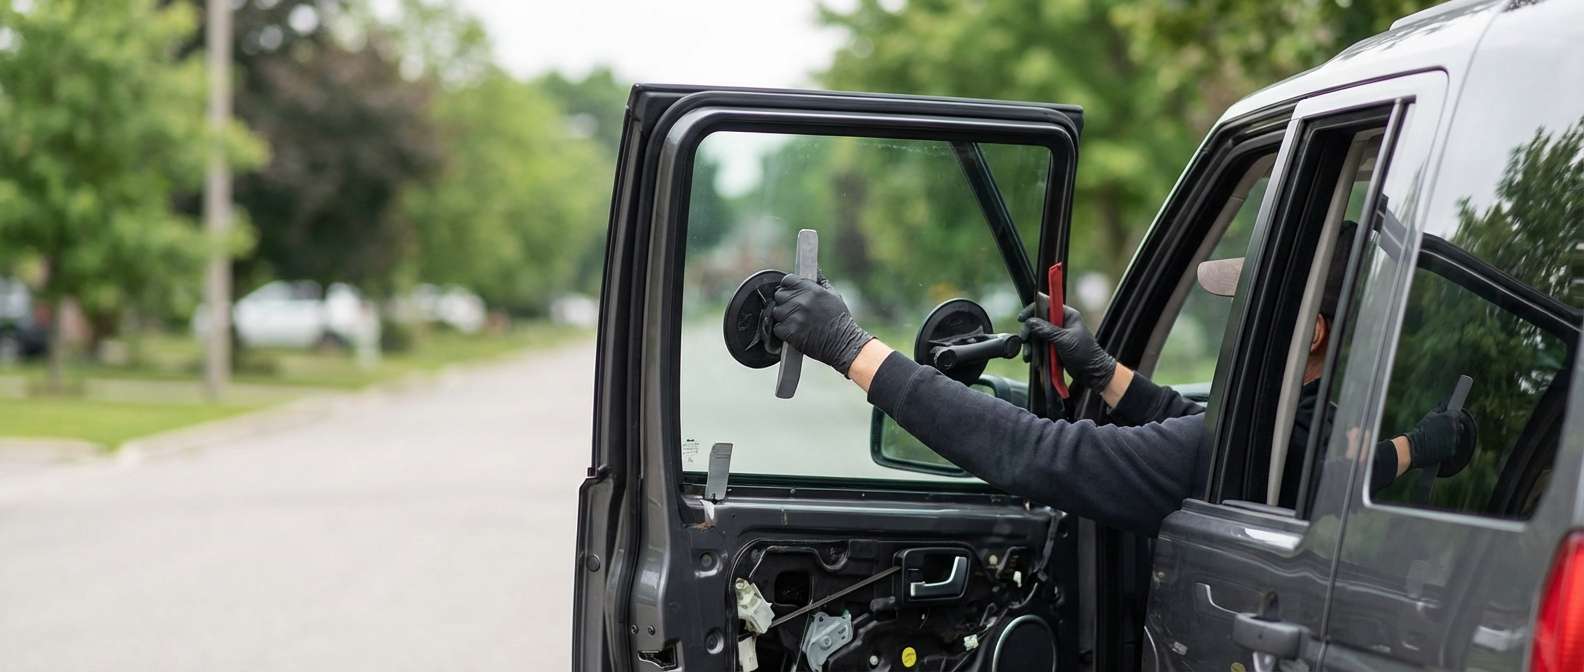
I handle these replacements entirely through a mobile setup, travelling directly to your driveway or workplace parking spot anywhere across Toronto and the GTA to rebuild the door assembly on-site. Once the interior door card panel and the inner moisture vapour barrier are cleared, the glass must be released from the regulator cradle and tipped precisely through the top waist wipe slot. If broken glass fragments fell during an impact, clearing the lower floor of the door shell is critical so the downward travel of the dual-rail mechanism is not blocked later.
Electrical Snags and Window Anti-Trap Relearning
Once the glass and regulator track are back in position, erratic glass movement can stem from electrical quirks specific to this vehicle. Front door glass stalling unexpectedly often links back to corroded factory wiring harness splices sitting deep under the front passenger floorboards, usually triggered by clogged sunroof drain tubes dumping water into the sill channels. If moisture oxidizes those underlying splices, the switch signals to the window lift motor cut out entirely.
Whenever the battery has been disconnected or the motor has been separated from the door glass run, the anti-trap pinch protection system tends to lose its baseline limits. The glass will hit the top door seal, detect phantom resistance, and automatically bounce back down several inches. Holding the window switch through a complete upward cycle and maintaining the button manually for a few seconds re-indexes the motor's position sensor, ensuring the fresh glass seals securely against the outer perimeter rubber.


