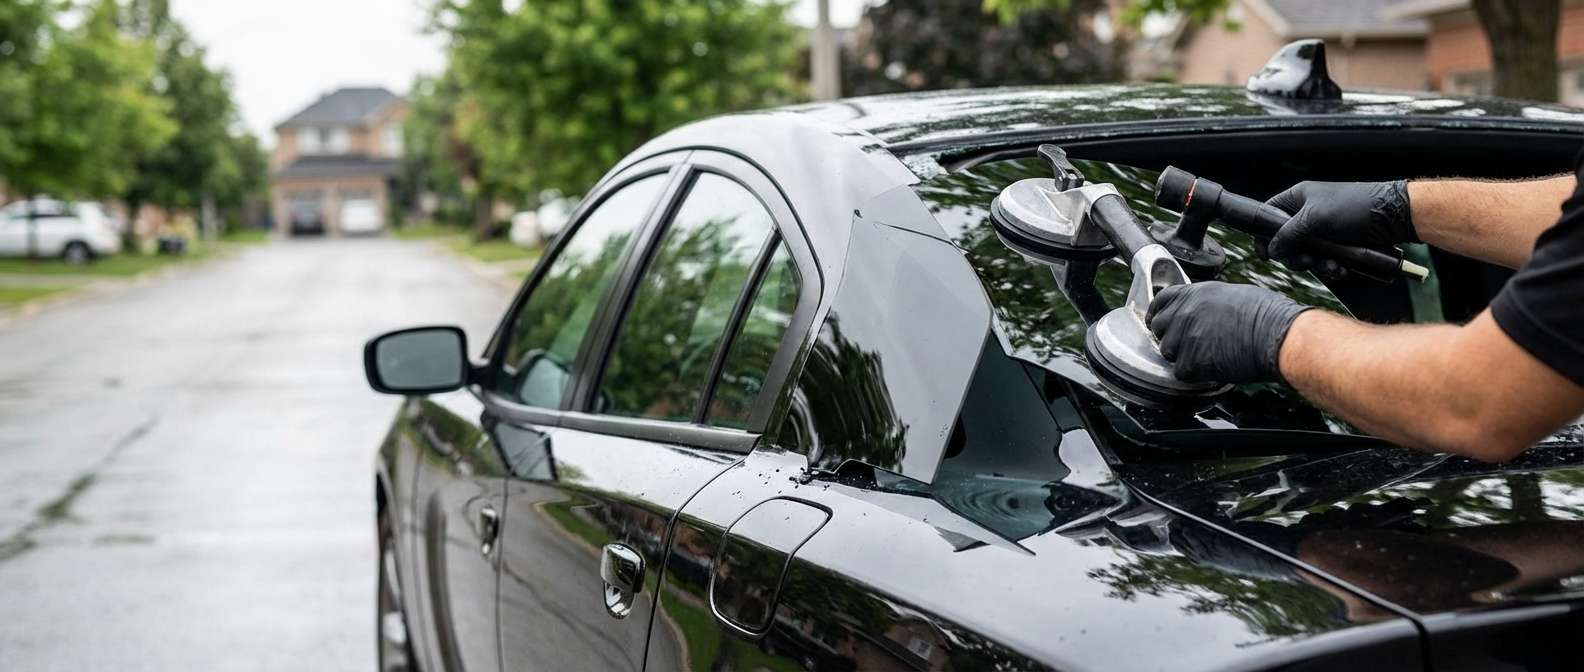
The Aggressive Stance Meets Precision Care: Dodge Charger Quarter Glass Replacement (2011-2023)
The Dodge Charger (2011-2023) is an undisputed icon of modern American muscle. With its menacing, forward-leaning profile and deeply sculpted side panels, every inch of this vehicle is engineered to command attention on the road. Nestled just behind the rear passenger doors is the quarter glass—a distinct, stationary pane that tapers elegantly into the C-pillar, completing the Charger’s aerodynamic and aggressive silhouette. When this crucial piece of glass is shattered by debris, extreme temperatures, or a break-in, it instantly compromises the security, aesthetics, and structural integrity of your vehicle. You need a Master Technician who understands the precise architecture of the Dodge Charger to restore it to factory-perfect condition.
At AlexWindshield, we do not just replace auto glass; we restore automotive engineering. The quarter glass on the 2011-2023 Dodge Charger is permanently bonded to the vehicle’s body using heavy-duty urethane, meaning its replacement requires advanced structural glazing techniques. A poorly installed quarter glass will result in severe wind noise, water leaks, and even premature rusting behind the interior panels. As senior auto glass specialists, we execute a flawless, technically rigorous replacement process designed to keep your muscle car pristine and protected.
Premium Mobile Auto Glass Replacement Across the Greater Toronto Area (GTA)
Driving a powerful vehicle like the Dodge Charger with a broken quarter glass is not just uncomfortable; it is a serious security and safety risk. The harsh, fluctuating weather conditions of the Greater Toronto Area (GTA)—from the freezing sleet of winter to the intense humidity of summer—demand that your vehicle's cabin is completely sealed. You shouldn't have to drive across town with an exposed interior to get premium service.
That is why AlexWindshield brings the glass shop directly to your driveway. We offer dedicated, rapid-response mobile quarter glass replacement services throughout the entire GTA. Whether you are parked at your home in Vaughan, at your office in Richmond Hill, or running errands in Markham, our fully equipped mobile service units arrive with the exact OEM-quality glass and premium adhesives required for your specific 2011-2023 Dodge Charger model.
Our Master Technician A-to-Z Quarter Glass Replacement Process
Replacing a bonded body glass is a highly technical procedure that requires precision, patience, and professional-grade tools. Here is the rigorous, step-by-step methodology our Master Technicians follow to ensure a flawless quarter glass replacement on your Dodge Charger:
Step 1: Thorough Pre-Inspection and Extensive Interior Protection
Before we touch a single tool, our technicians conduct a comprehensive assessment of the damage. We inspect the vehicle's C-pillar and rear quarter panel for any scratching or denting that may have occurred when the glass broke. Because a shattered quarter glass explodes inward, the first physical step is safeguarding your interior. We meticulously cover your Charger’s leather or cloth rear seats, floor mats, and center console with heavy-duty protective drop cloths. We also apply automotive-grade masking tape around the exterior painted surfaces surrounding the quarter glass to ensure zero damage to your clear coat during the extraction process.
Step 2: Removal of Interior C-Pillar Panels and Rear Trim
Unlike roll-up door glass, the Dodge Charger’s quarter glass is securely glued to the vehicle's pinch weld, and its mounting points are hidden behind the interior cabin trim. To access the urethane bead safely, we carefully dismantle the interior C-pillar trim panels. Using specialized non-marring nylon pry tools, we unclip the plastic retaining fasteners without snapping them or scuffing the interior upholstery. Removing these panels provides the necessary clearance to extract the old glass and ensures that no hidden shards are left trapped inside the vehicle’s body cavity.
Step 3: Complete Broken Glass Excavation and Meticulous Vacuuming
Tempered quarter glass is designed to break into thousands of tiny, blunt pieces to prevent severe lacerations. However, these shards infiltrate every crevice of your vehicle. Vacuuming all broken glass shards from the vehicle's interior is a mandatory, exhaustive step in our process. We utilize high-powered, industrial shop vacuums fitted with specialized micro-crevice attachments to extract glass from the rear seats, carpet fibers, seatbelt retractors, and deep within the exposed C-pillar body cavity. Leaving even a single shard behind can cause annoying rattling noises while driving or pose a safety hazard to rear-seat passengers.
Step 4: Extracting the Damaged Quarter Glass and Urethane Bead
With the interior stripped and the area safe, we proceed to cut out the remaining damaged glass. We utilize an advanced wire-cutting system or a specialized cold knife to slice through the original factory polyurethane adhesive holding the broken glass frame to the pinch weld. Our Master Technicians use ultra-precise techniques to ensure the cutting wire or blade never makes contact with the bare metal of the vehicle frame. Once the broken frame and glass remnants are successfully extracted, we use a sharp scraper to carefully pare down the old urethane bead to a thickness of 1-2 millimeters, creating a perfectly flat, clean foundation for the new adhesive.
Step 5: Rigorous Surface Cleaning and Primer Application
The secret to a leak-proof, permanent bond is immaculate surface preparation. We clean the newly exposed pinch weld and surrounding areas using an alcohol-based, lint-free cleaner to remove any dirt, grease, or old adhesive dust. Next, we prepare the new quarter glass by cleaning it thoroughly and applying a specialized glass activator to its ceramic frit band (the black border around the glass).
Crucially, we then apply an advanced black primer to any microscopic scratches on the vehicle's pinch weld and over the bonding area. This primer serves two critical functions: it completely seals the metal to prevent future rust corrosion, and it acts as a chemical bonding agent that allows the new urethane adhesive to fuse flawlessly with both the vehicle frame and the new glass.
Step 6: Precision Adhesive Application and Glass Installation
Using a battery-operated, commercial-grade caulking gun, we apply a fresh, continuous V-bead of high-modulus, fast-curing polyurethane adhesive directly onto the pinch weld. The V-shape of the bead is highly specific; it ensures that as the new glass is pressed into place, the adhesive collapses evenly, eliminating any air pockets that could cause future water leaks or wind whistles.
Our technicians then carefully lift the new Dodge Charger quarter glass and align it perfectly with the vehicle’s body lines. We press it firmly into the urethane bed, ensuring it sits entirely flush with the exterior quarter panel. We secure the glass temporarily with specialized retention tape to hold it perfectly in place while the chemical curing process begins.
Step 7: Reassembly and Post-Installation Quality Check
Once the quarter glass is perfectly seated, we begin the reassembly phase. We reinstall all interior C-pillar trim panels, ensuring every clip snaps back into its exact factory position. We perform a secondary vacuuming of the interior to ensure absolute cleanliness. Finally, we clean the new quarter glass inside and out using ammonia-free, streak-less glass cleaner. Before handing your keys back, we perform a strict visual and tactile inspection to guarantee the gaps are perfectly symmetrical and the installation meets our uncompromising safety standards.
Why Our Materials Matter for Your Dodge Charger
A high-performance vehicle requires high-performance materials. At AlexWindshield, we never cut corners with cheap, aftermarket alternatives.
- OEM-Quality Glass: We source premium glass that perfectly matches the exact dimensions, tint hue, and acoustic dampening properties of the original Dodge Charger (2011-2023) factory glass.
- Advanced Polyurethane: We exclusively use OEM-approved, fast-curing urethane adhesives that meet rigorous federal safety standards. This ensures your vehicle's structural integrity is restored immediately, allowing for a safe drive-away time of as little as one hour.
- Anti-Corrosion Primers: Our chemical primers guarantee that the metal frame of your beloved muscle car remains protected against the rust-inducing moisture commonly found in the GTA environment.
The AlexWindshield Advantage: The GTA's Trusted Mobile Experts
When you trust your vehicle to AlexWindshield, you are partnering with elite technicians who treat your Dodge Charger with the respect it deserves. We eliminate the stress of auto glass damage by bringing our state-of-the-art mobile service directly to you. Whether you are located in Vaughan, Richmond Hill, Markham, or anywhere else across the Greater Toronto Area (GTA), our vans arrive fully stocked and ready to execute a flawless installation on-site.
We stand firmly behind our craftsmanship. Every single quarter glass replacement we perform is backed by our comprehensive Lifetime Warranty. This covers you against any manufacturing defects, water leaks, or wind noises for as long as you own your vehicle. Don't let a shattered quarter glass sideline your muscle car or leave it vulnerable to the Canadian elements. Contact AlexWindshield today to schedule your mobile Dodge Charger auto glass replacement and experience the pinnacle of automotive glass care.


