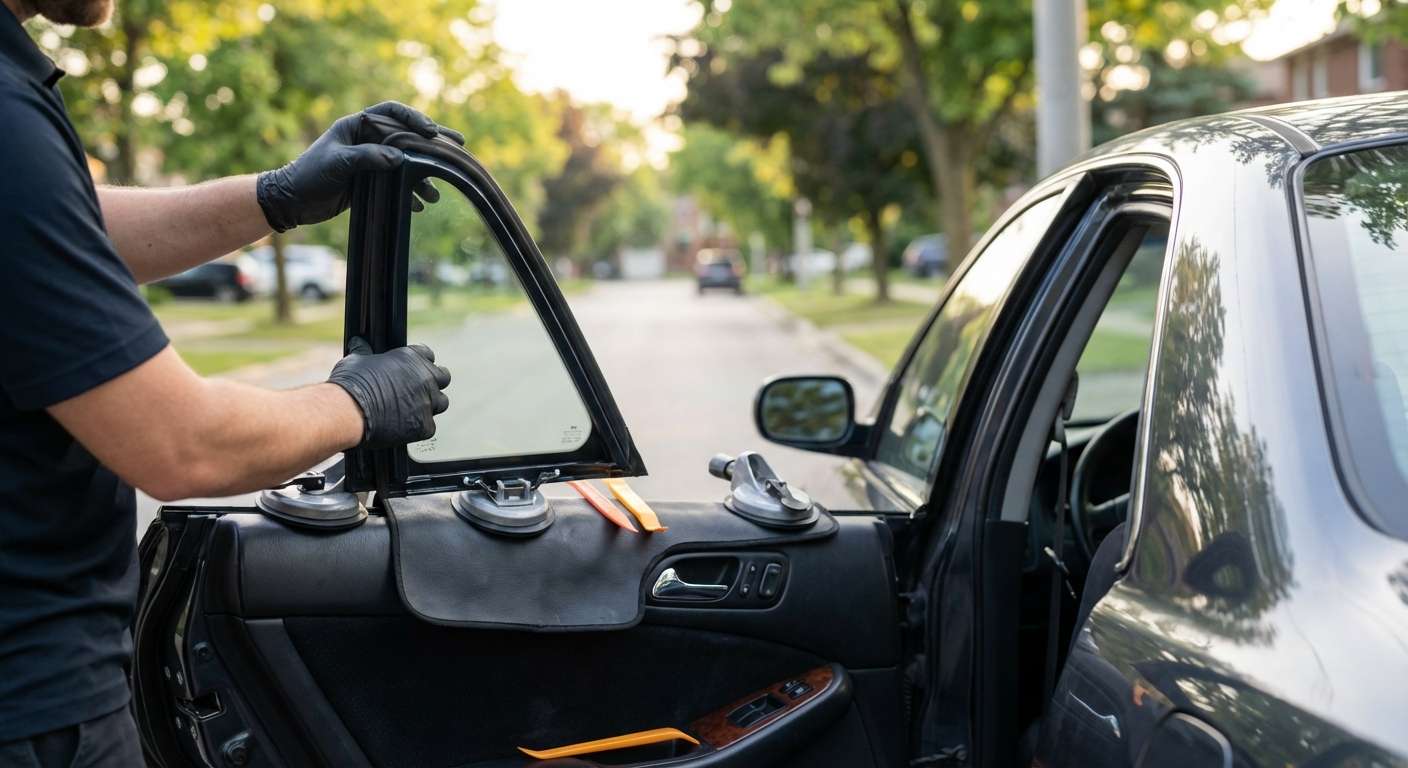
Restoring the Classic 1999-2003 Acura TL: Expert Vent Glass Replacement
The second-generation Acura TL (1999-2003) remains a staple of reliability and understated luxury on Canadian roads. While its VTEC V6 engine and timeless design have held up remarkably well over the decades, the glass components are susceptible to damage. Specifically, the rear vent glass—that small, triangular piece of glass located in the rear door frame—is a frequent victim of vandalism and break-ins. Because it is smaller than the main drop glass, thieves often assume breaking it is the "quieter" or "cheaper" way to gain entry, not realizing the intricate labor required to replace it.
At AlexWindshield, we understand that your Acura TL is more than just an old sedan; it is a precision-engineered vehicle that deserves respectful, expert maintenance. A broken vent glass compromises your vehicle's security, exposes your luxury interior to the harsh Canadian elements, and creates significant wind noise. As a Senior SEO Specialist and Master Technician, I am here to detail exactly how we restore your 1999-2003 Acura TL to factory specifications with our specialized Vent Glass Replacement service.
The Critical Role of Vent Glass in the Acura TL
Many vehicle owners mistake the vent glass for a purely cosmetic filler piece. However, in the 1999-2003 Acura TL architecture, this static piece of glass plays a vital structural role within the rear door assembly. It helps guide the main window (drop glass) as it rolls up and down and provides essential tension to the window run channel. If this glass is replaced incorrectly, or if the debris from the break is not cleared, you may experience:
- Window Regulator Failure: Glass shards stuck in the tracks can burn out the window motor.
- Water Leaks: Improper seating of the rubber weatherstrip leads to water entering the door cavity, rusting the bottom of the door.
- Wind Noise: Misalignment of the division bar causes whistling at highway speeds.
Why Choose AlexWindshield for Your Acura TL Glass Needs?
Replacing the vent glass on a 1999-2003 Acura TL is technically demanding. Unlike a windshield which is glued to the frame, the vent glass is mechanically fastened inside the door shell. It requires the disassembly of the door's interior components. At AlexWindshield, we combine mobile convenience with Master Technician expertise.
- Mobile Service across the GTA: Whether you are at home in Vaughan, at work in Markham, or parked in Richmond Hill, our fully equipped mobile units come to you.
- Specific Model Expertise: We know the clip locations and wiring harnesses specific to the 2nd Gen TL.
- Lifetime Warranty: We back our craftsmanship for as long as you own the vehicle.
A Master Technician’s Guide: The Step-by-Step Replacement Process
Transparency is the key to trust. Below, I will walk you through the rigorous, A-to-Z process we utilize at AlexWindshield to replace the vent glass on your Acura TL. This is not a quick 15-minute fix; it is a surgical procedure for your vehicle's door.
Phase 1: Site Preparation and Interior Protection
Before touching the glass, we must protect the vehicle. The 1999-2003 Acura TL typically features leather interiors which can be easily scratched by glass fragments or tools.
We begin by placing protective covers over the rear seats and the front seat backrest. We tape off the exterior paint around the window frame to prevent accidental scratches during the extraction of debris. Safety is paramount, so our technicians wear full PPE, including cut-resistant gloves and eye protection.
Phase 2: Door Panel Removal
To access the mounting points for the vent glass, the interior door card (upholstery) must be removed. This requires knowledge of the hidden fasteners used by Acura during this production era.
- We carefully pry off the plastic cover behind the interior door handle to reveal the mounting screws.
- We locate and remove the hidden screw inside the armrest pull cup.
- Using a specialized non-marring trim tool, we pop the perimeter clips holding the door panel to the metal door shell. These clips on a 20-year-old vehicle can be brittle; we carry replacements on our trucks in case any snap.
- We disconnect the power window switch wiring harness and the door latch cables before fully lifting the panel away and setting it on a padded stand.
Phase 3: Vapor Barrier and Debris Remediation
Once the panel is off, we expose the moisture barrier (vapor barrier). We carefully peel this back without tearing the adhesive sealant. Now comes the most critical step for your comfort: Vacuuming the Glass Shards.
When tempered vent glass breaks, it shatters into thousands of cubes. These cubes fall into the bottom of the door, inside the window run channels, and onto the carpet.
Our Debris Removal Protocol includes:
- Using a high-powered industrial vacuum with a flexible crevice tool to reach the deepest corners of the door shell.
- Manually agitating the bottom of the door to loosen hidden shards that cause rattling while driving.
- Vacuuming the vehicle's carpet, seats, and the driveway where the breakage occurred.
Phase 4: Disassembling the Window Run Channel
On the 1999-2003 Acura TL, the vent glass is held in place by a vertical bar known as the Division Bar. This bar separates the moving main window from the stationary vent glass.
To install the new vent glass, we must:
- Lower the main window to the bottom position.
- Locate and remove the bolts securing the bottom of the division bar (accessible through holes in the metal door skin).
- Remove the top screw of the division bar located under the upper weatherstripping.
- Carefully pull the weatherstripping out of the window frame to create clearance.
- Manipulate and tilt the division bar to widen the opening, allowing the old vent glass remnants to be removed and the new glass to be inserted.
Phase 5: Installing the New Vent Glass
We use only high-quality, DOT-certified tempered safety glass that matches the tint and contour of your original Acura equipment.
We lubricate the rubber gasket of the new vent glass with a silicone-based spray to ensure it slides effortlessly into the frame without binding. The glass is inserted into the door frame at an angle, then rotated into its vertical position. We then slide the division bar back against the straight edge of the vent glass, ensuring the rubber seal lips engage the glass perfectly on both the interior and exterior sides.
Phase 6: Reassembly and Mechanical Testing
Once the glass is seated, we do not simply bolt it up and leave. We must ensure the mechanics of the door are flawless.
- Tightening Torque: We re-secure the division bar bolts to factory torque specifications.
- Operational Check: We temporarily reconnect the window switch and cycle the main window up and down 5-10 times. This verifies that the division bar is straight. If it is crooked, the main window will bind or move slowly. We adjust until the movement is smooth.
- Water Test: We check the seals to ensure no gaps exist between the glass and the frame.
Phase 7: Final Interior Reassembly
We re-adhere the vapor barrier, ensuring it is watertight. We reconnect the door latch cables and wiring harnesses. The door panel is snapped back onto the frame, and all screws are replaced and covered with their respective cosmetic caps. Finally, we clean the new glass with professional-grade glass cleaner to remove any fingerprints or installation lubricant.
Serving the Greater Toronto Area
AlexWindshield is proud to be a local leader in auto glass solutions. We understand the roads and the driving conditions of the GTA. Our mobile service aims to take the stress out of a stressful situation.
We provide dedicated daily service to:
- Vaughan: From Woodbridge to Maple, we can meet you in your driveway or office parking lot.
- Richmond Hill: Whether you are near Yonge Street or Bayview, our technicians are minutes away.
- Markham: We service the entire tech hub and residential areas of Unionville and beyond.
- The Entire GTA: Our fleet covers the wider Toronto area, ensuring no Acura owner is left with a broken window.
The AlexWindshield Guarantee
When you hire us to replace the vent glass on your 1999-2003 Acura TL, you are investing in peace of mind. We offer a comprehensive Lifetime Warranty on our installation labor. This means if you ever experience a water leak, an air leak (whistling noise), or a rattle resulting from our installation, we will return to fix it free of charge.
We do not cut corners. We do not leave glass in your door. We do not damage your leather door panels. We treat your vehicle as if it were our own.
Book Your Acura TL Vent Glass Replacement Today
Don’t let a broken vent glass compromise the security of your classic Acura TL or ruin its sleek aesthetic. Driving with a taped-up window is unsafe and attracts unwanted attention. Trust the Master Technicians at AlexWindshield to perform a factory-quality replacement right at your location.
Contact AlexWindshield today to schedule your mobile appointment in Vaughan, Richmond Hill, Markham, or anywhere in the GTA. Experience the difference of true craftsmanship and restore your view of the road.


