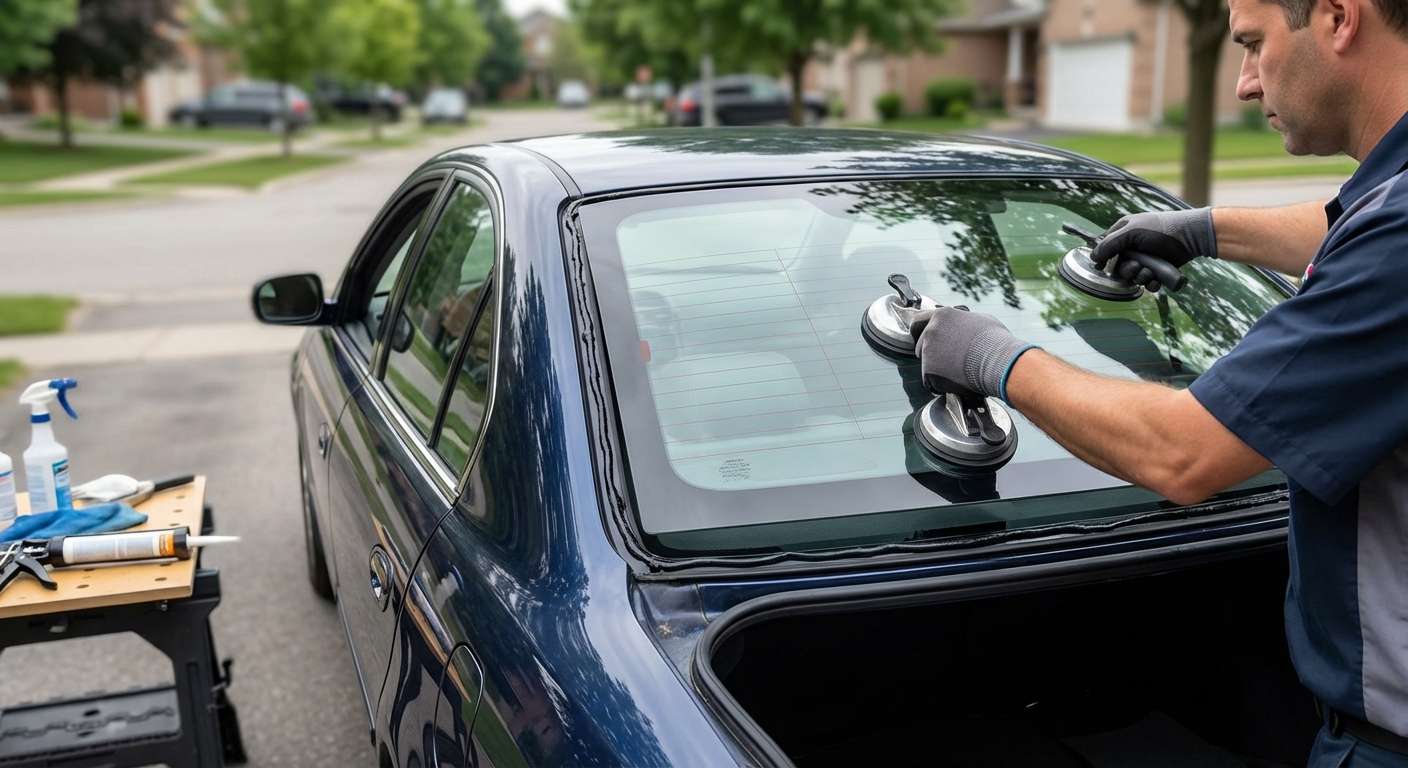
Integrated AM/FM Diversity Antenna and Defroster Grid on the Second-Gen TL
Replacing the stationary rear window on this sedan involves far more than just setting a sheet of tempered safety glass. The factory Aptech rear glass (original dealer part number 73211-S0K-A00) eliminated the need for a traditional exterior whip antenna by baking an AM/FM diversity radio antenna directly onto the upper portion of the interior glass surface. Just below these radio traces sits the horizontal electric defogger grid, both silkscreened as delicate conductive lines across the factory green solar-tinted glass.
Because the antenna harness plugs straight into spade connectors near the rear headliner seam, damage to these traces ruins radio reception instantly. I frequently see these cars arrive with ruined defroster tracks or complete AM signal loss caused by someone attempting to scrape off old, bubbled aftermarket window tint with a razor blade. The adhesive on aged tint bonds aggressively to the conductive lines, peeling the antenna and heater copper right off the glass substrate. When replacing the glass, I take extra care with the feeder leads at the roofline so the antenna module retains clean continuity.
Trunk Flange Clearances and C-Pillar Interior Surroundings
The stationary rear glass rests in a direct-glazed pinchweld bordered by the welded roof skin, the C-pillars, and the lower trunk lid opening flange. Inside the cabin, the glass is closely framed by the interior C-pillar trim panels and the rear parcel shelf, which houses the high-mount third brake light assembly right against the lower edge of the glass. Whenever a tempered back glass shatters on this car, granular glass pellets pour down behind the rear deck and settle under the third brake light housing, which requires thoroughly clearing that deck area so nothing rattles against the new glass once it is bonded.
I typically arrive around an hour after you book your service, bringing the replacement glass straight to your driveway so your TL doesn't sit exposed to the weather with a blown-out rear window. Whether you drive the standard 3.2TL or the later Type-S trim, the glass body shape and electrical layout remain identical across the entire 1999 to 2003 production run.
Addressing Reveal Molding Degradation (73250-S0K-A01)
The exterior perimeter of the rear windshield relies on an upper and side reveal molding (OEM part number 73250-S0K-A01) secured alongside factory fastener clips (such as 91563-SV4-003 and 91568-SV4-003). On these cars, decades of sun exposure routinely cause this rubber surround molding to dry-rot, shrink at the top corners, and pull away from the roofline channel. Once the rubber shrinks, road grit and pine needles pack tightly between the edge of the glass and the painted body frame, trapping moisture and damaging the perimeter seal.
| Component / Feature | Acura TL (1999–2003) Specification |
|---|---|
| Glass Structure | Direct-glazed, solid tempered safety glass with green solar tint |
| OEM Dealer Assembly | Part # 73211-S0K-A00 (Original manufacturer: Aptech) |
| Exterior Reveal Molding | Part # 73250-S0K-A01 (Roof and C-pillar side channel) |
| Antenna Configuration | Embedded glass-printed AM/FM diversity grid (top zone) |
| Lower Deck Fixtures | Interior rear parcel shelf with centered high-mount stop lamp |
Post-Installation Inspection Checklist
Once your replacement rear glass is set and cured, take a few minutes to check these vehicle-specific points before putting the car back into regular service:
- Turn on your radio and test both AM and FM bands while driving to confirm the diversity antenna leads at the upper roofline are receiving a strong, static-free signal.
- Switch on the rear defogger switch on the dashboard and observe the grid during cold or damp weather to ensure every horizontal wire heats evenly from top to bottom.
- Check the perimeter reveal molding along the roof seam and down both C-pillar channels to verify the rubber sits flush against the paint without lifting or bunching at the corners.
- Inspect the lower glass edge from outside the vehicle to confirm the high-mount brake light on the parcel shelf sits centered without rubbing or pressing unevenly against the inner surface.
- Open and shut the trunk lid to ensure the bottom edge of the glass maintains a uniform gap above the trunk lid hinge flange and weatherstrip.


