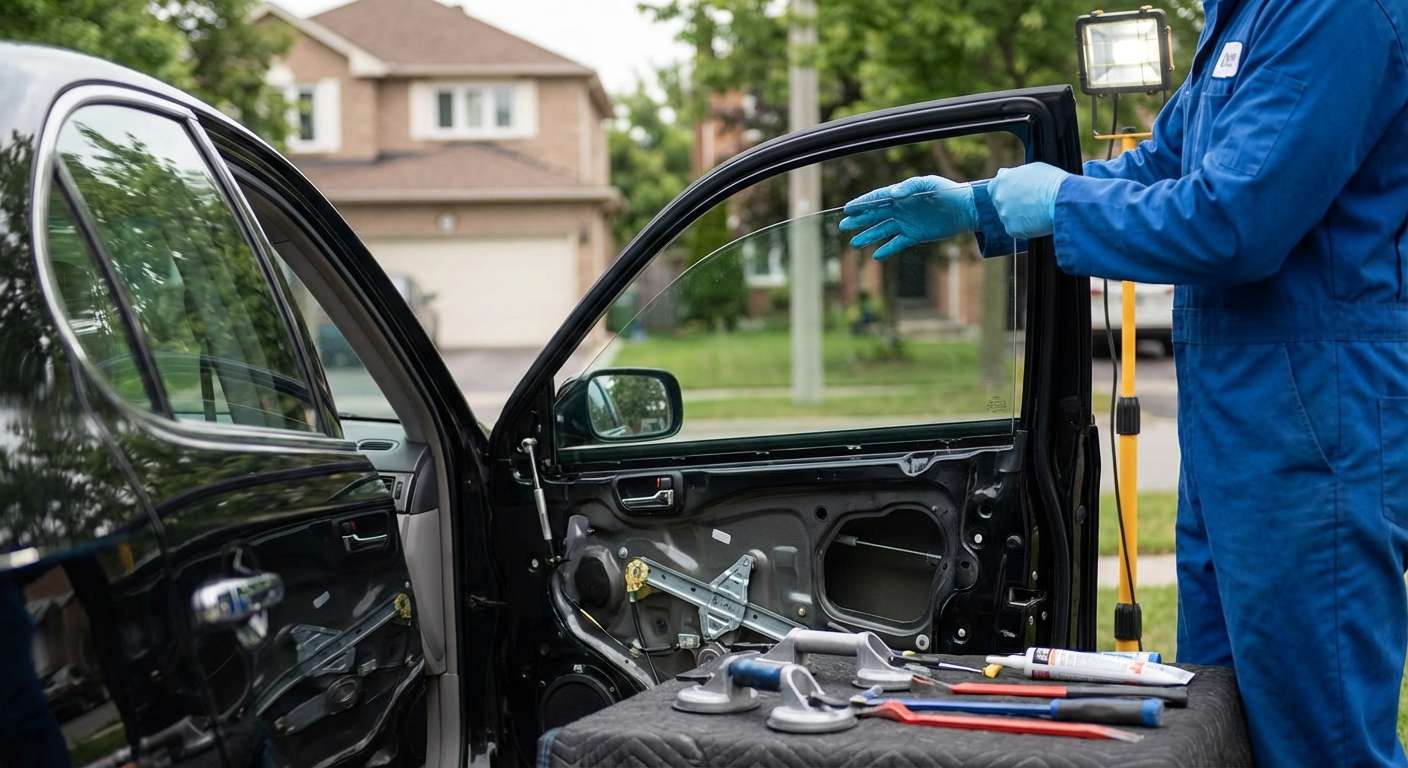
Regulator Cable Snaps and Broken Side Glass on the MCV30
When side window glass shatters on this model, it is rarely just an act of vandalism. The steel cables inside the window regulator assembly frequently fray, unspool from the central drum, and snap under tension. Because the bottom edge of the glass is bolted directly to the metal carrier plate with two retaining fasteners, a snapped cable lets the heavy pane drop violently into the bottom of the door shell. If it hits the interior reinforcement beams at an angle, the tempered panel implodes instantly into thousands of small pebble-sized fragments.
Even before the cable snaps completely, a binding regulator puts severe uneven torque across the bottom edge of the glass. The electric motor continues driving the carriage while the trailing edge hangs up inside the dried-out rubber run channel. This twisting force often shears the factory mounting tabs straight off the base of the glass or fractures the tempered panel while rolling up. Replacing the broken glass requires clearing every single shard out of the bottom of the door cavity so fragments do not jam the replacement pane or chew up the fresh run channel.
Framed Glass Engineering and Factory Hydrophobic Coatings
Lexus shifted away from the previous frameless design for this production run, moving to a fully framed steel door architecture. This eliminates the window-drop seals seen on older models, but it introduces tight rubber run channels seated all the way around the window frame. Factory front door glass panels—originally cataloged under Toyota part numbers 68101-33080 / 68101-33140 for the right side and 68102-33080 / 68102-33140 for the driver side—carry a distinct green-tinted, solar-absorbing temper without acoustic lamination.
When sourcing replacements for these doors, I supply aftermarket glass from proven manufacturers like Pilkington, PGW, FYG, and XYG to ensure the exact factory curvature and bracket placement match the door frame. Factory front glass featured a specialized exterior hydrophobic surface treatment designed to clear rain droplets directly in front of the side mirrors. Rear doors present a different layout: the main drop glass travels beside a stationary division bar, which anchors the fixed quarter vent window against the C-pillar frame.
Re-Initializing the Anti-Pinch Travel Limits
Once new door glass is bolted in place, the power window motor must be taught where the top of the door frame is. The five-pin motor uses an integrated pulse sensor that actively tracks glass travel. If the door glass meets sudden resistance—or if the door switch is flashing after the battery was disconnected—the anti-pinch safety mechanism triggers, reversing the window downward by about two inches every time it reaches the top weatherstrip.
To clear the blinking LED on the door switch, you must hold the window switch halfway down until the glass reaches the bottom, then pull and hold the switch into the manual-up position until the glass closes completely, keeping your finger on the switch for three additional seconds. This resets the pulse counter within the door ECU, locking in the travel limits so the glass seals firmly against the upper frame without bouncing back open.
Owner Handover Inspection
- Inspect the exterior beltline moulding with its chrome accent to ensure the flexible rubber wiper seal rests flat against the new glass surface without folding inward.
- Cycle the window using the one-touch auto-up function to verify the glass drives smoothly into the upper channel without triggering the anti-pinch auto-reverse bounce.
- Confirm that the window switch LED has ceased blinking and remains solid, confirming the travel limit initialization was saved.
- Check the vertical run channel alignment on rear doors to ensure the pane glides evenly parallel to the fixed division bar without chattering or tilting.
- Ensure the green solar tint of the newly installed panel visually matches the adjacent rear vent glass or opposite door glass.


