Identifying Discovery 2 Sunroof Glass and Frame Configurations
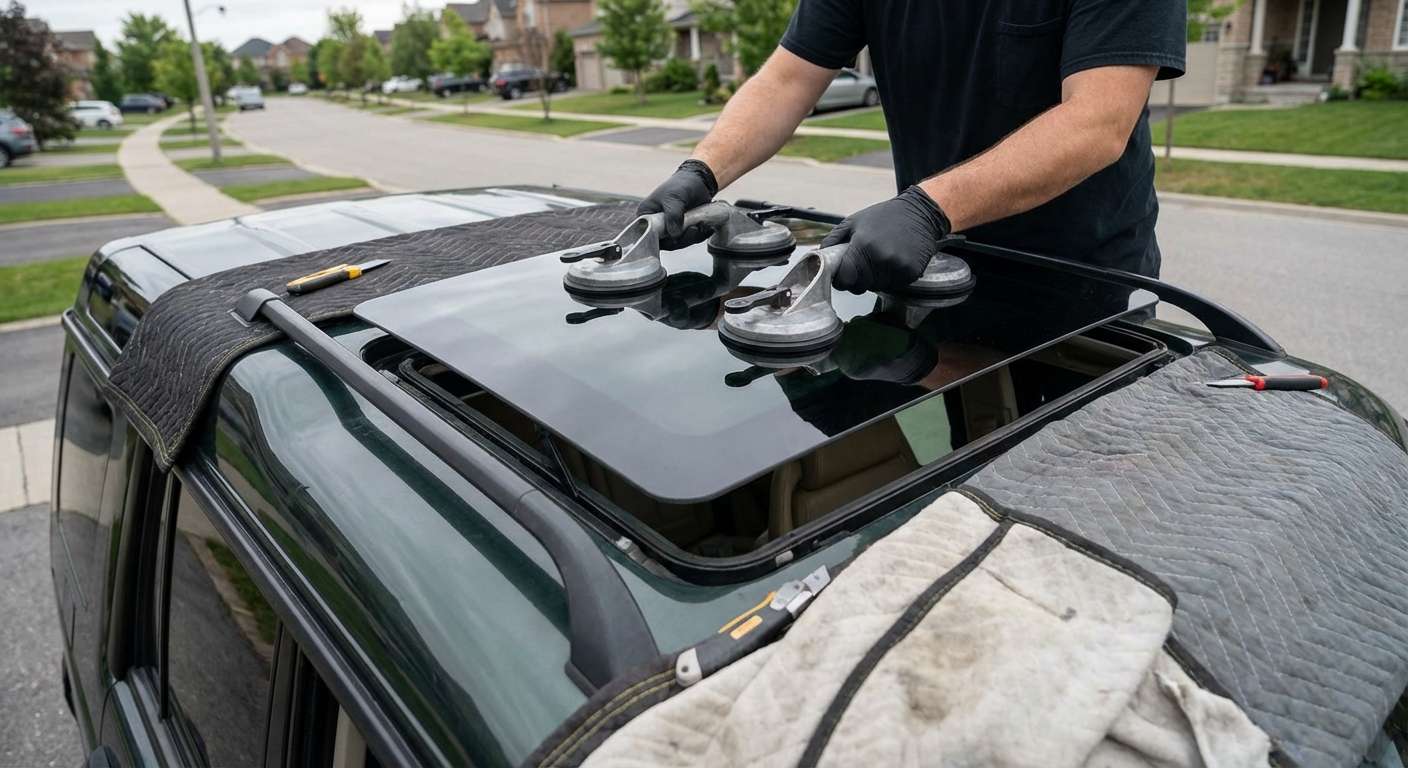
Confirming your replacement setup starts with checking whether you are dealing with a single front cutout or the twin-sunroof arrangement that spans the stepped roofline. The movable tinted tempered glass panel itself uses Land Rover part number EFT100540, serving identical duties in both the front cutout above the driver and the elevated rear cutout over the passenger rows. Unlike modern panoramic assemblies, this glass does not integrate heating elements, radio antennas, solar-reflective films, or optical sensor brackets; it is a straightforward rectangular panel secured directly to the track guide arms.
To tell which components are failing on your roof, separate the glass panel from the structural frame system. The glass attaches to an internal drive track via side screws, concealed from below by the moulded interior surround finisher (EDV500160LUMG) and a manually sliding fabric sunshade. If your glass is shattered or chipped, only the glass slab requires unbolting. However, if water is entering along the interior headliner fabric, the culprit is rarely the glass itself, but rather the outer composite frame assembly (part EFP100241) or the drainage hardware attached to it.
| Component | OEM Part Reference | Primary Vehicle Location | Common Failure Mode |
|---|---|---|---|
| Sunroof Glass Panel | EFT100540 | Front and Rear Openings | Impact breakage, track binding |
| Outer Frame Assembly | EFP100241 | Roof Sheet Metal Interface | Degraded factory seal to steel body |
| Drain Connector Kit | EEH100720 | Tray Corners to Pillar Hoses | Snapping at hose junction |
| Interior Finisher Trim | EDV500160LUMG | Headliner Opening Lip | Brittle retaining tabs, warping |
Mechanical Track Failure versus Roof Skin Water Ingress
When assessing a malfunctioning unit, I distinguish mechanical cable failure from structural leakage. The tilt-and-slide movement relies on a motor-driven worm cable pulling plastic guide feet along an aluminum track. Over time, plastic sunshade runner clips break free, jamming the mechanism, or the guide clips strip out, causing the panel to cock sideways. When this happens, forcing the overhead switch can bend the linkage arms, preventing the perimeter rubber bulb seal from seating flush against the exterior frame lip.
Water damage presents a completely separate diagnosis. The factory assembly clamps the outer frame against an interior motor tray, sandwiching the painted steel roof skin with a thin closed-cell foam bead. When that foam shrinks and rots, rain slips underneath the frame and bypasses the glass seal entirely. I back every replacement installation with a lifetime guarantee on my workmanship, paired with one year of coverage on the replacement glass panel itself. Once water bypasses that body seam, it pools inside the headliner, routing moisture down into the A-pillars toward the passenger compartment fuse box and Body Control Unit (BCU).
Corner Drain Spout Inspections
Before replacing any broken glass panel or torn rubber seal, inspect the plastic drain spouts at the corners of the inner water tray. Discovery 2 sunroofs rely on plastic drain spouts that direct overflow into flexible routing tubes: the front tubes run down through the A-pillars to dump behind the front wheel arches, while the rear tubes route through the C- and D-pillars. The replacement drain elbow kit (EEH100720, which superseded the older BTR8269 design) addresses the standard factory problem where these plastic spouts snap clean off under thermal stress.
- Wet front footwells: Snapped front drain spouts or cracked tubing inside the upper A-pillar cavity.
- Sagging rear headliner: Rear sunroof drain spouts broken off, saturating the molded fiberboard backing.
- Binding movement: Broken sunshade runner clips wedging inside the lower guide channels.
- Exterior wind noise: Stripped drive cable teeth leaving the rear edge of the glass sunken below the roof line.
If you see standing water in the footwells after a storm, drop the upper trim to confirm the spouts are intact before installing fresh glass. A broken spout will dump water straight into the cabin regardless of whether the glass panel is brand new.


