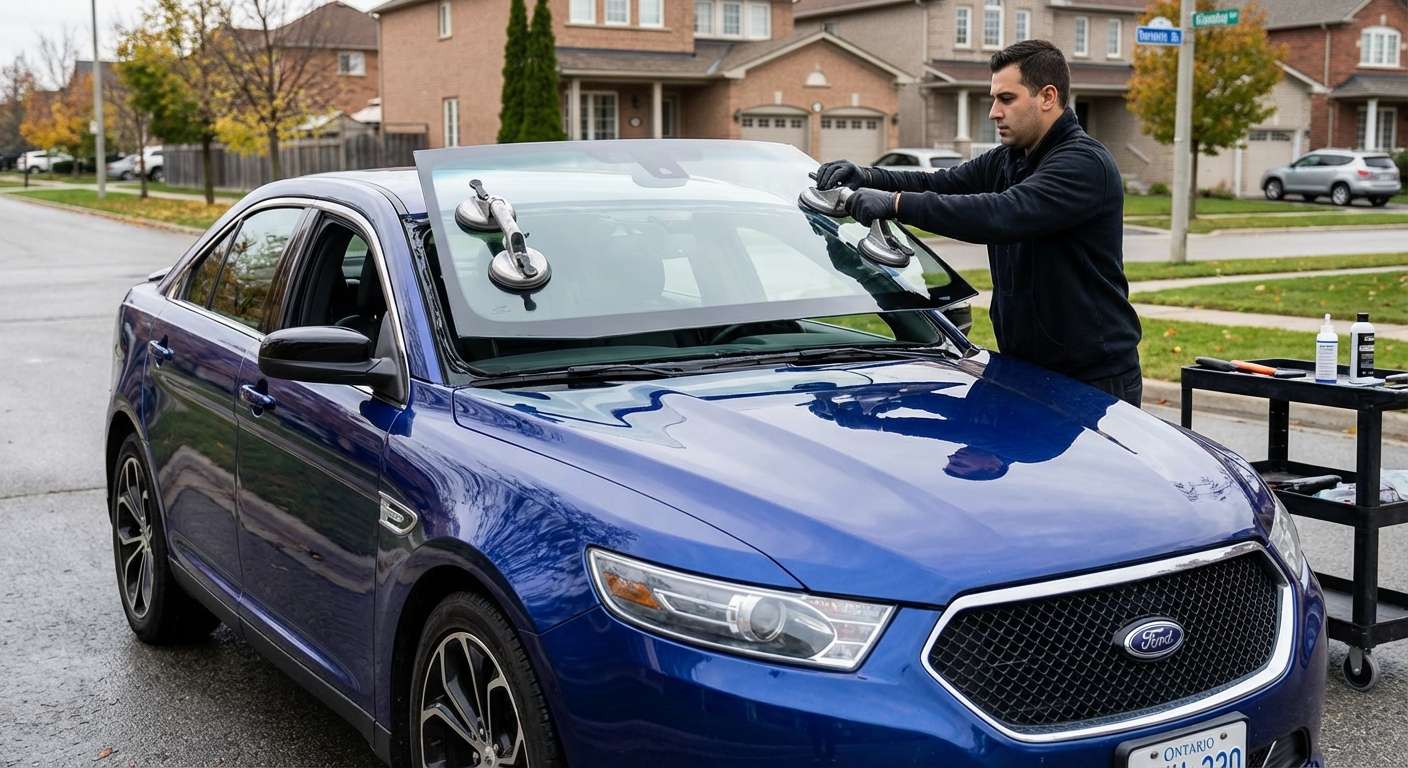
Identifying Your Taurus Windshield Features and Glass Code
Determining which replacement windshield fits your Ford Taurus comes down to spotting the hardware bonded around your rearview mirror and reading the bug stamp etched into the lower corner. A base Taurus SE uses a completely bare windshield setup, whereas a Limited or SHO frequently houses acoustic damping layers, an automatic rain sensor, or forward-facing driver-assist brackets.
You can identify your exact windshield variant by checking these hardware distinctions on the vehicle:
- Acoustic SoundScreen Glass: Look for the "SoundScreen" logo or acoustic ear symbol etched near the lower driver-side corner. Ford utilized an acoustic interlayer to silence cabin decibels from the 3.5L EcoBoost or standard Duratec V6. If your car lacks this logo, it uses standard solar glass.
- Rain-Sensing Wipers: Check the exterior side of your windshield directly in front of the rearview mirror base. A circular purple or black optical lens adhered against the glass indicates a moisture sensor, requiring an integrated mounting bracket on the replacement pane.
- Lane Departure Warning Camera: Found on 2013 and newer models, this system places a trapezoidal forward-looking camera directly against the glass inside a large plastic shroud above the mirror, accompanied by an auto high-beam photocell.
- Third Visor Frit: The black dotted ceramic pattern behind your rearview mirror blocks midday sun glare. The shape and opening size inside this frit cluster correspond directly to whether an electrochromic wiring harness runs up to your headliner.
The table below matches these configurations to their respective National Auto Glass Specifications (NAGS) part numbers across the production run:
| Production Years | Trim & Equipment Profile | NAGS Part Number |
|---|---|---|
| 2008–2009 | Sedan (SE, SEL, Limited) with Solar Tint and Third Visor Frit | DW01690 |
| 2008–2009 | Taurus X Crossover / Wagon body style | DW01691 |
| 2010–2012 | Standard windshield without rain sensor, SoundScreen acoustic | DW01872 |
| 2010–2012 | Equipped with rain/moisture sensor bracket, SoundScreen acoustic | DW01873 |
| 2013–2019 | Base glass without acoustic damping or camera hardware | DW02094 |
| 2013–2019 | Rain sensor, SoundScreen acoustic, and Lane Keeping bracket (matches OEM FG1Z-5403100-B) | DW01927 |
Surrounding Trim and Hardware on the Taurus Body
The windshield opening on the Taurus is bounded by specific exterior hardware that must be properly addressed. The bottom perimeter is shielded by a two-piece plastic cowl grille panel held down along the firewall by push-retainers, seated right below the wiper arms which mount to 15 mm splined pivot nuts. When you schedule a replacement, I aim to reach your driveway roughly an hour after your booking is confirmed, bringing the correct aftermarket glass and retainers matched to your trim.
Along the roof pillars, the windshield is bordered by painted exterior A-pillar trim appliques. These side mouldings use snap-in plastic retainers that weaken under heavy sun exposure and engine heat. The D3 platform relies on these retainers to keep the applique flush to the windshield edge, preventing highway air from lifting the plastic. Inside the vehicle, the rearview mirror snaps into a twist-off or set-screw button, housed underneath the clamshell wiring cover found on electrochromic auto-dimming mirrors.
Post-Replacement Inspection Checklist
Once your new windshield is fitted, walk around your Taurus and verify the exterior mouldings and glass-mounted accessories:
- Inspect both exterior A-pillar painted trims to confirm they sit tight against the body metal without bowing or loose edges along the glass borders.
- Look closely at the lower cowl panel to ensure the plastic lip fits snug against the glass edge, preventing wash runoff from entering the cabin air intake plenum.
- Test your automatic wipers with a spray bottle to ensure the rain sensor gel pad maintains clear, bubble-free contact against the bracket window.
- Confirm the plastic housing around the rearview mirror is locked together securely, with no wires exposed from the auto-dimming mirror harness or camera bracket.
- Check that the wipers park smoothly at the bottom edge of the blackout frit border without striking the cowl or side pillars.


