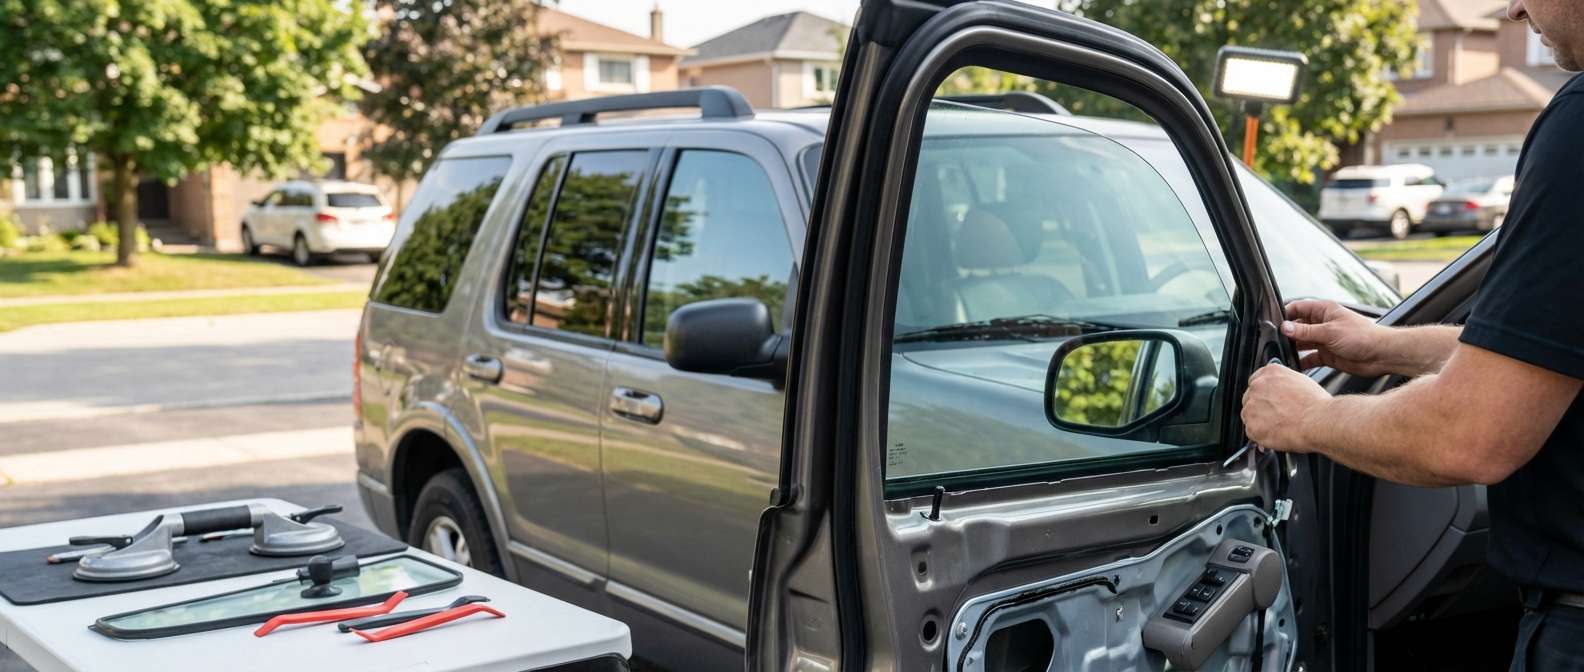
Pre-Installation Checks on Explorer Door Glass and Factory Mounting Clips
Before sliding a replacement pane into the door shell, the first thing I inspect is the pair of bottom mounting brackets bonded directly to the lower edge of the glass. On this generation of Explorer, separated or crooked composite clips are the primary source of binding and off-track travel. Replacement front door glass (NAGS DD09871 for the driver side or DD09870 for the front passenger side) arrives with these brackets pre-attached from the factory, and they must be perfectly parallel to avoid placing torsion on the regulator lift plates.
Tint matching between front and rear panels demands close inspection prior to installation. Front doors utilize a light green solar tint (GTY designation), while rear doors on Eddie Bauer, Limited, and XLT trims typically feature deep privacy glass (YPY designation). Base fleet units occasionally used light tint in the rear, so verifying tint density against the stationary rear vent window (DV09874/DV09875) prevents mis-matched glass across the doors.
| Door Position | NAGS Reference | OEM Cross-Reference | Standard Glass Tint |
|---|---|---|---|
| Front Driver (LH) | DD09871 / DD9871 | 1L2Z-7821411-AA | Green Solar Tint (GTY) |
| Front Passenger (RH) | DD09870 / DD9870 | 1L2Z-7821410-AA | Green Solar Tint (GTY) |
| Rear Driver Side (LH) | DD09873 / DD9873 | 1L2Z-7825713-BA | Deep Privacy Tint (YPY) |
Fitment for these glass panels spans the 2002 to 2005 four-door U152 platform and extends mechanically through the 2010 model year, as well as equivalent Mercury Mountaineer doors. However, these panels do not fit the two-door Explorer Sport or the Explorer Sport Trac, which share different door profiles and cab designs.
Run Channels, Division Bars, and Regulator Hardware
A frequent reason glass drops into the door cavity on these trucks is the failure of the cable-and-drum window regulator mechanism. The factory plastic cable pulleys tend to fracture, causing the braided cable to snarl and deribbon. When replacing broken glass, I clean out every shattered fragment resting inside the inner door cavity so remnants cannot jam the lower regulator track. While the factory pinned the original regulator assemblies with large blind rivets, the replacement glass itself anchors to the regulator lift brackets via threaded fasteners through the bonded clip holes.
I cover every replacement pane with a one-year defect warranty, while backing the physical installation work for the lifetime of your vehicle ownership. On rear doors, I pay specific attention to the vertical division bar channel that isolates the drop glass from the stationary quarter glass. If this felt-lined division run is pinched, dry, or pushed out of plumb during reassembly, the window will slow down or tilt forward as it ascends.
Post-Installation Functional Checks
Once the door glass is secured within the tracks, operational testing ensures the assembly seals fully against the perimeter rubber run channel:
- Travel alignment: Raising the glass slowly to observe that the top edge enters the upper header channel evenly across its length, without dragging against the exterior beltline sweep.
- Harness inspection: If the power window behaves intermittently after glass placement, I check the rubber wiring boot between the A-pillar and the driver door frame, where cracked copper wires commonly mimic bad motors or jammed tracks.
- Seal seating: Checking the bottom glass stops to confirm the pane drops completely flush with or slightly below the outer belt molding when fully rolled down.
- Rattle isolation: Tapping the door frame to verify the pane sits snugly in the side channels without lateral play, ensuring the bottom glass brackets do not strike the inner structural door braces.


