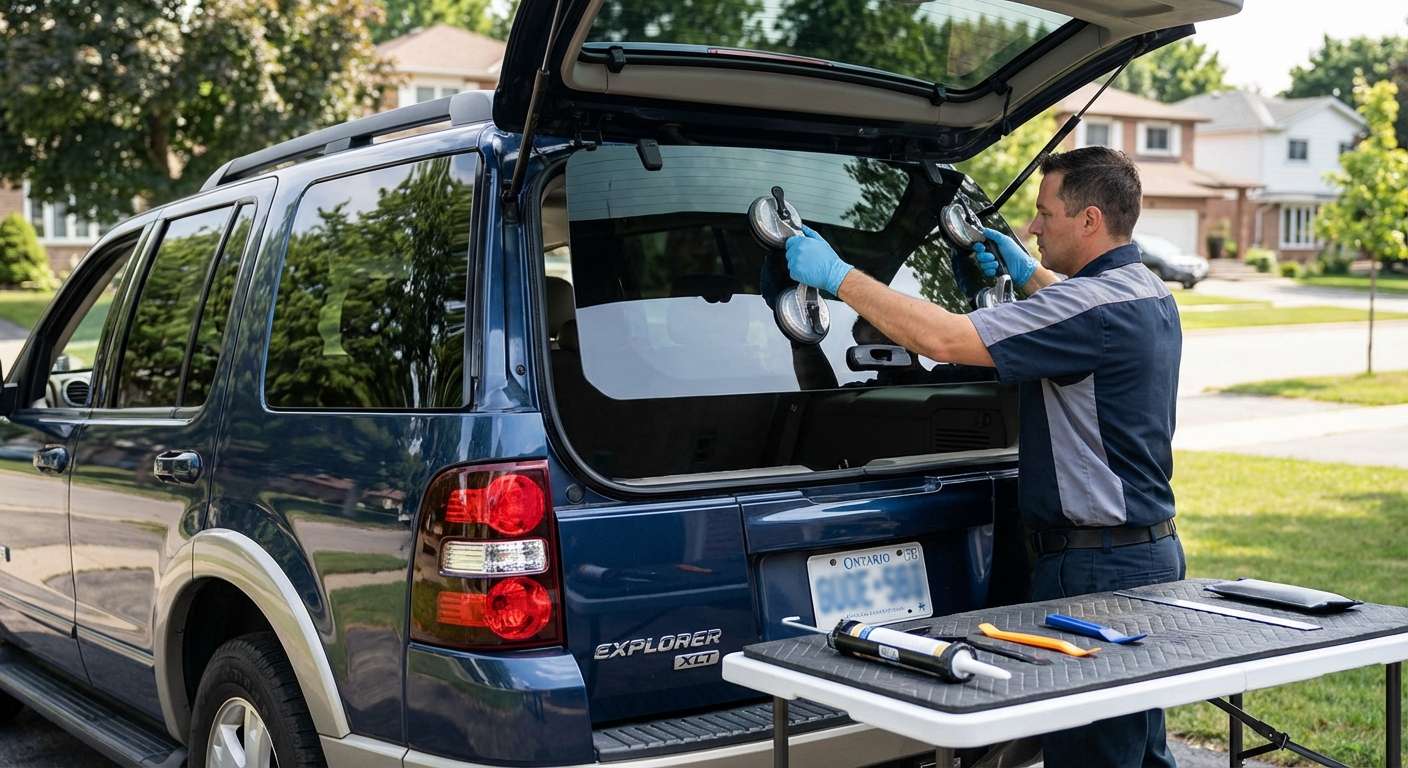
Revolutionizing Utility: The 2002-2005 Ford Explorer Back Glass Conundrum
The third-generation Ford Explorer (2002-2005) completely redefined the mid-size SUV landscape by introducing an independent rear suspension and a highly versatile dual-function rear liftgate. This unique rear hatch design allowed drivers to either lift the entire tailgate or independently pop open the rear glass for quick access to the cargo area. While this design is incredibly convenient for loading groceries or gear, it makes the back glass replacement an intricate, highly specialized procedure. When the rear windshield of your Explorer shatters, you are not just dealing with a drafty cabin; you are facing compromised vehicle security, disabled rear defrost capabilities, and thousands of dangerous glass shards scattered throughout your cargo space.
As a Master Technician at AlexWindshield, I have spent years mastering the specific architectural nuances of the 2002-2005 Ford Explorer. Unlike standard front windshields that use laminated glass, the rear glass on this specific Explorer generation is made of tempered safety glass. Upon impact, tempered glass is designed to explode into thousands of tiny, blunt pieces rather than breaking into lethal, jagged shards. While safer during an accident, this characteristic creates a massive cleanup operation and requires a highly methodical replacement approach to ensure the new glass sits perfectly, functions seamlessly, and remains watertight against the harsh Canadian weather.
Premium Auto Glass Service in the Greater Toronto Area (GTA)
Navigating the bustling highways of the Greater Toronto Area (GTA) with a blown-out rear window is not only stressful but dangerous. Whether you are commuting down the DVP or running errands in the northern suburbs, driving without a secure back glass exposes your interior to rain, snow, and exhaust fumes. At AlexWindshield, we bring our cutting-edge glass replacement shop directly to your driveway or workplace. We proudly offer comprehensive mobile auto glass services across the entire GTA, with dedicated dispatch routes specifically serving Vaughan, Richmond Hill, and Markham. Our mobile units are fully equipped with climate-controlled adhesive storage and high-powered vacuums to deliver a dealership-quality repair right at your location.
Step-by-Step Back Glass Replacement Process: The Master Technician’s Approach
Replacing the intricate rear glass of a 2002-2005 Ford Explorer is not a simple "remove and replace" job. Because the glass often acts as a structural mounting point for the rear wiper motor, gas struts, and hatch hinges, the process requires extreme precision. Here is the rigorous, A-to-Z protocol we follow at AlexWindshield to ensure a flawless restoration.
Step 1: Comprehensive Damage Assessment and Vehicle Preparation
Before any tools touch your vehicle, our first priority is protecting your interior. We begin by conducting a thorough visual inspection of the rear liftgate frame to ensure no metal deformation occurred during the impact that shattered the glass. Once the frame is cleared, we meticulously prepare the vehicle. Heavy-duty protective drop cloths and moving blankets are draped over the rear cargo area, the folded rear seats, and the exterior rear bumper to prevent any accidental scratches to the Explorer’s paintwork or damage to the interior upholstery during the repair process.
Step 2: Meticulous Glass Cleanup and Liftgate Panel Removal
Because the Ford Explorer’s back glass is tempered, a break results in a massive shower of glass cubes. It is an absolute requirement to remove all of this debris. We use specialized, high-powered industrial shop vacuums to extract every visible shard from the cargo floor, seat crevices, and carpet. However, the most critical part of this step involves the interior liftgate trim. When the rear glass explodes, hundreds of shards fall directly into the hollow cavity of the rear tailgate. We carefully unclip and remove the interior door panels and tailgate trim of your Explorer. Using flexible vacuum nozzles and compressed air, we painstakingly extract every hidden piece of broken glass from inside the door cavity. Failing to perform this step results in an aggravating, permanent rattling sound every time you drive or close your hatch.
Step 3: Disconnecting Liftgate Hardware and Electrical Components
The 2002-2005 Ford Explorer back glass is heavily integrated with the vehicle's hardware. We carefully disconnect the main electrical harness that powers the rear window defrost grid. Next, we unbolt the rear wiper motor assembly, which often passes directly through a specialized bore hole in the glass itself. Finally, we safely detach the pneumatic gas struts and the upper hinge mechanisms that allow the glass to open independently. All original equipment manufacturer (OEM) hardware is inspected for wear and safely set aside on a padded tray for reinstallation.
Step 4: Removal of the Remaining Glass Encapsulation and Old Urethane
Even when the center of the glass is completely blown out, the outer encapsulated edge of the glass usually remains firmly bonded to the liftgate frame by the factory polyurethane adhesive. Using professional cold knives and specialized wire-cutting extraction tools, we carefully cut through the old adhesive bead to free the remaining glass perimeter. We then use a razor-sharp pinch weld scraper to trim the remaining factory urethane down to a thin, even layer of about 1-2 millimeters. This process requires a steady hand to avoid scratching the painted surface of the pinch weld, which could lead to future oxidation and rust.
Step 5: Surface Preparation, Cleaning, and Primer Application
A flawless seal is only possible on a perfectly clean surface. We scrub the freshly trimmed pinch weld using an alcohol-based, lint-free cleaning agent to remove dirt, grease, and moisture. If our scraper exposed any bare metal during the old urethane removal, we immediately apply a specialized black glass primer. This primer serves a dual purpose: it acts as a powerful rust inhibitor to protect the structural integrity of your Ford Explorer’s liftgate, and it acts as a chemical bonding agent that reacts with the new urethane adhesive for maximum adhesion.
Step 6: Precision Installation Using High-Quality Adhesive
With the frame prepped, we move to the installation of the new, OEM-quality back glass. We load a high-quality, fast-curing automotive polyurethane adhesive into a battery-operated power caulking gun. This allows us to apply a structurally perfect, continuous V-bead of adhesive around the entire perimeter of the liftgate frame. The new back glass is then carefully lifted—often using heavy-duty suction cups—and precisely aligned with the factory index marks. We gently press the glass into the urethane bed, ensuring perfectly even spacing and flush alignment with the Explorer’s roofline and lower tailgate.
Step 7: Reassembly and Final Quality Assurance Checks
Once the glass is set, we immediately reconnect the hardware. The upper hinges are bolted back into place, the gas lift struts are reattached to support the weight of the glass, and the rear wiper motor is reinstalled through the new glass panel, complete with new rubber grommets to prevent leaks. We then reconnect the defrost grid wiring and test the electrical circuit to guarantee your defroster will work perfectly during harsh Canadian winters. Finally, the interior liftgate trim panels are securely clipped back into place, and the exterior glass is treated with a premium foaming glass cleaner.
The AlexWindshield Advantage: Mobile Auto Glass Experts in the GTA
Dealing with a shattered rear window disrupts your entire schedule. That is why AlexWindshield is dedicated to providing unparalleled convenience without sacrificing technical excellence. Our fleet of fully equipped mobile service vans operates extensively throughout the GTA, with a special focus on delivering rapid response times to our clients in Vaughan, Richmond Hill, and Markham. You do not need to take time off work or arrange a tow truck; our Master Technicians come directly to your home or office, performing the entire replacement in your driveway. We use advanced, fast-curing urethanes that boast a very short Safe Drive Away Time (SDAT), meaning your 2002-2005 Ford Explorer will be road-ready and structurally secure shortly after the installation is complete.
Lifetime Warranty and Our Commitment to Excellence
Auto glass is a critical structural component of your vehicle, and you should never have to compromise on safety or quality. When you choose AlexWindshield for your Ford Explorer back glass replacement, you are partnering with the industry's best. We stand behind our meticulous craftsmanship and premium materials by offering an industry-leading Lifetime Warranty on all our installations. This warranty protects you against any wind noise, water leaks, or manufacturer defects for as long as you own the vehicle. If you are looking for the most trusted, reliable, and technically proficient mobile auto glass services in the GTA, look no further. Contact AlexWindshield today to restore your vehicle's safety, security, and clarity with unmatched professional precision.


