Expert Back Glass Replacement for the 2004-2009 Dodge Durango
The second-generation Dodge Durango (2004-2009) completely redefined the full-size SUV segment, boasting muscular styling, an aggressive stance, and the legendary power of a HEMI V8. Designed as a rugged family hauler and a capable towing machine, this Durango generation relies heavily on its expansive rear liftgate glass to provide maximum rearward visibility and climate insulation. However, when an impact, severe weather, or vandalism shatters your rear window, it instantly compromises the security, structural integrity, and weatherproofing of your prized SUV. At AlexWindshield, we understand that a blown-out back window is an emergency. As a Master Technician, I am here to guide you through our comprehensive, industry-leading process for restoring your Durango to its factory-safe condition.
Premium Mobile Auto Glass Services Across the GTA
Driving a Dodge Durango with a shattered back glass is not only dangerous due to compromised visibility, but it also leaves your vehicle's interior completely exposed to the harsh Canadian elements and potential theft. To eliminate the stress of driving a damaged vehicle, AlexWindshield offers premium, fully equipped mobile replacement services directly to your driveway, workplace, or fleet lot. We proudly serve the entire Greater Toronto Area (GTA), with dedicated, rapid-response service routes specifically highlighting Vaughan, Richmond Hill, and Markham.
Whether you are parked outside a corporate office in Markham, at your family home in Vaughan, or running errands in Richmond Hill, our master technicians bring the auto glass shop to you. We arrive with the precise 2004-2009 Dodge Durango rear glass, premium adhesives, and industrial vacuums required to execute a flawless repair without disrupting your busy schedule.
The Technical Blueprint: Step-by-Step Dodge Durango Back Glass Replacement
Unlike laminated windshields that crack but stay intact, the rear window of your Dodge Durango is manufactured from tempered safety glass. Upon severe impact, tempered glass is designed to explode into thousands of small, granular chunks to prevent large, lethal shards from injuring passengers. While this is a critical safety feature, it creates a massive mess, with glass shards infiltrating the cargo area, the rear seats, and the internal cavity of the liftgate. Here is the detailed, A-to-Z technical process we follow to ensure your Dodge Durango back glass replacement is executed flawlessly.
Step 1: Vehicle Assessment and Interior Protection
Before any tools are lifted, our master technicians conduct a thorough inspection of the vehicle's rear liftgate. We check the surrounding metal, the wiper motor assembly, and the rear spoiler for any collateral damage. Safety and cleanliness are our top priorities. We meticulously prepare the vehicle by placing heavy-duty protective blankets over the Durango's third-row seats, cargo area, and rear bumper. This preparation ensures that no remaining glass shards or heavy urethane adhesives damage your SUV's interior upholstery or exterior paint during the replacement process.
Step 2: Liftgate Disassembly and Comprehensive Shard Extraction
This is a critical step that separates amateur installers from master technicians. Because tempered glass shatters completely, hundreds of glass pebbles fall directly into the inner workings of the rear liftgate. If left uncleaned, these shards will cause infuriating rattles every time you close the trunk, and they can severely jam the rear wiper motor or the electronic liftgate latch mechanism.
- Panel Removal: We carefully remove the interior plastic trim panels from the inside of the liftgate using specialized non-marring pry tools to avoid scratching the plastics or breaking the retaining clips.
- Hardware Disconnection: We disconnect the wiring harnesses for the rear window defroster grid and temporarily detach the rear wiper motor assembly if the glass shards have compromised its housing.
- Industrial Vacuuming: Using high-powered industrial shop vacuums equipped with specialized crevice attachments, we extract every single shard of broken glass. We vacuum the inside of the liftgate cavity, the weather stripping channels, the cargo floor, and the folded third-row seats to ensure your interior is spotless and safe for your family.
Step 3: Removing the Old Urethane and Preparing the Pinch Weld
With the shattered glass fully cleared out, we must prepare the vehicle's frame—specifically the pinch weld where the glass rests. The factory original installation leaves behind a thick bead of old urethane adhesive that must be addressed.
- Cutting the Seal: Using specialized cold knives and auto glass cut-out wire tools, we carefully slice through the remaining original polyurethane adhesive holding the broken glass perimeter in place.
- Trimming the Urethane: The old urethane is pared down to a thin, uniform layer of about 1-2 millimeters. This thin base layer of original adhesive actually provides an excellent bonding surface for the new urethane, provided it is clean and securely attached to the metal.
Step 4: Surface Cleaning and Primer Application
The integrity of a back glass replacement relies entirely on the chemical bond between the glass, the adhesive, and the vehicle's body. We treat this stage with surgical precision.
- Cleaning: The entire pinch weld is thoroughly cleaned using a specialized, alcohol-based auto glass cleaner to remove dirt, grease, and any microscopic glass dust.
- Rust Prevention and Priming: If there are any bare metal scratches on the pinch weld (often caused by the initial break or previous low-quality replacements), we apply a high-grade, fast-drying specialized auto glass primer. This primer seals the bare metal to prevent future rust formation and creates a highly reactive chemical surface that ensures the new urethane will bond with maximum strength.
Step 5: Prepping the New OEM-Quality Back Glass
At AlexWindshield, we source only premium, OEM-quality glass that meets or exceeds all Federal Motor Vehicle Safety Standards (FMVSS). Before the new back glass is brought to the Durango, it undergoes strict preparation.
- Inspection: The new glass is inspected for any optical distortions, correct curvature, and proper tint matching to suit your 2004-2009 Durango's factory specifications.
- Cleaning and Priming the Glass: The bonding perimeter on the inside edge of the new glass is scrubbed with an abrasive pad and specialized cleaner. We then apply a glass-specific frit primer to the ceramic band on the edge of the glass. This chemical primer promotes adhesion and protects the urethane from breaking down under direct ultraviolet (UV) sunlight.
- Defroster Check: We verify the integrity of the integrated rear defroster grid and ensure the terminal tabs are securely fastened and ready for connection.
Step 6: High-Quality Adhesive Application and Glass Installation
With both the vehicle and the new glass fully prepped and primed, we move to the critical installation phase.
- Applying the Urethane: Using an electric caulking gun, we apply a continuous, uniform, V-shaped bead of premium, fast-curing automotive urethane adhesive directly onto the vehicle's pinch weld. This V-shape ensures that when the glass is compressed, the urethane spreads perfectly without any gaps or air bubbles, guaranteeing a waterproof seal.
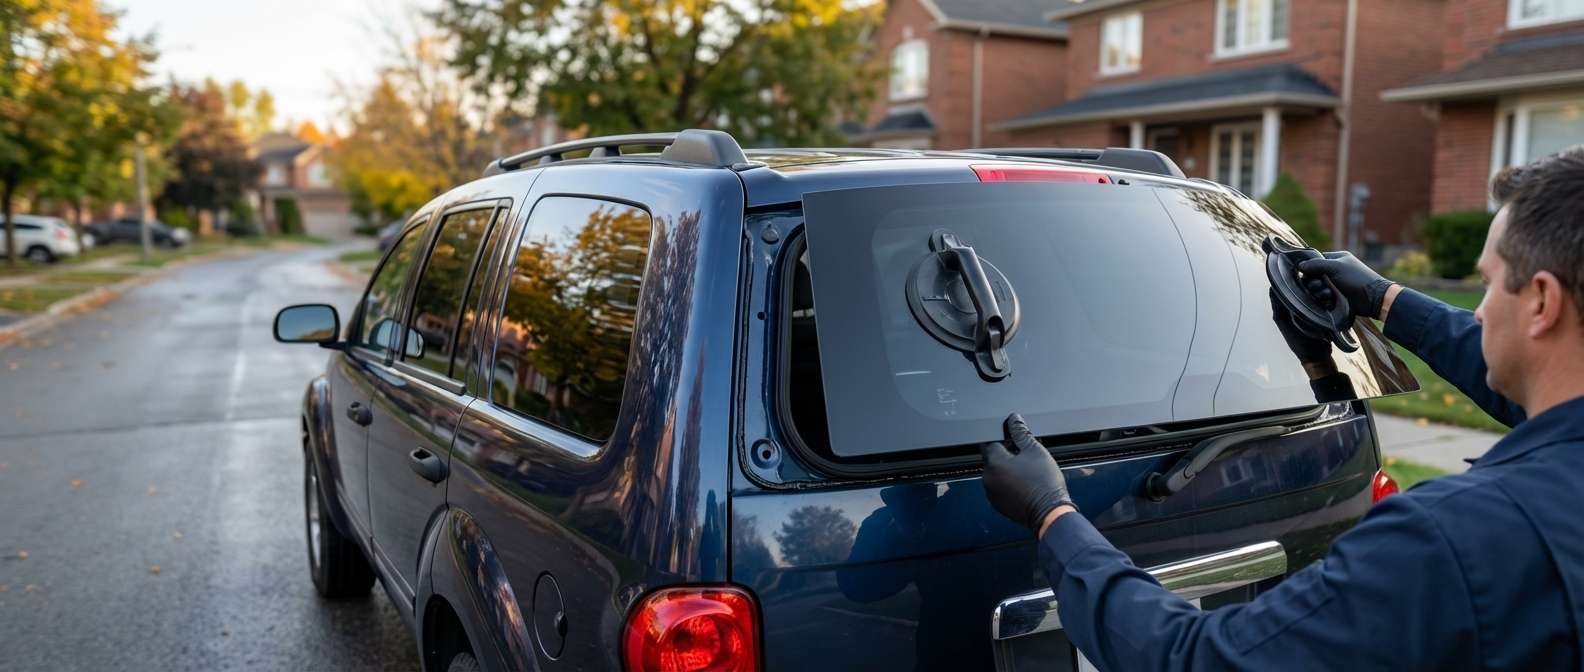
- Setting the Glass: Utilizing heavy-duty suction cup grips, two technicians carefully lift and align the heavy Durango back glass. It is gently lowered precisely into the opening. We apply firm, even pressure around the perimeter to compress the urethane bead, ensuring a flawless, factory-tight seal.
- Securing the Placement: Auto glass retention tape is applied to the top of the glass and the roof of the SUV to hold the heavy glass perfectly in place while the urethane goes through its initial chemical curing process.
Step 7: Reassembly and Defroster Reconnection
Once the glass is set, we begin putting your Dodge Durango back together.
- Electrical Connections: We reconnect the wiring harnesses to the rear defroster tabs, testing the circuit to ensure your rear window will easily melt away ice and condensation during harsh GTA winters.
- Wiper Assembly: The rear wiper motor is re-secured, and the wiper arm is bolted back into its proper alignment on the outside of the new glass.
- Panel Reinstallation: All interior liftgate trim panels, retaining clips, and weather seals are meticulously snapped back into their original factory positions, completely hiding the internal mechanisms and leaving a pristine finish.
Step 8: Final Inspection and Cleanup
We do not hand the keys back until the vehicle passes our stringent quality control. We perform a final visual inspection of the urethane seal. The new exterior glass is polished with premium foaming glass cleaner until it is crystal clear. Finally, we do a secondary vacuuming sweep of the cargo area to ensure absolutely zero glass shards remain.
Crucial Aftercare Instructions for Your Durango
To ensure the lifetime integrity of your new back glass, we provide specific aftercare guidelines for the first 24 to 48 hours following the replacement:
- Leave the Tape: Keep the retention tape on for at least 24 hours to prevent the heavy glass from slipping before the urethane fully cures.
- Avoid Car Washes: Do not use high-pressure car washes for at least 48 hours. The intense water pressure can compromise the urethane before it reaches its maximum tensile strength.
- Ventilate the Cabin: Keep a side window rolled down an inch when closing the doors. The 2004-2009 Dodge Durango has a large, airtight cabin; slamming a door with all windows rolled up creates a burst of air pressure that can push the newly installed back glass outward.
Choose AlexWindshield for Mobile Auto Glass Excellence in the GTA
When the back glass of your rugged 2004-2009 Dodge Durango shatters, you need a team that combines technical mastery with unmatched convenience. AlexWindshield is your premier choice for mobile auto glass services in the GTA. We save you time, eliminate towing fees, and protect your vehicle from the elements by bringing our fully equipped mobile workshops directly to your location in Vaughan, Richmond Hill, Markham, and beyond.
We stand confidently behind our craftsmanship and the materials we use. That is why every replacement performed by our master technicians is backed by our comprehensive Lifetime Warranty, covering any leaks, wind noise, or manufacturer defects for as long as you own your Durango. Do not let a shattered back window compromise your safety or your schedule. Trust the dedicated experts at AlexWindshield to restore your vehicle's security, clarity, and structural integrity with unmatched precision.


