Precision Vent Glass Replacement for the 2013-2016 Dodge Dart
The 2013-2016 Dodge Dart breathed new life into the compact sedan segment, merging aggressive, sporty aesthetics with a highly refined, Alfa Romeo-derived chassis. Its sleek, aerodynamic contours and distinctly modern profile rely heavily on the flawless integration of every exterior component. However, this beautiful design can be instantly compromised by a shattered vent glass. Often targeted by opportunistic thieves looking for a quick and quiet entry point to access interior door locks, or damaged by unexpected, high-velocity roadside debris, a broken vent glass on your Dodge Dart is significantly more than just an aesthetic eyesore. It represents a critical breach in your vehicle's security, interior climate control, and overall acoustic insulation.
As a Master Technician at AlexWindshield, I have witnessed countless Dodge Dart owners underestimate the complexity of a vent glass replacement. Because this small, stationary piece of glass is tucked into the corner of the rear door frame, it requires a meticulous, highly technical extraction and installation process. It is not simply a matter of pushing a new piece of glass into a rubber gasket; it demands a comprehensive disassembly of the door mechanisms, specialized chemical bonding, and a rigorous clean-up protocol to restore your vehicle to its factory-fresh condition.
Your Trusted Mobile Auto Glass Experts in the Greater Toronto Area (GTA)
Driving with a shattered vent glass exposes your vehicle's delicate interior electronics and premium upholstery to rain, snow, and severe weather conditions. Furthermore, it leaves your car entirely vulnerable to theft. Recognizing the urgency of this situation, AlexWindshield provides rapid, reliable, and professional mobile auto glass services directly to your location across the Greater Toronto Area (GTA).
Whether you are parked at a bustling commercial plaza or right in your own driveway, our fully equipped mobile service vehicles bring the auto glass shop to you. We proudly offer specialized deployment throughout the region, with dedicated routes covering:
- Vaughan: From the busy retail sectors of Woodbridge to the rapidly expanding residential neighborhoods in Maple, our technicians are available to secure your vehicle quickly.
- Richmond Hill: We provide seamless, discreet mobile repairs for professionals and families alike, ensuring your daily routine remains uninterrupted.
- Markham: Whether you are stranded at one of the city's major technological hubs or a suburban driveway, our rapid response units guarantee that your Dodge Dart receives immediate attention.
Master Technician's Step-by-Step Guide: How We Replace Your Dodge Dart Vent Glass
At AlexWindshield, we believe in complete transparency. Our vent glass replacement process is a highly choreographed, step-by-step procedure designed to meet and exceed original equipment manufacturer (OEM) safety standards. Here is the comprehensive, A-to-Z technical workflow our specialists execute for your 2013-2016 Dodge Dart.
Step 1: Comprehensive Vehicle Assessment and Interior Protection
Before any tools are lifted, we conduct a thorough pre-inspection of your Dodge Dart's exterior paint and interior condition. Because shattered tempered vent glass creates thousands of tiny, razor-sharp fragments, protecting your vehicle's interior is our absolute first priority. We drape heavy-duty, scratch-resistant protective covers over the custom fabric or leather seating, the center console, and the surrounding exterior paintwork. We tape off the immediate exterior window frame with automotive-grade detailing tape to ensure that no tools or chemical adhesives accidentally mar the clear coat during the installation process.
Step 2: Interior Door Panel Removal and Component Disassembly
To properly access the vent glass framework, we must carefully dismantle the interior door components. Using specialized, non-marring nylon pry tools, our technicians expertly unclip the interior door panel of your Dodge Dart. We locate and remove the hidden Torx screws situated behind the interior door handle bezel and the armrest pocket. Once the fasteners are removed, we gently pop the perimeter retention clips and lift the panel free, taking great care to safely disconnect the power window switch wiring harness and the interior door latch cable. The delicate interior vapor barrier is then carefully peeled back to expose the inner door cavity.
Step 3: Meticulous Glass Shard Vacuuming and Debris Removal
When a vent glass shatters, it does not simply fall onto the seat; it explodes downward, filling the intricate crevices of the door shell. Vacuuming all broken glass shards from the vehicle's interior is a mandatory, non-negotiable step in our process. We utilize high-powered, industrial-grade shop vacuums equipped with specialized micro-crevice nozzles to reach deep inside the bottom of the metal door cavity. We systematically extract every single cube of tempered glass from the window regulators, the window tracks, the rubber weatherstripping, and the floorboards. Failing to remove these shards can cause the main roll-down window to jam or scratch, and can lead to an irritating rattling noise while driving down the highway.
Step 4: Extraction of the Damaged Vent Glass Frame and Old Adhesive
With the inner door shell clean and accessible, we proceed to unbolt the division bar—the vertical metal track that separates the main roll-down door glass from the stationary vent glass. By unbolting this bar from the bottom of the door cavity and pulling down the upper run channel weatherstripping, we create the necessary clearance to extract the damaged vent glass frame. Using a specialized cold knife and highly precise auto glass cut-out wire, we carefully slice through any remaining factory polyurethane that bonded the original vent glass to the vehicle's pinch weld. The broken frame and any remaining encapsulated shards are safely removed and discarded.
Step 5: Precision Surface Cleaning and Primer Application
The secret to a permanent, leak-proof auto glass replacement lies in the chemical preparation of the bonding surface. We begin by trimming the old polyurethane bead down to a uniform thickness of roughly one to two millimeters, which provides an ideal base for the new adhesive. The exposed metal pinch weld and the edges of the new OEM-quality vent glass are then aggressively cleaned using a high-grade, alcohol-based glass cleaner to strip away dirt, grease, and microscopic contaminants. Next, we execute the vital primer application. We apply a specialized, fast-drying auto glass primer to any bare metal scratches on the pinch weld to prevent future rust and corrosion. The primer is also applied to the bonding edge of the new vent glass, acting as a chemical bridge that activates the adhesive properties of the urethane.
Step 6: High-Quality Adhesive Application and New Vent Glass Installation
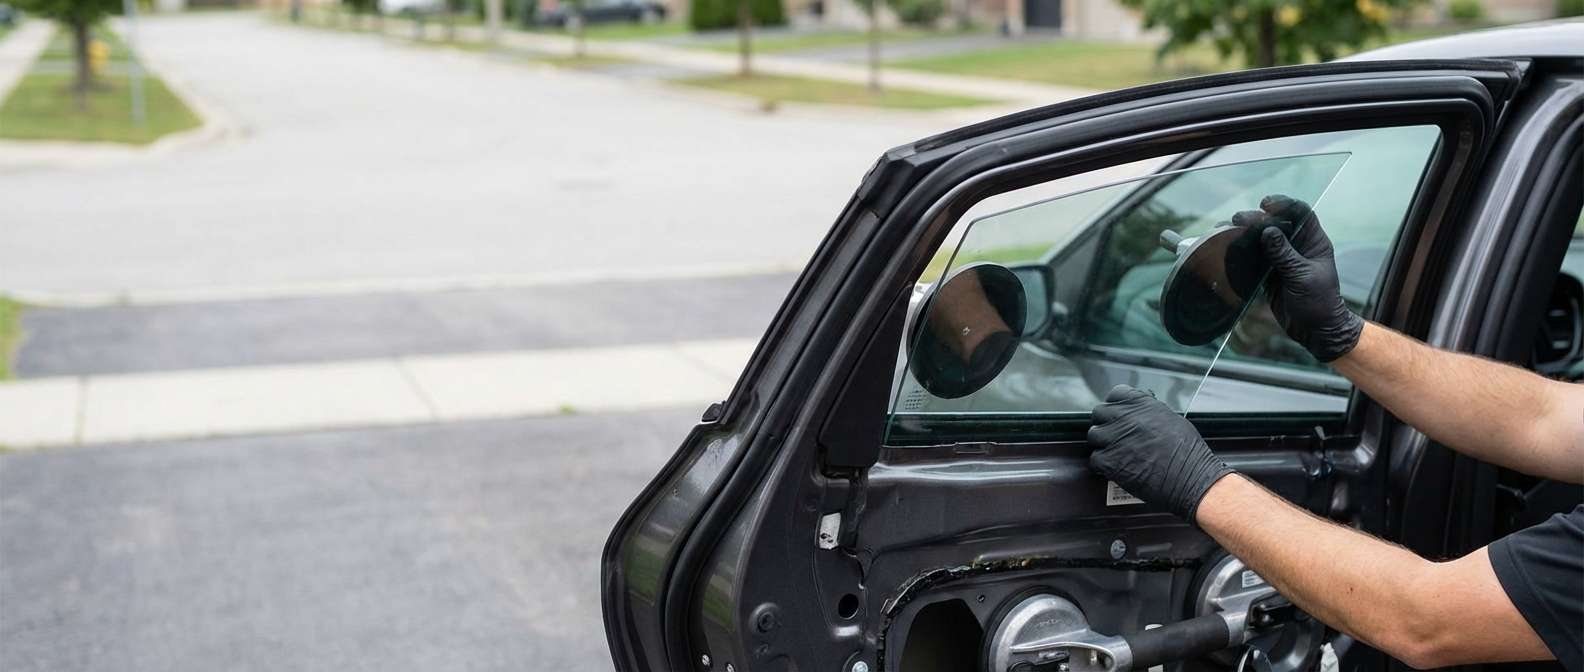
Once the primer has properly flashed and cured, we load our electric caulking guns with premium, fast-curing automotive high-quality adhesive (urethane). A perfect, continuous V-shaped bead of urethane is applied directly to the perimeter of the vent glass mounting surface. The new vent glass is then meticulously guided into the tight corner of the door frame. Due to the confined space on the Dodge Dart, our technicians use specialized suction cups to maintain absolute control over the glass, ensuring it seats perfectly into the fresh urethane without smearing the adhesive. Gentle, even pressure is applied to guarantee an airtight, watertight seal.
Step 7: Reassembly, Final Inspection, and Clean-Up
While the urethane undergoes its initial chemical curing process, we begin the precise reassembly of your Dodge Dart. The division bar is bolted back into its exact factory position, and the rubber weatherstripping run channel is seated firmly around the new glass. The interior vapor barrier is resealed, the wiring harnesses and latch cables are reconnected, and the interior door panel is snapped securely back into place. Finally, we conduct a rigorous functional test of the main roll-down window to ensure there is zero friction or binding. We finish with a specialized detailing glass cleaner, polishing your new vent glass to a brilliant, streak-free shine.
Why Choose AlexWindshield for Your Auto Glass Needs?
Your 2013-2016 Dodge Dart deserves the highest caliber of care. At AlexWindshield, we do not believe in cutting corners or rushing the technical process. Our Master Technicians undergo continuous training to stay updated on the latest automotive structural adhesive technologies and modern vehicle assembly protocols.
When you choose our team for your auto glass replacement, you are guaranteed:
- Unmatched Mobile Convenience: We eliminate the hassle of waiting in dirty repair shop lobbies by bringing our state-of-the-art tools directly to your home or workplace.
- Premium Materials: We source only OEM-equivalent or original manufacturer glass, ensuring perfect fitment, exact factory tint matching, and superior acoustic dampening.
- Expert Technicians: Our installers possess years of dedicated auto glass experience, ensuring that complex tasks—like door panel removals and structural bonding—are executed flawlessly.
Book Your Dodge Dart Vent Glass Replacement Today
Do not let a shattered vent glass compromise the safety, security, and striking visual appeal of your Dodge Dart. Fast, professional, and uncompromisingly precise, AlexWindshield is your premier destination for mobile auto glass services throughout Vaughan, Richmond Hill, Markham, and the greater Toronto region. We stand firmly behind the quality of our craftsmanship, which is why every single vent glass replacement we perform is backed by our comprehensive Lifetime Warranty against leaks, wind noise, and workmanship defects. Contact AlexWindshield today to secure your vehicle and get back on the road with absolute confidence.


