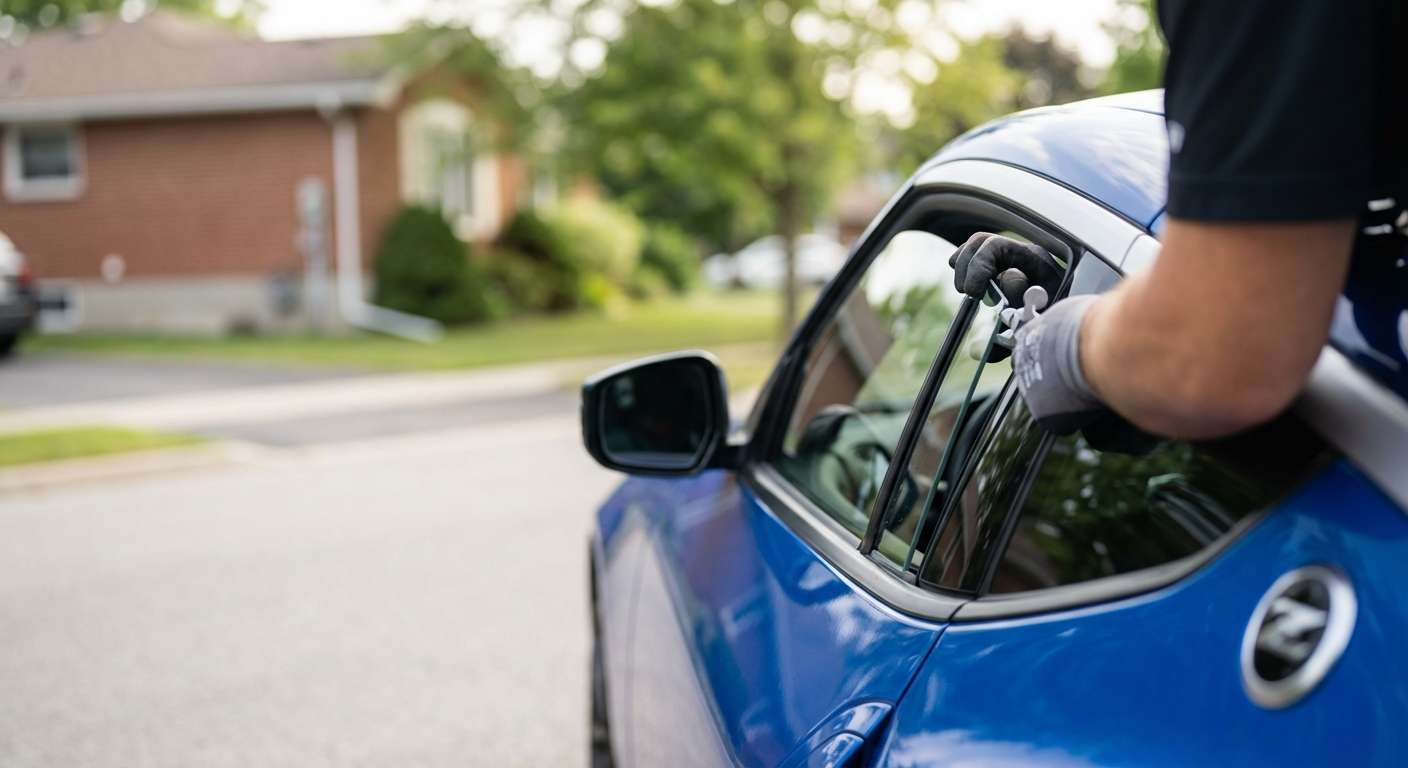
The Heritage of the Z: Professional Vent Glass Replacement for Your Nissan 350Z, 370Z, and Nissan Z (2003-2027)
The Nissan Z lineage—from the raw, mechanical purity of the 2003 Nissan 350Z (Z33) to the refined, track-ready aggression of the 370Z (Z34), all the way to the twin-turbocharged thrill of the modern 2023-2027 Nissan Z (RZ34)—is a global testament to uncompromising sports car engineering. Every curve, pillar, and glass panel on these iconic vehicles is meticulously designed to optimize aerodynamics, reduce cabin noise, and maintain a sleek, aggressive fastback silhouette. Among these critical structural components is the vent glass. Often nestled tightly within the door frame or the rear quarter pillar depending on the specific generation's architecture, the vent glass is not just a cosmetic feature; it is an integral part of the Z’s aerodynamic profile and cabin sealing. When this glass is shattered by debris, vandalism, or a collision, restoring it requires the exact precision that went into the car's original assembly.
As a Master Technician at AlexWindshield, I have spent years perfecting the art of sports car auto glass replacement. Replacing the vent glass on a highly engineered vehicle like the Nissan Z is vastly different from working on a standard commuter sedan. The tolerances are incredibly tight, the risk of wind noise at highway speeds is high, and the interior trims are delicate. We do not just replace the glass; we restore your Nissan Z to its factory-fresh aerodynamic integrity.
Comprehensive Mobile Service Across the Greater Toronto Area (GTA)
A shattered vent glass leaves your prized Nissan Z exposed to the unpredictable Canadian elements and severe security risks. Driving with a broken side window is not only uncomfortable but also dangerous due to flying glass shards and impaired visibility. That is why AlexWindshield brings our state-of-the-art auto glass shop directly to your driveway or workplace.
We provide premium, mobile auto glass replacement services throughout the Greater Toronto Area (GTA). Whether you are parked near a café in Vaughan, at your office in Richmond Hill, or at home in your garage in Markham, our fully equipped mobile service units will come to you. You do not need to risk driving a compromised vehicle across town. We proudly service the entire GTA, ensuring that Z enthusiasts from downtown Toronto to the northern suburbs receive the specialized, high-performance care their vehicles deserve.
A to Z Master Technician Guide: Our Strict Vent Glass Replacement Process
Because the vent glass is made of tempered safety glass, it is designed to shatter into thousands of tiny, blunt pieces upon impact. While this prevents large, lethal shards from injuring the occupants, it creates an absolute disaster inside the tight confines of a sports car cabin. Furthermore, modern Nissan Z vent windows are typically encapsulated and bonded directly to the vehicle's frame using heavy-duty automotive adhesives. Here is the rigorous, step-by-step technical procedure we follow at AlexWindshield to ensure a flawless installation.
Step 1: Complete Vehicle Protection and Damage Assessment
Before any tools are deployed, we meticulously protect your Nissan Z. We drape specialized heavy-duty protective blankets over the vehicle's exterior paint, fenders, and side skirts to prevent any accidental scratches. Inside the cabin, we cover the leather or Alcantara racing seats, the center console, and the dashboard. We then perform a thorough inspection of the window frame, weatherstripping, and surrounding bodywork to ensure no hidden structural damage occurred when the glass was broken.
Step 2: Interior Trim and Door Panel Removal
To properly access the mounting points, window tracks, and the inner cavity where glass shards inevitably fall, we must carefully disassemble the interior. Using specialized, non-marring nylon pry tools, we meticulously remove the interior door panels, speaker grilles, and pillar trims. On the Nissan 350Z, 370Z, and the newest Nissan Z, these clips can be notoriously brittle, especially on older models. Our technicians have the exact schematics and experience to remove these panels flawlessly without breaking a single factory retaining clip.
Step 3: Deep Vacuuming of Broken Glass Shards (Mandatory)
When a vent glass shatters, thousands of glass granules cascade down into the door cavity, window regulators, and deep under the seats. If left uncleaned, these shards will cause maddening rattles every time you hit a bump, and they can severely damage the moving components of your main roll-down window. Using high-powered industrial vacuums with specialized micro-crevice attachments, we extract every single shard of broken glass. We vacuum the door's inner shell, the window tracks, the carpeting, and the seat rails. Vacuuming all broken glass shards from the vehicle's interior is a mandatory, non-negotiable step in our premium service.
Step 4: Exposing and Removing the Old Glass and Adhesive
With the area safely prepped and cleaned, we focus on the damaged vent glass frame. Using advanced cold-knife technology and specialized oscillating cutout tools, we carefully slice through the factory urethane that holds the remnants of the old vent glass in place. We must perform this step with surgical precision to ensure the razor blades do not scratch the underlying pinch weld (the metal frame), as any scratches to the bare metal can lead to severe rust issues down the road.
Step 5: Precision Surface Cleaning and Preparation
Once the old glass and the bulk of the old adhesive are removed, we trim the remaining original urethane down to a thin, uniform layer of about 1-2 millimeters. This process, known as a "close cut," provides the perfect foundational base for the new adhesive. We then utilize industry-grade, alcohol-based glass cleaners to completely degrease the pinch weld and the bonding surface of the new vent glass. Removing all dirt, moisture, and natural skin oils is absolutely critical for a permanent chemical bond.
Step 6: Primer Application for Maximum Adhesion
To guarantee the structural integrity of the installation, we apply a high-tech automotive glass primer. First, if there are any microscopic nicks in the paint on the pinch weld, we apply a specialized anti-rust metal primer to seal the vehicle's body. Next, we apply a deep black glass primer directly to the ceramic frit band (the black painted border) of the new OEM-quality vent glass. This primer acts as a chemical bridge, actively promoting an unbreakable bond between the glass surface and the urethane adhesive. We allow the primer to strictly "flash off" (dry) for the exact time specified by the chemical manufacturer.
Step 7: Applying High-Quality Urethane Adhesive
At AlexWindshield, we never compromise on materials. We load our electric caulking guns with premium, fast-curing, high-quality adhesive (automotive urethane). We apply a continuous, uniform, triangular bead of urethane directly onto the prepared pinch weld. The triangular shape is crucial; as the glass is pressed into place, the peak of the triangle collapses flawlessly, ensuring a watertight, airtight seal with zero gaps that could cause irritating wind whistling at high speeds.
Step 8: Installing the New OEM-Quality Vent Glass
Using heavy-duty suction cups for perfect stability, we carefully lift the new vent glass and align it with the Nissan Z’s bodylines. The glass is gently pressed into the fresh urethane. We measure the depth and panel gaps meticulously to ensure the new glass sits perfectly flush with the adjacent door glass and roofline, preserving the Nissan Z’s impeccable aerodynamics. The glass is then temporarily secured with specialized retention tape to hold it perfectly in place while the urethane begins its rapid curing process.
Step 9: Reassembly and Final Quality Inspection
While the urethane cures, we begin the careful reassembly of your interior. We reinstall the vapor barrier, reattach the door panels, and snap the pillar trims back into their exact factory positions. We then perform a final secondary vacuuming of the entire cabin to ensure absolute perfection. Finally, we clean all the exterior and interior glass on the vehicle and run a thorough quality control check, testing the main window's operation and inspecting the exterior seals.
The AlexWindshield Advantage: Unmatched Expertise and a Lifetime Warranty
Your Nissan Z is a precision machine, and it demands precision care. Trusting a standard, high-volume auto glass shop with your sports car often leads to misaligned trims, wind noise, scratched paint, and rattling glass shards left inside your doors. When you choose AlexWindshield, you are choosing specialized automotive mastery.
- Expert Mobile Convenience: We bring our fully equipped service directly to you anywhere in the GTA, including Vaughan, Richmond Hill, and Markham.
- Master Technicians: Our technicians are highly trained in the specific structural nuances of sports cars like the Nissan 350Z, 370Z, and the modern Nissan Z.
- Premium Materials: We use only OEE/OEM-quality glass, advanced rust-preventative primers, and the industry's highest-grade urethane adhesives.
- Flawless Cleanup: We guarantee the meticulous removal of all broken glass shards from your vehicle’s interior and internal door cavities.
- Lifetime Warranty: We stand proudly behind our craftsmanship. Every vent glass replacement comes with our comprehensive Lifetime Warranty covering water leaks, air noises, and manufacturer defects.
Do not let a broken vent glass disrupt your driving experience or compromise the security of your Nissan Z. Contact AlexWindshield today for industry-leading, mobile auto glass replacement services across the Greater Toronto Area. We will restore your Z-car's sleek profile, acoustic comfort, and structural integrity flawlessly—the first time.


