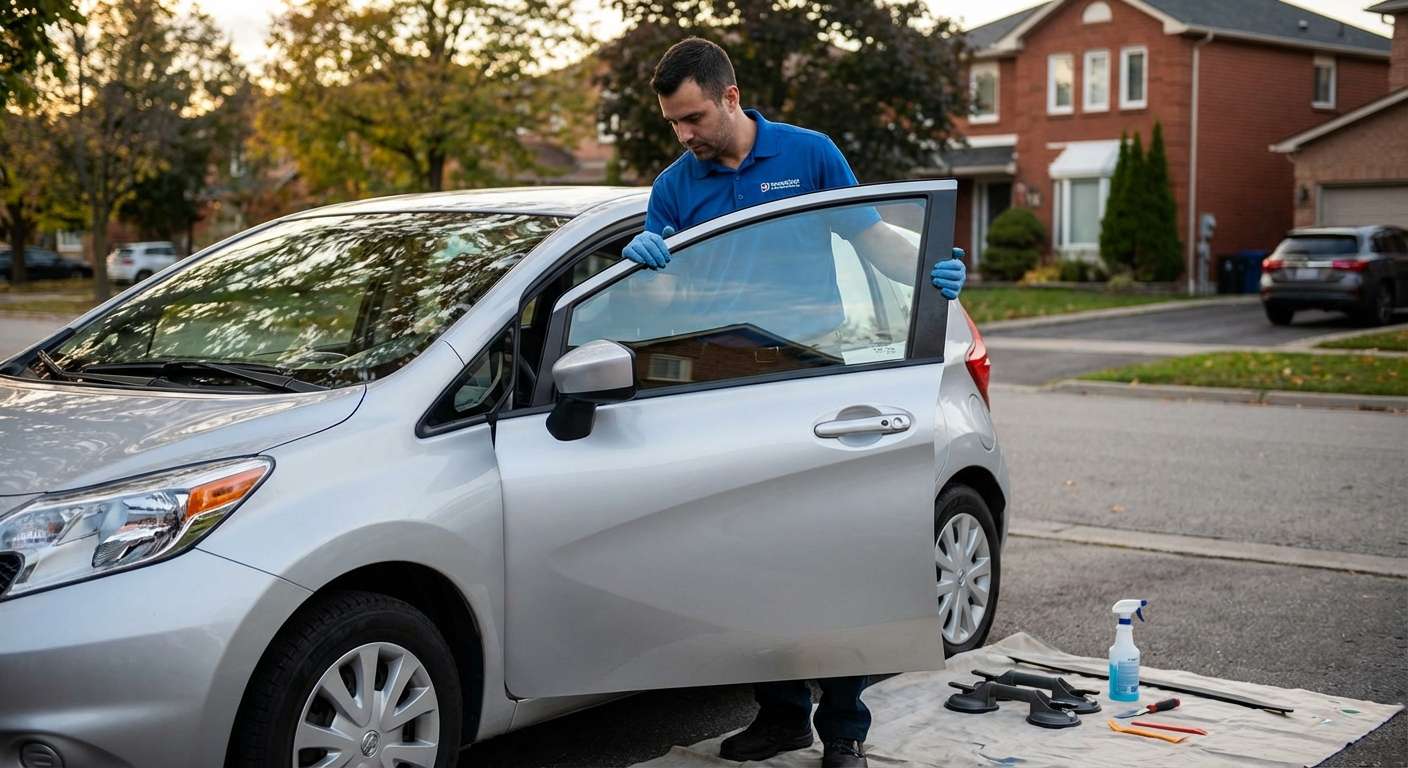
The Unique Architecture of the Nissan Versa & Versa Note (2007-2019): A Master Technician's Perspective
The Nissan Versa and its exceptionally versatile hatchback sibling, the Versa Note, spanning the highly celebrated 2007 to 2019 production years, fundamentally redefined the subcompact vehicle segment. Known for their cavernous interior space and class-leading headroom, these vehicles feature a vast and beautifully engineered side greenhouse. While these expansive side windows provide drivers with unmatched outward visibility for navigating tight urban environments, they also present a significantly larger surface area that is susceptible to road debris, side-impact collisions, and opportunistic break-ins. When the tempered side door glass of your Nissan Versa shatters, you are instantly exposed to harsh weather conditions, elevated road noise, and critical security vulnerabilities. Restoring the structural integrity of your vehicle's cabin requires far more than just slotting in a new pane of glass; it demands the specialized precision of a Master Technician.
Premium Door Glass Replacement Services by AlexWindshield
At AlexWindshield, we understand that a shattered door window disrupts your daily routine and compromises your safety. As senior auto glass specialists, we do not believe in taking shortcuts. The door glass on the 2007-2019 Nissan Versa operates on a precisely calibrated cable-driven window regulator system, enveloped by complex moisture barriers and acoustic seals. Our comprehensive replacement service ensures that every single component within your door shell is meticulously inspected, cleaned, and restored to pristine factory specifications.
Mobile Auto Glass Excellence Across the GTA
We know that driving a vehicle with a shattered side window is both dangerous and uncomfortable. That is why AlexWindshield offers an elite mobile repair unit that brings our state-of-the-art auto glass shop directly to your location. We proudly provide comprehensive mobile service availability across the Greater Toronto Area (GTA). Whether you are at your office, parked in a residential driveway, or stranded in a commercial lot, our rapid-response technicians specifically highlight prompt service routes throughout Vaughan, Richmond Hill, and Markham. We ensure that residents in these northern municipalities receive expedited, dealership-quality auto glass replacement without the hassle of towing or waiting in a traditional repair shop lounge.
The Complete A-to-Z Technical Replacement Process
Replacing the door glass on a 2007-2019 Nissan Versa or Versa Note requires a rigorous, multi-step technical procedure. As a Master Technician, I strictly adhere to manufacturer protocols to ensure a flawless, noiseless, and watertight fit. Here is our detailed, step-by-step breakdown of the replacement process.
Step 1: Preparation and Protecting the Interior
The moment our mobile unit arrives in the GTA, the priority is absolute safety and cleanliness. The side windows of a Nissan Versa are made of tempered safety glass, designed to explode into thousands of small, blunt cubes upon impact. First, we begin our preparation by meticulously protecting the interior. We drape heavy-duty, scratch-resistant protective covers over the front and rear seats, the center console, and the painted exterior door sill. We also apply specialized automotive masking tape around the door frame to prevent any incidental scratches to the vehicle's clear coat during the mechanical repair phase.
Step 2: Expert Removal of the Door Panels
To access the internal cavity of the door, the interior trim must be safely dismantled. Because we are dealing with a Door Glass replacement, this step involves the careful removal of door panels. Using specialized nylon trim-removal tools, we pop off the aesthetic covers hiding the structural bolts—typically a 10mm bolt located behind the interior door handle and another securely hidden beneath the armrest grab-handle. We gently unclip the power window switch module and disconnect the wiring harnesses. Once the perimeter retention clips are disengaged, the interior door panel is lifted away. We then carefully peel back the factory vapor barrier (weather deflector), making sure to preserve the sticky butyl rubber sealant so it can be effectively resealed later.
Step 3: Comprehensive Shattered Glass Cleanup
One of the most critical steps in our process is ensuring your vehicle is entirely free of hazardous debris. We are obsessively thorough when it comes to vacuuming all broken glass shards from the vehicle's interior. Using high-powered industrial shop vacuums fitted with narrow crevice attachments, we extract glass fragments from the seat tracks, the floor mats, and the interior cabin. Most importantly, we reach deep into the absolute bottom of the metal door shell cavity. Failing to remove every single piece of glass from inside the door will result in an agonizing rattling noise every time you accelerate or close the door. We guarantee a completely shard-free environment.
Step 4: Removal of the Old Glass Components and Surface Cleaning
Once the door shell is completely evacuated of debris, we manually adjust the cable-driven window regulator to the service position, allowing access to the mounting brackets. We proceed with the removal of the old glass remnants that are still bolted or glued into the regulator tracks. The weatherstripping run-channels are meticulously inspected and brushed out. Next comes rigorous surface cleaning. We utilize alcohol-based, non-residue automotive solvents to wipe down the glass mounting clips, the metal regulator brackets, and the rubber weather seals, ensuring there is zero grease, dirt, or moisture left behind.
Step 5: Primer Application and High-Quality Adhesive Bonding
While the primary drop-glass on many vehicles relies solely on mechanical bolts, the intricate window assemblies of the Nissan Versa—particularly those involving bonded mounting clips or stationary vent glass panels integrated into the rear doors—require strict chemical bonding. Following our surface cleaning, we execute a meticulous primer application to the designated bonding areas on the glass and the metal mounting hardware. This chemical primer acts as an essential etching agent. After the required flash-off time, we proceed with the installation of the new glass using high-quality adhesive. This industrial-grade automotive urethane adhesive guarantees an impenetrable, factory-grade bond that secures the structural mounting brackets to the glass, absolutely preventing water intrusion, wind whistling, and mechanical separation over the lifetime of the vehicle.
Step 6: Regulator Alignment and Precision Installation
With the mounting hardware properly prepared and chemically bonded, the pristine, OEM-equivalent (Original Equipment Equivalent) replacement glass is carefully angled and lowered into the Nissan Versa’s door frame. We seat the glass precisely into the front and rear rubber run-channels. The glass is then lowered into the regulator brackets and securely fastened to exact manufacturer torque specifications. This guarantees the glass will glide up and down the track with zero binding or resistance.
Step 7: Electrical Testing and Reassembly
Before reassembling the door, we temporarily reconnect the window switch to test the entire system. We run the new door glass up and down multiple times to verify smooth mechanical operation, checking for proper alignment and ensuring the auto-up/auto-down pinch sensors are functioning correctly. Once perfection is confirmed, the vapor barrier is firmly pressed back into the butyl sealant, creating a watertight envelope. The door panel is then snapped securely back into place, all hidden bolts are re-torqued, and the decorative trim pieces are reattached.
Step 8: Final Detailing and Quality Assurance
The final step involves a thorough aesthetic cleaning. We treat both the inside and outside of the newly installed door glass with specialized, ammonia-free automotive glass cleaners, leaving a streak-free, crystal-clear finish. We perform a final visual inspection of the door gaps, test the door latch mechanism, and do one last sweep of the interior cabin to ensure your Nissan Versa is returned to you in showroom condition.
Why Choose AlexWindshield for Your Nissan Versa
When you choose AlexWindshield, you are not just getting a piece of glass replaced; you are investing in top-tier automotive craftsmanship and unparalleled peace of mind. We pride ourselves on utilizing advanced technical procedures—from deep vacuuming of your door shells to utilizing high-quality adhesives—to restore your vehicle safely and effectively.
- Unmatched Expertise: Master Technicians who deeply understand the specific architecture of the 2007-2019 Nissan Versa and Versa Note.
- Premium Materials: We use only OEE or OEM-certified glass, superior chemical primers, and top-tier urethanes for flawless acoustic and structural performance.
- Convenience: Seamless mobile auto glass service brought directly to your doorstep anywhere in the GTA, including Vaughan, Richmond Hill, and Markham.
- Impeccable Cleanup: A strict commitment to vacuuming all shattered glass from both the cabin interior and hidden door cavities.
Never compromise on your safety or driving comfort. Trust the proven experts at AlexWindshield for all your mobile auto glass services in the GTA. We stand proudly behind our meticulous workmanship and top-grade materials by offering a comprehensive Lifetime Warranty on our installations, guaranteeing against any wind noise, water leaks, or manufacturer defects. Contact AlexWindshield today and experience the absolute pinnacle of auto glass restoration.


