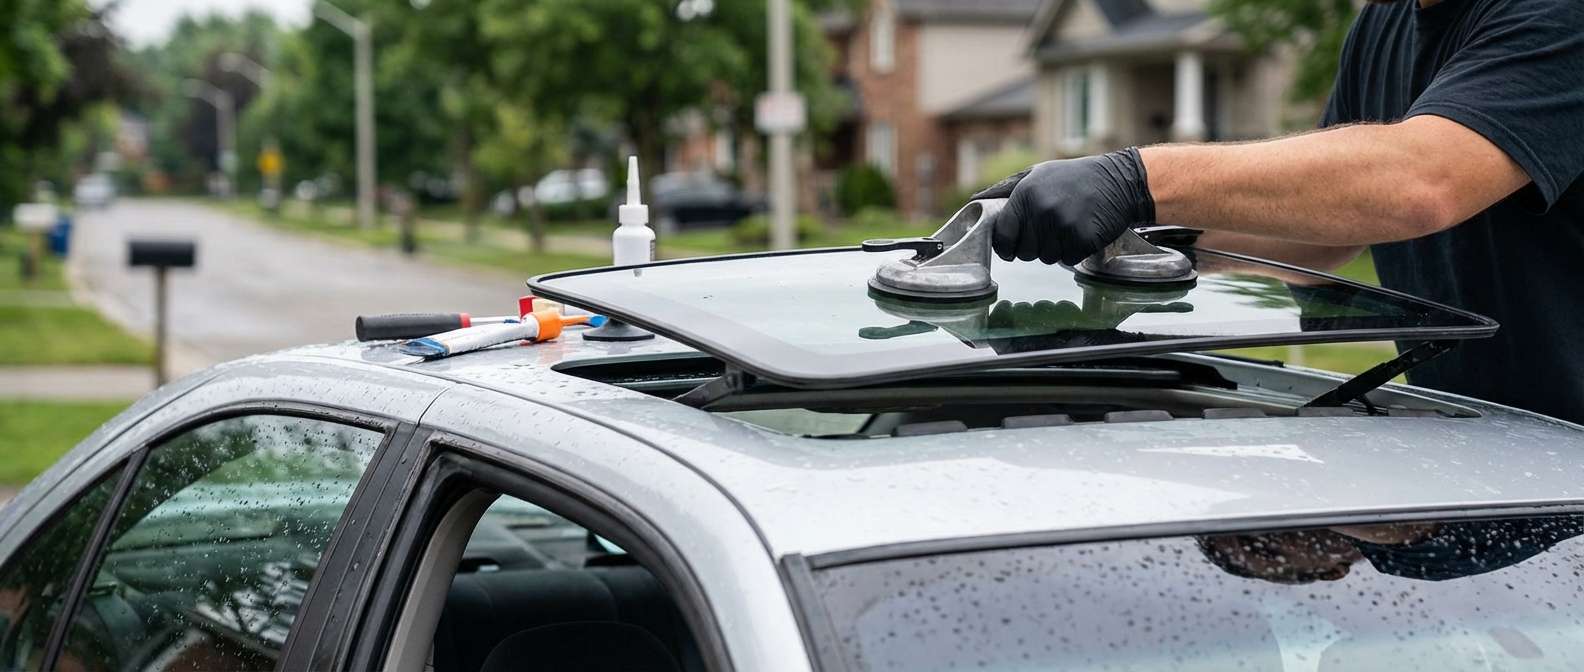
Inspecting the Replacement Sunroof Glass on B15 Sentra Trims
When replacing the sunroof on a B15 sedan—whether it is a GXE, 1.8S, SE, 2.5S, or the SE-R and SE-R Spec V—the first detail I check on the replacement panel is the integrated edge seal. The factory lid assembly (originally Nissan part 91210-6Z602, superseding 91210-4Z900, 91210-5M000, and 91210-6Z701) relies entirely on a moulded perimeter rubber bead bonded directly to single-pane dark tempered glass. Base XE trims never came with this factory roof cutout, so every genuine power moonroof setup on this platform shares the exact same encapsulated outer bracket geometry.
Before fitting the new panel to the lift guides, I inspect the underside mounting points along the encapsulated frame. The panel does not use any integrated antennas, heating grids, or optical brackets, but it depends on two threaded mounting points per side that mate to the mechanical slide mechanism behind the interior plastic trim valances. I inspect these metal inserts to ensure the threads are clean and free of moulding flash from the encapsulation process.
I also inspect the condition of the inner sliding sunshade while the glass is off the roof. The manual shade—originally trimmed in Sand Beige (91250-6Z701) or Sage Gray (91250-6Z603)—rides along lower guide tracks directly beneath the panel. If the old glass shattered, fragments often wedge into the rear drip channel (part 91360-5M000) or lock the sunshade glides, which will bind the new glass the moment the motor pulls it backward into the roof skin.
Post-Installation Clearance and Drain Channel Checks
Once the new glass lid is bolted into the guide brackets, setting the correct flush height against the stamped steel roof skin is critical. If the front leading edge sits too proud, it catches high-speed airflow, causing cabin whistling and putting stress on the drive cables and electric drive motor (91295-4Z300). If it sits too low, rainwater bypasses the outer rubber moulding in volumes too heavy for the perimeter tray to evacuate. I reach most locations about an hour after a booking is confirmed, which gives me ample daylight to run the panel through a full cycle and verify its seated posture against the roof contour.
After adjusting the side bracket Torx hardware to align the glass flush with the roofline, I test the water management system directly:
- Front A-pillar drains: I pour water into the front corners of the steel cassette (OEM 91350-5M000) to confirm the front drain tubes (91393-50J10) clear immediately behind the front wheel arches rather than backing up into the A-pillar trim.
- Rear C-pillar drains: I verify the rear drain hoses (91392-5M010) discharge freely beneath the rear quarters, ensuring water does not pool near the rear drip channel and soak into the headliner board.
- Seal compression: With the glass closed and the tilt function tested, I verify that the rubber perimeter bead makes uniform contact along all four edges of the painted roof opening.
Can the sunroof glass be replaced without dropping the entire headliner?
Yes. The glass panel itself separates from the mechanical track assembly from inside the cabin. Popping off the left and right plastic side valances exposes the four Torx screws securing the glass brackets to the lift mechanism. The headliner only needs to come down if you have to replace the full metal cassette, service broken drive cables, or replace the motor.
Why did water leak onto my front floorboards before the glass was replaced?
Water intrusion on these cars is almost always traced to either shrunken perimeter rubber overloading the cassette, or blockages in the front drain hoses (91393-50J10). When debris settles into the tray, water backs up at the front corners, tracks down inside the interior A-pillar covers, and pools under the carpet in the driver or passenger footwells.
Does the replacement glass panel come with the rubber seal attached?
Yes. The weatherstrip on this design is moulded directly around the edge of the tempered glass panel during manufacturing. It is not a loose slide-on gasket, meaning a new replacement glass assembly includes the sealing bead already bonded to its perimeter bracket.


