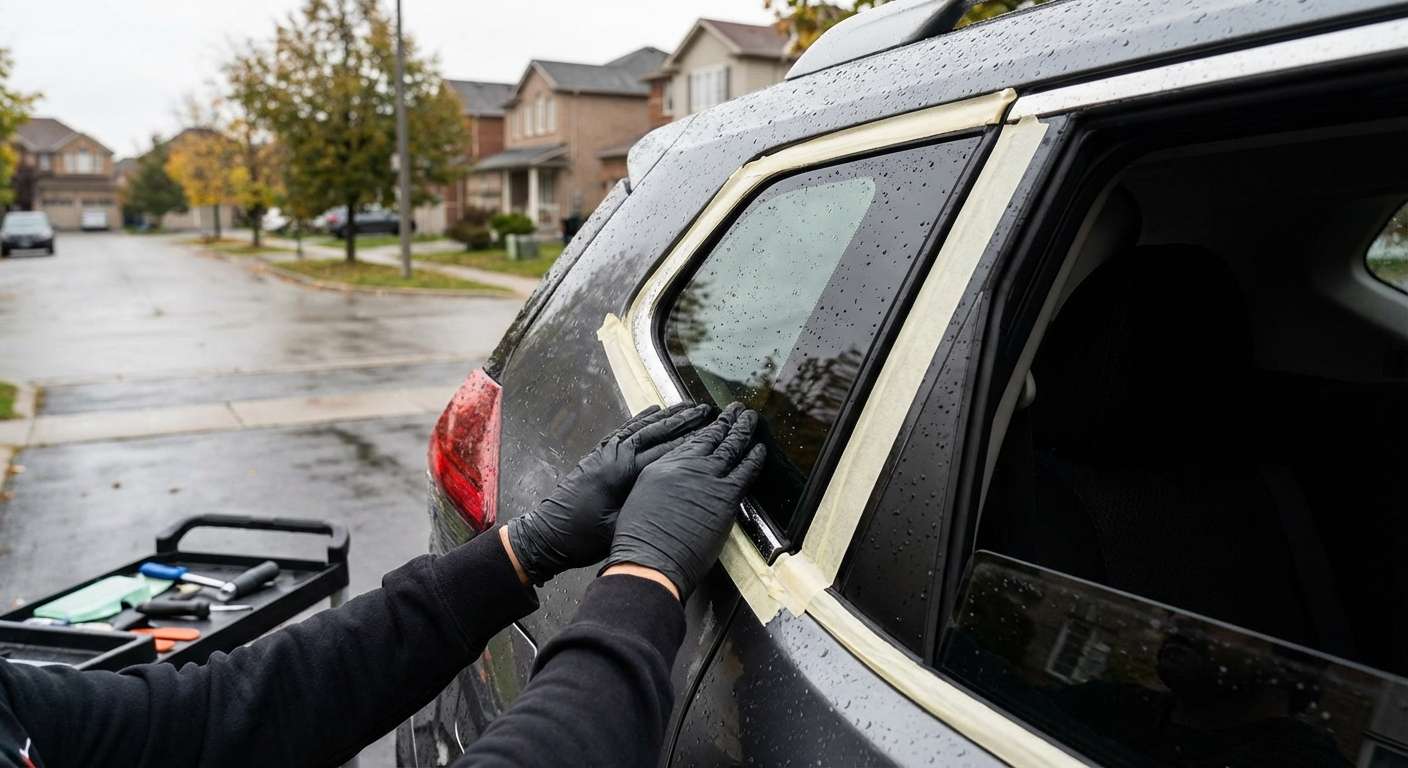
Matching Tint and Encapsulation on the T32 Quarter Window
Checking the glass before it touches the vehicle prevents the most common mistake with this model: misidentifying the factory tint level. Nissan built the second-generation Rogue across distinct equipment grades that dictate the glass appearance. The entry-level S trim typically uses a standard clear glass with a light greenish solar control hue, whereas SV, SL, and higher option packages leave the factory with heavy dark privacy tint behind the rear doors. Installing a light solar panel on an SL or a dark privacy panel on a base S immediately looks mismatched against the rear passenger door glass. I check the replacement panel against the intact glass on the other side of the vehicle in natural light to guarantee the light transmission values align.
The quarter window sits permanently fixed into the aperture between the C-pillar and D-pillar, behind the rear passenger doors. Unlike front door glass, this piece is an encapsulated unit with a factory-bonded exterior reveal moulding already wrapped around its perimeter. The passenger side corresponds to Nissan part number 83300-4BA0A (along with later alternates 83300-7FL0A and 83300-4BA0B), while the driver side corresponds to 83301-4BA0A (alternates 83301-7FL0A and 83301-4BA0B). I also confirm that the glass is designated for the standard Rogue rather than the smaller Rogue Sport, also known as the Qashqai, which shares a badge family but carries completely incompatible body contours, pinch-welds, and quarter glass dimensions.
Interior Cargo Trim and Exterior Beltline Alignment
The interior face of the new tempered glass features a wide, baked ceramic black frit band that conceals the bonding area and the structural frame behind it. Before setting the glass in place, I inspect the moulded outer rubber reveal trim for any deformation, cuts, or uneven moulding seams from transport, as this edge provides the finished exterior transition against the painted pillar sheet metal. Because I guarantee my replacement glass against material defects for one year and back my installation workmanship for as long as you own the Rogue, ensuring the encapsulation moulding is pristine prior to mounting protects against future wind turbulence or water intrusion.
Clearance around the rear cargo area quarter trim panel and the upper C/D pillar interior plastics requires close attention once the glass is positioned. These interior panels meet tightly along the inner frit border of the glass. If the window sits too deep or twists within the opening, the interior trims will not clip flush, creating rattles over road bumps. Conversely, pushing the glass too far outward will misalign the exterior glass face with the trailing edge of the rear passenger door frame.
Inspecting the Lower Chrome Reveal After Mounting
The critical exterior check after the window sits in the aperture is the lower horizontal beltline moulding. A bright chrome trim strip runs directly underneath the quarter glass along the rear shoulder line, continuing the beltline visual contour from the front and rear passenger doors back toward the taillight. This lower chrome strip is notorious for lifting or bubbling if forced or pinched during service. The bottom reveal of the new quarter window moulding must run parallel to this chrome trim with a uniform gap along its entire length.
After seating the window, I sight down the exterior flank from the rear quarter panel forward to verify the depth plane. The new glass must sit flush with the surrounding sheet metal without dipping inward at the top edge near the roof rail or protruding outward past the pillar contour. Finally, I check that the moulded upper and forward rubber edges sit flat against the vehicle body with no puckering or rolled lips, ensuring a clean aerodynamic seal against the painted pillar surfaces.


