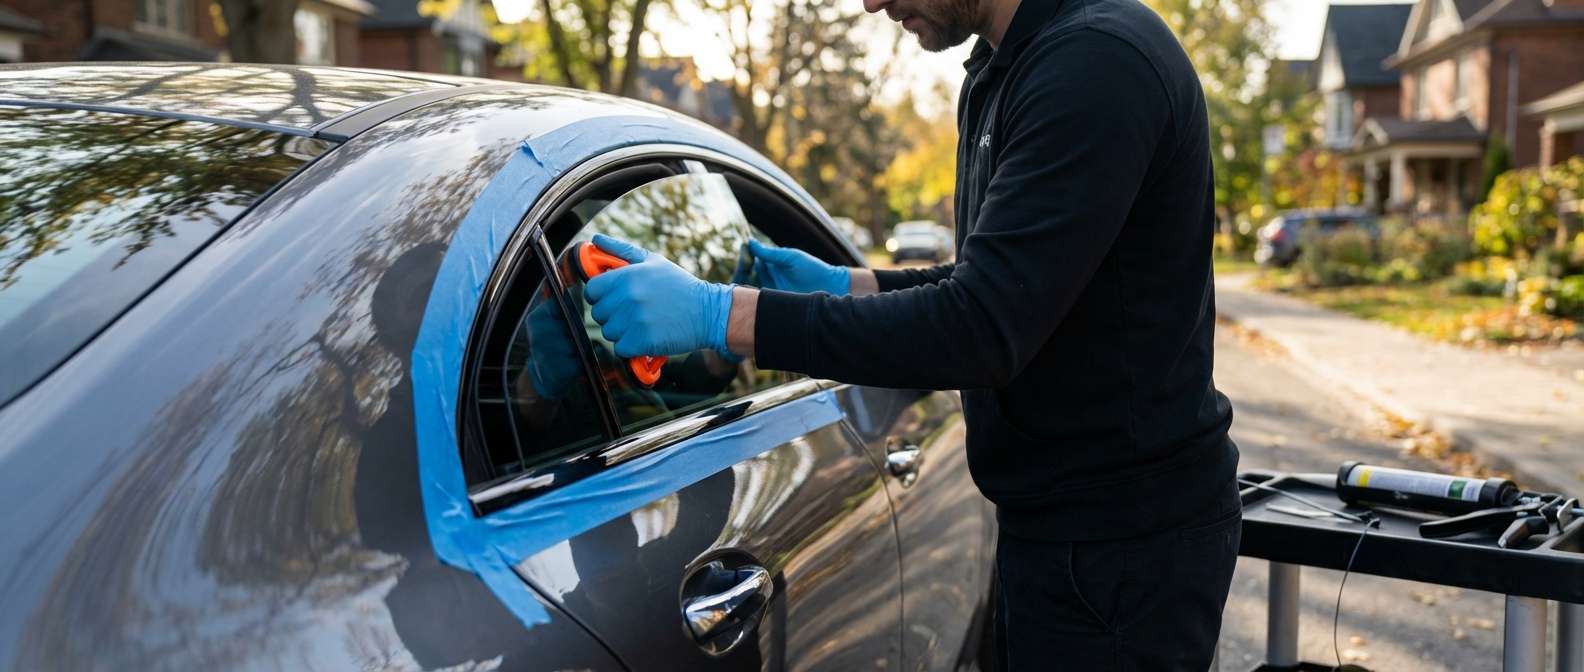
Mercedes-Benz CLA-Class (2020-2027) Quarter Glass Replacement
The 2020-2027 Mercedes-Benz CLA-Class is universally celebrated for its aggressive shark-nose front fascia and sweeping, coupe-like roofline. Central to this distinctive aerodynamic silhouette is the rear quarter glass, a precision-engineered panel that seamlessly bridges the rear doors with the sweeping C-pillar to create an iconic floating aesthetic. When this highly specialized piece of automotive glass is compromised—whether due to an unfortunate break-in, flying road debris, or accidental impact—it shatters not only the elegant design of your luxury vehicle but also exposes the cabin to severe weather, road noise, and security risks. As a Master Technician at AlexWindshield, I can assure you that replacing the quarter glass on a modern German-engineered coupe is far from a standard procedure. It demands surgical precision, specialized tooling, an understanding of complex trim assemblies, and an uncompromising commitment to structural integrity.
Why the CLA-Class Quarter Glass Demands Master Technician Expertise
Unlike standard roll-down door glass, the quarter glass on the C118 generation of the Mercedes-Benz CLA-Class (2020-2027) is an encapsulated, fixed unit. This means the glass is factory-bonded to specific weather moldings, high-gloss Night Package trims, or brushed chrome surrounds. Because quarter glass is typically manufactured from tempered safety glass, an impact will cause it to explode into thousands of sharp, granular shards. This requires meticulous cleanup to prevent interior damage or future rattling. Furthermore, the glass sits intimately close to sensitive interior components, including the side curtain airbags tucked behind the C-pillar. Proper replacement is a highly technical process requiring strict adherence to OEM (Original Equipment Manufacturer) specifications.
Complete Step-by-Step Quarter Glass Replacement Process for the CLA-Class
At AlexWindshield, we do not cut corners. Our replacement methodology adheres strictly to international auto glass safety standards. Below is our comprehensive, step-by-step master technician process for replacing your Mercedes-Benz CLA-Class quarter glass.
Step 1: Pre-Installation Inspection and Interior Protection
Before any tools are deployed, we conduct a thorough pre-installation inspection of your vehicle. We assess the damage, photograph the area for your records, and inspect the surrounding paintwork and trims for any pre-existing blemishes. Next, we meticulously prepare the vehicle. The interior of a Mercedes-Benz features premium materials like MB-Tex or genuine Nappa leather, which must be fiercely protected. We drape heavy-duty protective drop cloths over the rear seats, deploy specialized tape along the exterior body panels surrounding the quarter window, and place protective mats on the floorboards to safeguard your luxury interior from debris and sharp edges.
Step 2: Extensive Glass Cleanup and Deep Vacuuming
Because tempered quarter glass shatters entirely upon impact, the first major physical task is debris mitigation. Using high-powered industrial shop vacuums fitted with specialized crevice tools, we extract every visible shard of glass from your vehicle. We meticulously vacuum the rear seat bases, the crevices between the backrest and the side bolsters, the rear footwells, and the parcel shelf. If glass has migrated beneath the seat cushions, we will safely lift the bench to ensure no hidden fragments are left behind to cause rattles or pose a safety hazard to your passengers.
Step 3: Removing Exterior Trims and Interior Panels
To access the bonding area, we must safely remove any obstructive components. Using non-marring nylon pry tools, our technicians carefully detach the interior C-pillar trim, exercising extreme caution to avoid disturbing the critical side curtain airbag deployment zones. On the exterior, depending on your specific CLA trim package, we delicately release the chrome or gloss-black window moldings. These components are notoriously fragile and expensive; our Master Technicians have the specific knowledge to unclip them without bending the metal or snapping the delicate retaining tabs.
Step 4: Cutting Out the Old Polyurethane and Glass Frame
With the perimeter exposed, we begin the precise removal of the original glass frame and the factory polyurethane adhesive. To protect your Mercedes-Benz's paint and underlying pinch weld, we utilize an advanced wire cutting system rather than traditional, highly abrasive cold knives. A high-tensile cutting wire is fed through the old adhesive bead and systematically pulled around the perimeter of the quarter glass opening. This slices through the incredibly tough factory urethane smoothly and evenly, allowing us to safely extract the remaining glass encapsulation without scratching the underlying metal.
Step 5: Pinch Weld Preparation and Surface Cleaning
The integrity of the new installation relies entirely on the quality of the bonding surface. Once the old quarter glass assembly is removed, we use specialized razor scrapers to trim the existing polyurethane bead down to a uniform thickness of approximately 1 to 2 millimeters. This thin layer acts as an ideal base for the new adhesive to bond with. Following the trimming, we use a specialized, lint-free wipe and an alcohol-based prep solvent to meticulously clean the pinch weld and surrounding frame. This eliminates any microscopic dirt, road grime, glass dust, or body oils that could interfere with the chemical bonding process.
Step 6: Primer Application for Rust Prevention and Adhesion
This is arguably one of the most critical steps in the entire process. If any microscopic scratches occurred on the pinch weld during the cutting process, exposing bare metal, we immediately apply a specialized automotive black primer. This primer seals the metal, neutralizing the threat of future rust and corrosion—a crucial step for maintaining the longevity of your vehicle. Simultaneously, we apply a glass prep primer to the encapsulation frame of your new premium quarter glass. This primer acts as a chemical catalyst, preparing the surfaces to create a permanent, watertight cross-link with the polyurethane adhesive.
Step 7: Precision Application of High-Quality Urethane Adhesive
At AlexWindshield, we exclusively utilize industry-leading, fast-curing, high-modulus OEM-grade polyurethane adhesive. Using a specialized power caulking gun equipped with a precise V-notch nozzle, the technician extrudes a continuous, perfectly triangular bead of urethane directly onto the prepared pinch weld. This shape is engineered to compress perfectly when the glass is applied, ensuring a flawless, bubble-free, watertight seal that restores the structural rigidity of the vehicle's cabin.
Step 8: Installing the New Quarter Glass
Handling the new CLA-Class quarter glass requires absolute precision. Our technicians carefully align the new glass unit using factory locator pins and guide marks. The glass is gently but firmly pressed into the fresh urethane bed. We ensure the gap and flushness match the factory specifications perfectly, perfectly aligning the sweep of the window with your rear door glass and roofline. Retention tape is temporarily applied to secure the glass, ensuring absolutely no shifting occurs while the advanced urethane begins its rapid chemical curing process.
Step 9: Reassembly and Post-Installation Quality Check
Once the glass is set securely, we begin the reassembly phase. The interior C-pillar trims are carefully clipped back into place, ensuring airbag pathways are clear. The exterior moldings and weather strips are expertly reattached. We then perform a secondary vacuuming to guarantee absolute cleanliness, followed by treating the new quarter glass to a streak-free shine using a foaming, ammonia-free glass cleaner. Finally, we conduct a comprehensive quality assurance check to confirm that the flushness, molding alignment, and interior fitment are visually and functionally perfect. We will advise you on the Safe Drive-Away Time (SDAT), which is incredibly short thanks to our premium adhesives.
Serving the Greater Toronto Area (GTA) with Premium Mobile Service
We know that your time is incredibly valuable. Driving a luxury vehicle with a shattered window to a repair shop is stressful, unsafe, and exposes your pristine interior to the unpredictable Canadian weather. That is why AlexWindshield operates a state-of-the-art mobile auto glass service specifically designed to cater to clients across the Greater Toronto Area (GTA).
Our fully equipped mobile fleet brings the auto glass shop directly to your location, whether you are parked at home, at the office, or at a commercial facility. We proudly offer specialized, expedited service to key regions within the GTA, including:
- Vaughan: Serving communities from Woodbridge to Maple, ensuring your luxury coupe is secured right in your driveway.
- Richmond Hill: Providing fast, reliable mobile replacements for professionals and residents who demand top-tier service without the wait.
- Markham: Delivering precision auto glass care to corporate parks and residential driveways, minimizing your downtime.
Why Choose AlexWindshield for Your Mercedes-Benz?
Entrusting your 2020-2027 CLA-Class to just any glass shop can result in misaligned trims, wind noise, or catastrophic water leaks. At AlexWindshield, our reputation is built on flawless execution and unparalleled customer care.
- Master Technicians: Our technicians are highly trained specifically in modern luxury and European vehicle architecture.
- OEM-Quality Glass: We source only premium auto glass that matches or exceeds Mercedes-Benz specifications for tint, acoustic dampening, and durability.
- Advanced Urethanes: We use industry-leading adhesives that provide superior structural integrity and the fastest safe drive-away times.
- Impeccable Cleanliness: We treat your vehicle as if it were our own, ensuring every microscopic shard of glass is removed from your luxury interior.
- Lifetime Warranty: We proudly stand behind our craftsmanship. Every quarter glass replacement comes with a robust Lifetime Warranty protecting you against air leaks, water leaks, and manufacturer defects for as long as you own the vehicle.
Schedule Your CLA-Class Quarter Glass Service Today
Do not let a shattered quarter window compromise the safety, security, and breathtaking design of your Mercedes-Benz CLA-Class. Experience the ultimate in automotive glass replacement with AlexWindshield. Our expert team is ready to deploy our mobile service directly to your location anywhere in the GTA, Vaughan, Richmond Hill, or Markham. Contact AlexWindshield today to receive your customized quote, verify your glass specifications, and schedule your rapid, guaranteed mobile replacement service.


