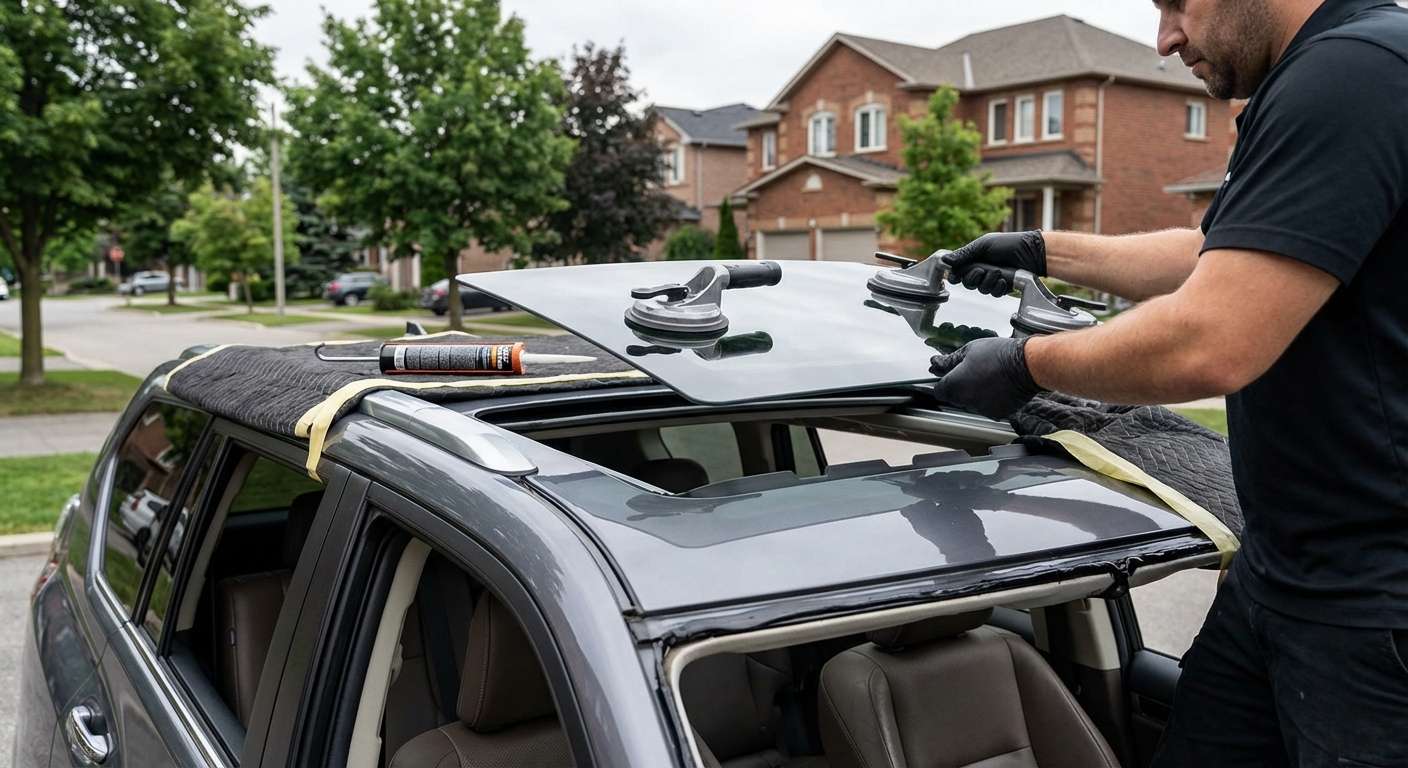
GX 460 Moonroof Glass and Shared Toyota Hardware
Finding a shattered or leaking roof panel on this SUV usually leads straight to factory reference 63201-60141, a part number that replaced the older 63201-60140, 63201-60101, and 63201-60100 supersessions. Toyota kept the physical glass footprint identical throughout the entire URJ150 production cycle across Base, Premium, and Luxury trims. The exact same dark-gray tempered panel, marked under manufacturing standards as four-millimeter solid safety glass (TEM, T=4.0, DK.GRAY), also sits above the driver in the Land Cruiser 200 series and Lexus LX 570 from model years 2008 through 2021.
Because the panel incorporates no heating elements, radio antennas, electrochromic layers, or rain sensors, the unit itself is mechanically straightforward. What makes it vehicle-specific is the integrated, bonded rubber encapsulation formed directly around the perimeter of the panel. When I source replacements, I supply aftermarket glass from manufacturers like Pilkington, FYG, PGW, and XYG that reproduce this bonded edge seal to match the roof opening contour precisely without relying on universal stretch gaskets.
Mounting Brackets, Drainage Trays, and Rattle Sources
Unlike fixed quarter glass or windshields held by urethane glue, this sunroof panel secures with Torx and hex hardware through steel side brackets directly into the drive rails of the cassette frame. Beneath the glass, the assembly relies on a dual-cable drive powered by regulator motor 63260-60150, accompanied by a manually operated sliding interior sunshade finished in headliner cloth. When sliding open, the leading edge clears a spring-loaded pop-up wind deflector designed to channel airflow over the cabin aperture.
Off-road travel and corrugated gravel roads take a heavy toll on these side guide brackets. Loose mounting hardware here is the root cause of the infamous roof rattle frequently tracked down by owners. Water management inside the roof frame is handled by a catchment tray with four corner drainage spouts leading to internal hoses that exit near the front kick panels and rear quarter cavities. If hardened debris obstructs these ports, runoff overflows into the headliner and A-pillars rather than draining outside, which often gets misdiagnosed as failed glass.
Post-Replacement Inspection Checklist
After a new panel is secured and aligned to the roof stamping, verify these vehicle-specific points before driving:
- Outer seal height: Run a hand across the seam where the bonded rubber perimeter meets the painted roof skin; the glass should sit completely flush or fractionally below the roofline at the front edge and flush to slightly above at the rear trailing edge to eliminate aerodynamic buffeting.
- Wind deflector clearance: Open the panel fully rearward to confirm the front pop-up wind deflector lifts cleanly without snagging the lower leading edge of the glass frame.
- Sunshade clearance: Slide the cloth interior sunshade through its entire forward and backward travel to ensure the bracket hardware does not drag against the fabric backing.
- One-touch cycling: Test the power switch for both tilt-vent and full slide-retract modes to verify jam protection and auto-reverse functions operate without binding against the side tracks.
- Perimeter seal seat: Check the rubber encapsulation visually from the exterior to confirm no pinching or folding occurred along the corners during hardware torquing.


