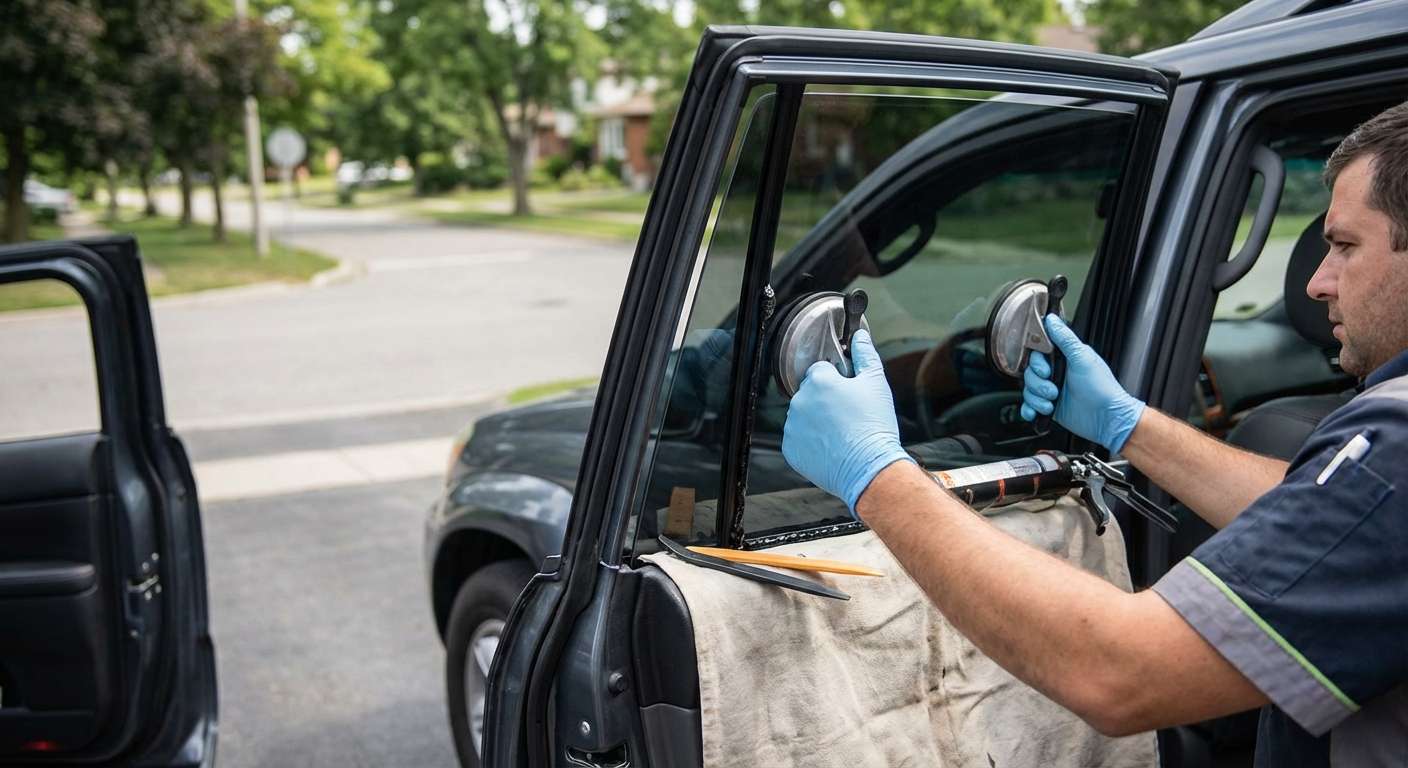
Inspecting the Rear Door Quarter Glass Before Fitting
Whenever a replacement pane arrives for the rear door, I inspect the bare tempered glass before stripping down the door frame. On this truck, the left pane carries NAGS number FV21853YP and corresponds to Lexus part 68124-60250, while the right side corresponds to 68123-60250. Because the glass is a 3.5 mm thick tempered piece, I check the outer perimeter for tiny manufacturing chips along the edge grind. If an edge has a scallop or rough tooling mark, sliding it into the deep rubber run channel will pinch the glass and cause it to shatter instantly under pressure. I also confirm the factory gray privacy tint density against the existing roll-down drop glass; the darkness level must blend naturally with the movable rear door window.
This is a passive piece of glazing, meaning there are no embedded FM radio grid traces, defroster lines, or antenna leads integrated into the unit. What matters mechanically is the precision of the glass curvature and perimeter dimensions. This exact stamping is shared with the global 120-series Land Cruiser Prado, meaning the shape must sit completely flat against the vertical metal division post without rocking. I handle replacements across Toronto and the GTA entirely on-site at your driveway or workplace parking spot, which means I verify that the rubber weatherstrip channel (Lexus OEM 68188-60050 on the right, or 68189-60050 on the left) is clean and free of embedded shards from the broken original before sliding the new pane into place.
Addressing the Division Bar and Weatherstrip Fitment
The fixed quarter glass sits in a rigid steel frame separated from the roll-down window by a dedicated vertical division channel (OEM 67407-60050 for the right door, 67408-60050 for the left). Over years of weather exposure, the rubber inside this division channel hardens and contracts. When placing the replacement pane into position, I check that the rubber lip seats fully around the inner shoulder of the glass. If the division channel is re-anchored at the base while the rubber is bunched or pinched, the roll-down window will bind during travel, and high-speed road air will whistle directly beside the rear passenger headrest.
Just beneath the vent glass sits the exterior belt moulding (OEM 75721-60080). On this UZJ120 platform, the outer factory belt trim notoriously degrades into brittle, peeling rubber. While aligning the glass within the door frame, I check that the bottom edge of the glass presses squarely down into the lower horizontal channel without dislodging the dried exterior trim. Many owners swap this area over to the matte black Prado 120 trim pieces (75721-60061), so I ensure the replacement glass sits at the exact depth required to clear both the original chrome-accented Lexus molding and the aftermarket utility alternatives.
Post-Installation Checks for Door Function and Wind Seal
Once the glass is locked into the door structure, the functional verification focuses on how the surrounding mechanisms interact with the new pane. I run the adjacent power roll-down window up and down through its full travel three to four times. The moving glass relies on the back track of that same division bar; if the vent glass pushed the bar even a millimeter out of parallel, the main window motor will strain, drag, or trigger the auto-reverse pinch protection.
Finally, I check the exterior door frame perimeter from the outside while the door is latched. The quarter glass must sit flush with the upper framed arch of the door shell rather than sunk inward. A misaligned pane leaves a gap at the top corner where the rubber seal turns ninety degrees, inviting water directly down into the interior door card. Pressing along the rubber perimeter confirms the glass is fully home in the channel, restoring the quiet cabin seal native to the truck.


