Overcoming the Frustration of a Shattered 2006-2011 Kia Rio Vent Glass
It is a common and incredibly frustrating misconception that the smallest window on your vehicle is the most insignificant. For owners of the 2006-2011 Kia Rio, discovering a shattered vent glass—that small, fixed triangular window located at the rear of the vehicle's greenhouse—can instantly turn a reliable daily commute into a windy, noisy, and insecure nightmare. Opportunistic thieves frequently target this specific pane, mistakenly believing it will provide quick, alarm-free access to the vehicle's interior door locks. As a Master Technician, I have seen this scenario countless times. Replacing this distinct piece of glass is not a simple plug-and-play operation; it requires specialized knowledge of the Kia Rio's door anatomy, extreme precision, and a commitment to meticulous safety standards.
The Unique Anatomy of the Second-Generation Kia Rio
The 2006-2011 Kia Rio, known for its practicality and compact efficiency, features a robust door assembly where the vent glass is tightly integrated into the vehicle's run channel alongside the movable roll-up door glass. Separated by a critical structural component known as the division bar, this small pane is held in place by specialized weatherstripping and automotive-grade adhesives. When this tempered glass breaks, it detonates into thousands of tiny, razor-sharp cubes that infiltrate every crevice of your car's interior and deep within the door cavity itself. Restoring your vehicle to its factory-safe condition requires much more than just sticking a new piece of glass into a hole.
Premier Mobile Vent Glass Replacement Across the GTA
Driving with a compromised vent glass exposes your cabin to the harsh Canadian weather, unpredictable road noise, and a severe risk of water damage to your interior electronics. Furthermore, wrapping a garbage bag over the window frame is a severe safety hazard that impairs your blind-spot visibility. You need a fast, reliable, and professional solution that comes directly to you.
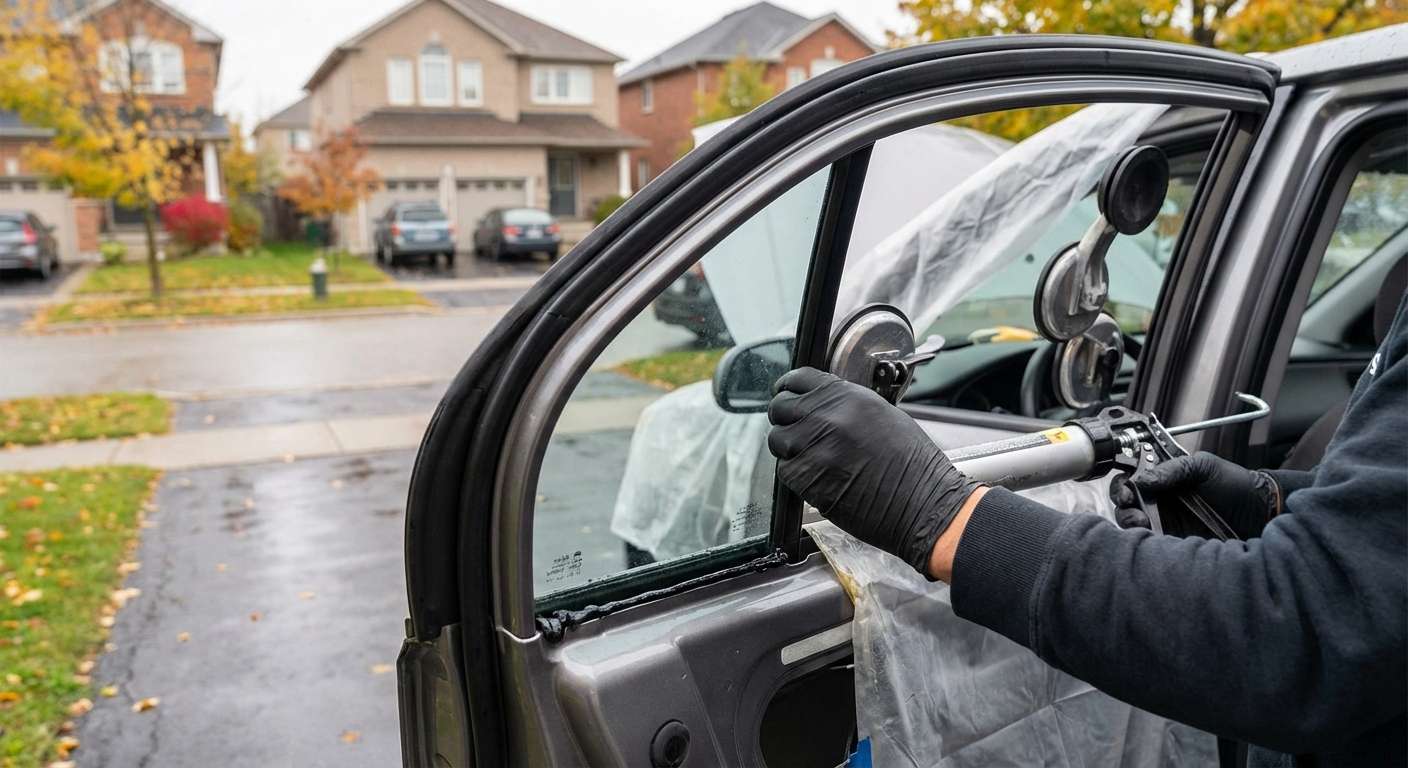
At AlexWindshield, we have optimized our mobile auto glass services to serve the entire Greater Toronto Area (GTA). We understand that your time is valuable. Whether your Kia Rio has been vandalized while parked at a busy shopping plaza in Vaughan, overnight in your residential driveway in Richmond Hill, or during working hours at a corporate office complex in Markham, our fully equipped mobile service vehicles bring the repair shop directly to your location. We handle the logistical stress so you can get back on the road safely and seamlessly.
The Master Technician’s Guide: Step-by-Step Vent Glass Replacement
As a senior auto glass specialist, I adhere to strict industry protocols to ensure that your 2006-2011 Kia Rio is treated with the highest level of care. Because vent glass replacement directly involves the structural components of the door, the process is highly involved. Here is our meticulous, step-by-step A to Z methodology for replacing your vent glass.
Step 1: Comprehensive Interior Protection and Damage Assessment
Before any tools are lifted, the first priority is protecting the vehicle. We begin by placing heavy-duty protective mats over the rear seats, floorboards, and the exterior paint directly below the affected window. We conduct a thorough assessment of the window frame to ensure the metal pinch weld and the division bar were not bent, scratched, or structurally compromised during the break-in. This preparation ensures that no secondary damage occurs during the repair process.
Step 2: Extensive Glass Shard Cleanup and Vacuuming
Tempered vent glass is designed to shatter into thousands of granular pieces upon impact to prevent severe lacerations. However, these pieces scatter everywhere. Using high-powered industrial vacuums, we meticulously extract all broken glass shards from the vehicle's interior. We vacuum the seats, the floor mats, and the tracks of the adjacent sliding door glass. Leaving even a single shard behind can cause terrible rattling noises later or damage the internal mechanics of the roll-up window, making this step absolutely crucial for a quality repair.
Step 3: Precise Removal of the Interior Door Panels
To safely install a new vent glass on the 2006-2011 Kia Rio, we must gain full access to the internal door cavity. This requires the careful removal of the interior door panels. We use specialized nylon pry tools to unclip the plastic trim without scratching the aesthetic surfaces.
- Disconnecting Electronics: We carefully detach the wiring harnesses for the power window switches and door locks.
- Removing Fasteners: We locate and extract all hidden screws holding the door card in place, typically found behind the door handle and the armrest cavity.
- Peeling the Vapor Barrier: We gently peel back the factory moisture barrier, taking great care not to tear it, to access the inner skeleton of the door.
- Deep Cavity Vacuuming: With the door panel removed, we reach deep inside the bottom of the metal door shell to vacuum out the remaining broken glass shards that fell down the window channel.
Step 4: Dismantling the Division Bar and Extracting Old Materials
The vent glass is held firmly in place by the division bar—the metal track that separates it from the main roll-up window. We lower the main window glass and unbolt the division bar from the internal door frame. Once the bar is loosened, we carefully extract the remains of the old vent glass, pulling away the damaged weatherstripping and factory encapsulation. Using specialized cut-out tools, we remove the old, degraded urethane adhesive from the vehicle's pinch weld, paring it down to a thin, even layer of about 1-2 millimeters to serve as a perfect bonding base.
Step 5: Pinch Weld Cleaning and Professional Primer Application
A flawless seal is only possible on a flawlessly clean surface. We scrub the exposed pinch weld and the window frame using industry-grade, residue-free glass cleaners. Any bare metal exposed during the removal of the old glass is highly susceptible to rust. To prevent this, we meticulously apply a specialized automotive glass primer to the metal frame and the edge of the new replacement vent glass. This primer acts as a chemical bridge, ensuring the new adhesive bonds on a molecular level while providing advanced anti-corrosion protection.
Step 6: Application of High-Quality Polyurethane Adhesive
At AlexWindshield, we never compromise on materials. Using an electric caulking gun for absolute consistency, we apply a triangular bead of high-quality, fast-curing polyurethane adhesive directly along the prepared pinch weld. The size, height, and shape of this adhesive bead are vital; it must be perfect to ensure there are no air gaps that could lead to wind whistling or water leaks. This high-grade adhesive restores the structural integrity of your Kia Rio to original factory standards.
Step 7: Precision Installation of the New Kia Rio Vent Glass
With the adhesive laid down perfectly, we take the new, precisely manufactured OEM-equivalent vent glass and guide it into the frame. This step requires a steady hand and an expert eye. We align the glass perfectly within the contours of the door frame, pressing it firmly into the high-quality adhesive. We then reposition the division bar, bolting it tightly back into place to lock the vent glass in its final, secure position. The rubber gaskets and weatherstripping are seated neatly around the glass to guarantee a watertight seal.
Step 8: Reassembly, Final Inspection, and Curing Process
With the new vent glass securely installed, the reassembly process begins.
- Resealing the Door: We re-adhere the moisture vapor barrier to ensure your door interior remains protected from external elements.
- Panel Reinstallation: We snap the interior door panel back into place, reconnect the power window electronics, and secure all hidden screws and cosmetic trim pieces.
- System Testing: We roll the main door window up and down multiple times to ensure the division bar is perfectly aligned and that there is no friction or binding.
- Final Polish: We clean the new vent glass to a streak-free shine and conduct a final visual inspection of the interior to guarantee absolute cleanliness.
Why You Shouldn't Ignore a Broken Vent Glass
Many drivers mistakenly assume they can tape up a broken vent window and delay the repair. However, driving your 2006-2011 Kia Rio in this condition is highly inadvisable. The plastic wrap is no match for highway speeds, easily peeling away and causing a major distraction. Moisture from rain or snow will inevitably bypass the tape, seeping into your door panel and short-circuiting your power window motors, door locks, and internal speakers. Most importantly, a shattered vent glass is a neon sign to potential thieves that your vehicle's security has been compromised. Prompt replacement is an investment in both safety and peace of mind.
Choose AlexWindshield for Your Auto Glass Needs in the GTA
When you are dealing with the stress of a broken window, you need an auto glass partner who values quality, efficiency, and customer convenience above all else. AlexWindshield is proudly recognized as the trusted expert for mobile auto glass services across the GTA.
Our commitment to excellence means we bring the highest quality materials, master-level craftsmanship, and unmatched convenience directly to your doorstep—whether you reside in Vaughan, Richmond Hill, Markham, or beyond. We treat every 2006-2011 Kia Rio with the precision it deserves, ensuring that every shard of glass is vacuumed and every panel is perfectly realigned.
Most importantly, we stand firmly behind our workmanship. Every vent glass replacement performed by AlexWindshield is backed by our comprehensive Lifetime Warranty against leaks, wind noise, and manufacturer defects. Do not let a shattered window disrupt your life any longer than it has to. Contact the master technicians at AlexWindshield today, and experience the ultimate in professional, secure, and seamless mobile auto glass repair.


