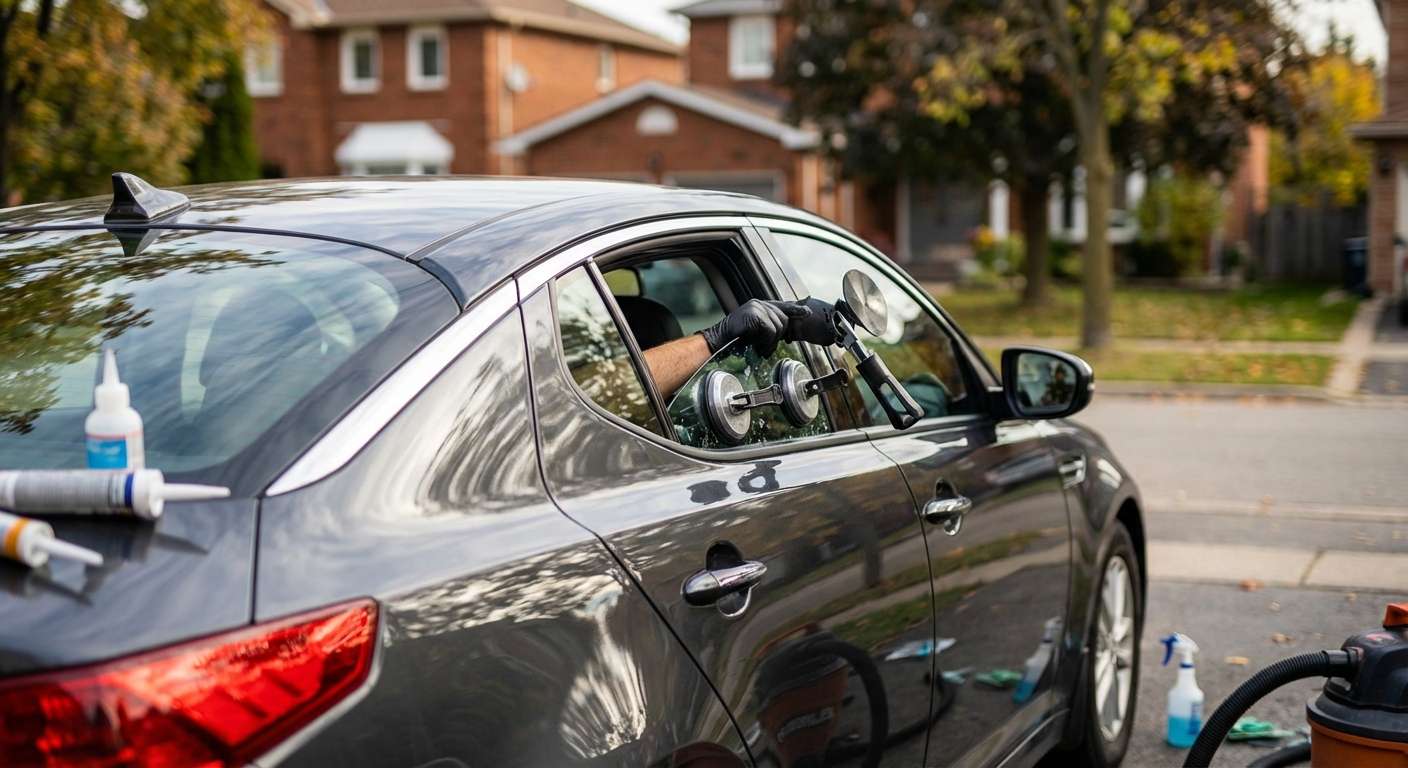
Expert Vent Glass Replacement for Kia Optima / K5 (2011-2015)
The third-generation Kia Optima (2011-2015), widely recognized in global markets as the Kia K5, fundamentally disrupted the mid-size sedan segment with its aggressive "Tiger Nose" grille, swept-back roofline, and sleek, aerodynamic greenhouse design. This specific era of the Optima is beloved for its sporty profile, and the precise geometry of its auto glass plays a major role in that aesthetic. However, that striking side profile is instantly compromised when your vehicle's vent glass is shattered. Whether it is the result of an unfortunate vehicle break-in, high-speed road debris, or a sudden collision, a broken vent glass leaves your cabin completely exposed to harsh weather elements, road noise, and serious security vulnerabilities.
As a Master Technician at AlexWindshield, I understand that replacing the vent glass on a 2011-2015 Kia Optima is not just about slapping a new piece of glass into a hole. It requires deep technical knowledge of Kia's specific door architectures, precision application of modern automotive adhesives, and a meticulous eye for detail to restore your vehicle to its factory-fresh state. We treat every Kia Optima vent glass replacement with the utmost care, ensuring structural integrity and a flawless cosmetic finish.
Understanding the Mechanics of Your Kia Optima Vent Glass
The vent glass (often referred to as the quarter glass or small side window) on the 2011-2015 Kia Optima is a crucial structural and functional component. Unlike the main roll-up window, this stationary piece of glass serves multiple purposes:
- Structural Rigidity: It supports the vehicle's window run channel, ensuring the main door glass operates smoothly without binding.
- Acoustic Insulation: Factory-grade vent glass is engineered to deflect wind noise, keeping the cabin of your K5 whisper-quiet at highway speeds.
- Security: Thieves frequently target the vent glass to gain access to the interior door locks, making rapid, professional replacement essential for your peace of mind.
Detailed A-to-Z Technical Replacement Process
At AlexWindshield, we do not cut corners. Our senior technicians follow a strict, manufacturer-approved procedure for every Kia K5 vent glass replacement. Because this involves an intricate piece of side/door glass, our process mandates the complete removal of interior panels, thorough shard extraction, and professional adhesive bonding. Here is our rigorous step-by-step protocol:
Step 1: Vehicle Assessment and Interior Protection
Before any tools are lifted, we conduct a comprehensive inspection of the damaged area. We document the extent of the damage, checking for scratched paint on the window frame or damage to the rubber moldings. To protect your Kia Optima's interior, we drape heavy-duty protective mats over your leather or cloth seats, center console, and floorboards. We also apply high-tack protective tape around the exterior window frame to prevent any accidental paint scratches during the extraction process.
Step 2: Door Panel Removal and Component Disassembly
Because the vent glass framework extends deep inside the door cavity, we must access the internal mechanisms. Using specialized non-marring trim tools, we carefully pry away the interior door panel of your 2011-2015 Kia Optima. We meticulously remove the hidden retaining screws—typically located behind the door handle bezel and the armrest grip. Once the fasteners are removed, we unclip the door panel and carefully disconnect the wiring harnesses for the power windows, speakers, and door locks, exposing the vehicle's vapor barrier and inner door shell.
Step 3: Thorough Vacuuming of Broken Glass Shards
When a vent glass shatters, thousands of tiny, razor-sharp fragments explode into the interior of the vehicle and drop down into the bottom of the door cavity. This is a critical step for all side and door glass replacements. If left uncleaned, these shards will rattle every time you close your door and can severely damage the gears and cables of your main window regulator. We use a high-powered, industrial HEPA vacuum with specialized micro-crevice attachments to extract every single piece of broken glass. We vacuum the bottom of the door shell, the window run channels, the seats, the floor mats, and even between the seat cushions to ensure your vehicle's interior is 100% safe and pristine.
Step 4: Removal of the Old Vent Glass and Frame
Depending on the specific trim and exact location of the vent glass on your Optima, the glass is either housed within a bolted mechanical track or directly bonded to the body. For bonded sections, we utilize specialized cold-knife tools and precision pull-knives to cut through the original factory polyurethane bead without damaging the vehicle's pinch weld. If the glass is track-mounted, we unbolt the retaining brackets from the door frame, carefully sliding the damaged frame and remaining glass remnants out of the main run channel.
Step 5: Surface Cleaning and Preparation
A flawless installation requires a sterile environment. We clean the exposed pinch weld and surrounding metal frame using an automotive-grade, lint-free cloth soaked in high-purity isopropyl alcohol. This chemical cleaning removes dirt, old grease, wax, and moisture. We then trim down the old urethane bead to a flat, level baseline of about 1-2 millimeters, which serves as an excellent foundation for the new adhesive bond.
Step 6: Primer Application and High-Quality Adhesive
To ensure a watertight and structurally sound fit, we strictly adhere to advanced chemical bonding procedures. First, we apply a specialized automotive glass primer to any exposed bare metal on the pinch weld to prevent future rust and corrosion. We also apply a glass-prep primer to the bonding edge of the new vent glass. Once the primer flashes (dries), we load our electric caulking gun with an industry-leading, fast-curing, high-quality urethane adhesive. We lay down a precise, continuous, uniform "V-bead" of urethane along the frame. This step is non-negotiable for bonded glass, as it ensures there will be absolutely no wind leaks or water ingress.
Step 7: Precision Installation of the New Kia Optima Vent Glass
With the adhesive properly applied, our technician carefully aligns the brand-new, premium aftermarket or OEM-equivalent vent glass. Handling the glass with specialized vacuum suction cups to prevent oil transfer from our hands, we guide the glass precisely into the frame of the Kia Optima. Gentle, even pressure is applied to securely seat the glass into the urethane bead. We then use specialized retention tape to hold the glass firmly in place while the adhesive goes through its initial curing phase.
Step 8: Reassembly and Final Quality Inspection
Once the glass is locked into position, we begin the reassembly process. The vapor barrier is resealed, and the interior door panel is carefully re-hung. We reconnect all electrical wiring harnesses, ensuring your power windows, door locks, and audio speakers function perfectly. We replace all screws and snap the cosmetic trim pieces back into place. Finally, we use a premium, streak-free automotive glass cleaner to polish the new vent glass, performing a final visual and tactile inspection to guarantee a flawless factory finish.
Premium Mobile Auto Glass Services in the Greater Toronto Area (GTA)
Dealing with a shattered window is stressful enough without having to figure out how to drive a compromised vehicle across town to a repair shop. That is why AlexWindshield proudly offers fully equipped, rapid-response mobile auto glass replacement services right to your driveway, office parking lot, or garage. We bring our master-level expertise directly to you.
Our mobile service vans operate comprehensively across the Greater Toronto Area (GTA). We have dedicated routes heavily servicing the rapidly growing communities in the north, including:
- Vaughan: Whether you are parked near Vaughan Mills, working in the corporate sectors along Highway 400, or residing in Woodbridge, our mobile technicians can reach you quickly to secure your vehicle.
- Richmond Hill: If your Kia Optima suffers a break-in overnight in Richmond Hill, you do not have to disrupt your whole day. We will come to your home, safely vacuum the glass from your driveway, and replace your vent glass on the spot.
- Markham: From the historic streets of Unionville to the tech hubs near Highway 407, Markham residents trust our seamless mobile service to restore their vehicles quickly, safely, and professionally.
The AlexWindshield Advantage: Trust the Master Technicians
Auto glass replacement is a highly technical trade that demands precision, chemical knowledge, and mechanical expertise. When you choose AlexWindshield for your 2011-2015 Kia Optima / K5 vent glass replacement, you are choosing unparalleled quality.
- Premium Materials: We use only OEE (Original Equipment Equivalent) or OEM glass, ensuring perfect curvature, correct tint levels, and exact fitment.
- Advanced Adhesives: Our fast-curing urethane means your vehicle is safe to drive shortly after the installation is complete, getting you back on the roads of the GTA without unnecessary delays.
- Master Craftsmanship: Our technicians undergo rigorous training to handle complex door panel removals and precise adhesive applications.
Schedule Your Kia Optima Vent Glass Replacement Today
Do not let a broken vent glass ruin the look, safety, and comfort of your Kia Optima. Leaving your vehicle exposed to the unpredictable Ontario weather or potential theft is a risk you do not need to take. Let the experts at AlexWindshield provide you with a stress-free, superior repair experience.
We stand by the quality of our craftsmanship and the durability of our materials. That is why every replacement performed by AlexWindshield is backed by our comprehensive Lifetime Warranty against air leaks, water leaks, and manufacturer defects. If you are located anywhere in Vaughan, Richmond Hill, Markham, or the wider GTA, contact AlexWindshield today to book your mobile appointment. Experience the ultimate in auto glass professionalism and get your Kia K5 back to looking its absolute best.


