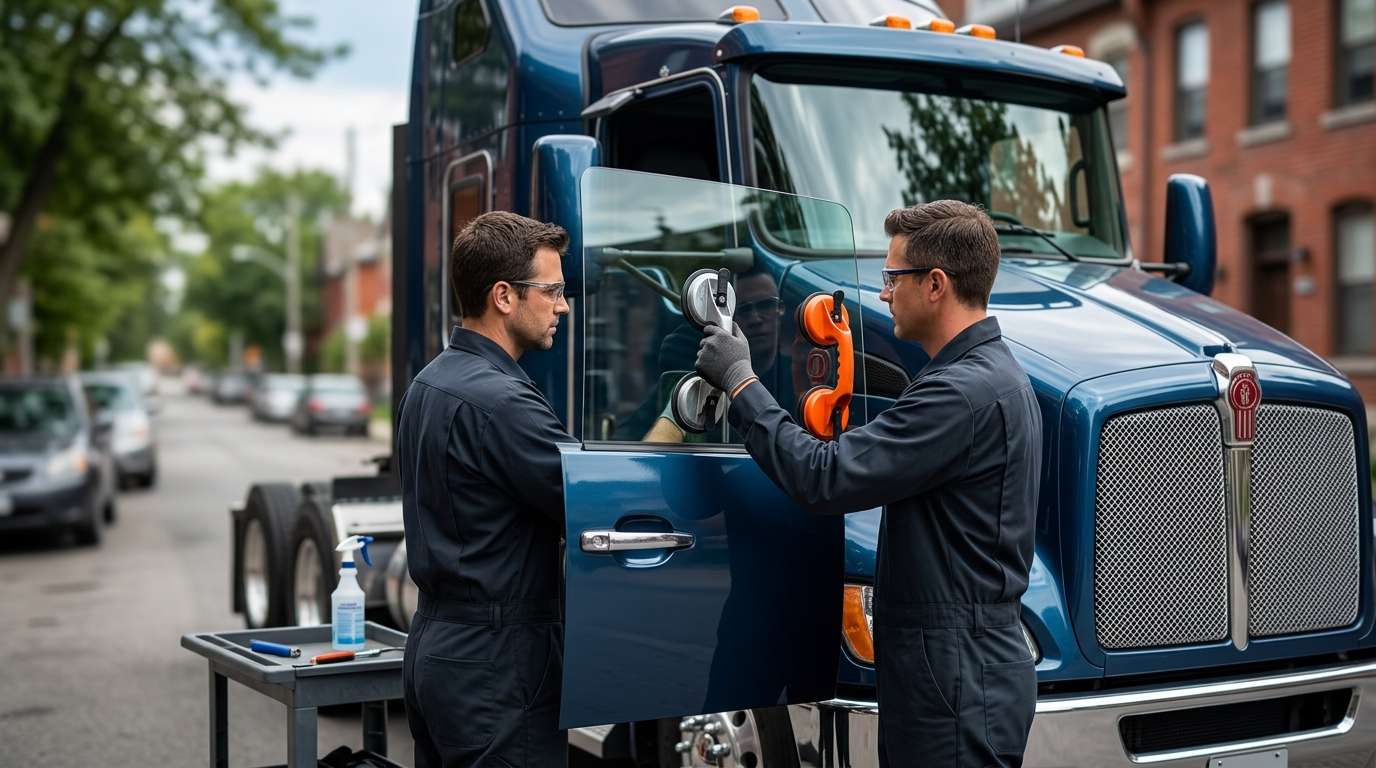
Kenworth Daylite Door Glass Contour and Pre-Fitting Checks
The stepped lower beltline on the Daylite door gives the Kenworth T270 its distinct downward slope toward the front mirror bracket. Because of that sharp angle, the door glass is cut with an asymmetrical lower profile that must drop squarely into the bottom steel glass-carrier channel. Before any replacement panel goes into the stamped aluminum door shell, I verify the glass dimensions against the regulator seat to ensure it will track straight between the velvet run channels without binding against the A-pillar framing.
This side glass is a single-pane tempered unit carrying a subtle factory green solar tint. It contains no embedded defroster grids, rain sensors, or acoustic plastic layers. I inspect the replacement pane—typically sourced from reliable aftermarket manufacturers like Pilkington, PGW, FYG, or XYG—for clean edge grinding along the entire perimeter. If the edge finish is rough or uneven, it catches the interior rubber waist wipes and tears the flocking out of the vertical runs during the first week of operation.
I also inspect the lower lift bracket tabs. The T270 uses a steel carrier that interfaces directly with either a manual scissor assembly or an electric drive setup linked to PACCAR regulator assemblies like R21-1005 or WNR011000L. If the glass thickness varies even slightly at the base, the bottom channel will pinch unevenly, causing the pane to tip nose-downward every time it rolls past the halfway mark.
Preventing Regulator Binding and Run Channel Misalignment
Due to the severe cab vibration and long engine hours typical of medium-duty service, the felt-lined perimeter channels inside the T270 doors take significant abuse. Over time, road dirt packs into the front vertical guide, creating excessive drag. When the glass encounters friction near the forward drop, the window regulator cables stretch or the plastic drive gears strip out inside the motor housing. Before setting the glass into place, I check that the perimeter guide channel is seated firmly against the aluminum door frame and completely clear of debris.
Water intrusion is another critical failure point on these cabs. If the inner and outer beltline weatherstrips have dried out or warped away from the glass surface, rain flows directly over the access cover plate and down onto the lower wiring harness and door control switch modules. When seating the replacement pane, I check the tension of both the inner waist wipes and outer scrapers against the smooth surface of the tempered glass to confirm a tight, continuous seal from the rear B-pillar post all the way to the mirror base.
Post-Replacement Inspection Checklist for Drivers
Once your new door glass is seated and the interior door trim panel is secured, take a few minutes to inspect the cab environment and glass travel before putting the truck back on the road:
- Vertical travel tracking: Roll the window fully down and up; the front edge must not tip forward or catch on the lower stepped angle of the Daylite door.
- Waist wipe tension: Inspect the horizontal weatherstrips along the bottom of the window opening to ensure they lay flat against the glass without curling inward as the pane drops.
- Channel run fitment: Check the felt run lining at the top and side frames to ensure the glass seats fully into the upper pocket without leaving a gap for wind noise or highway drafts.
- Switch and motor operation: Confirm that the power regulator operates smoothly without slowing down near the top travel point or making grinding noises caused by stripped gear teeth.
- Cab rattle isolation: With the glass rolled halfway down, gently push the top edge side to side to verify the carrier channel holds the pane firm against normal diesel engine idle vibration.


