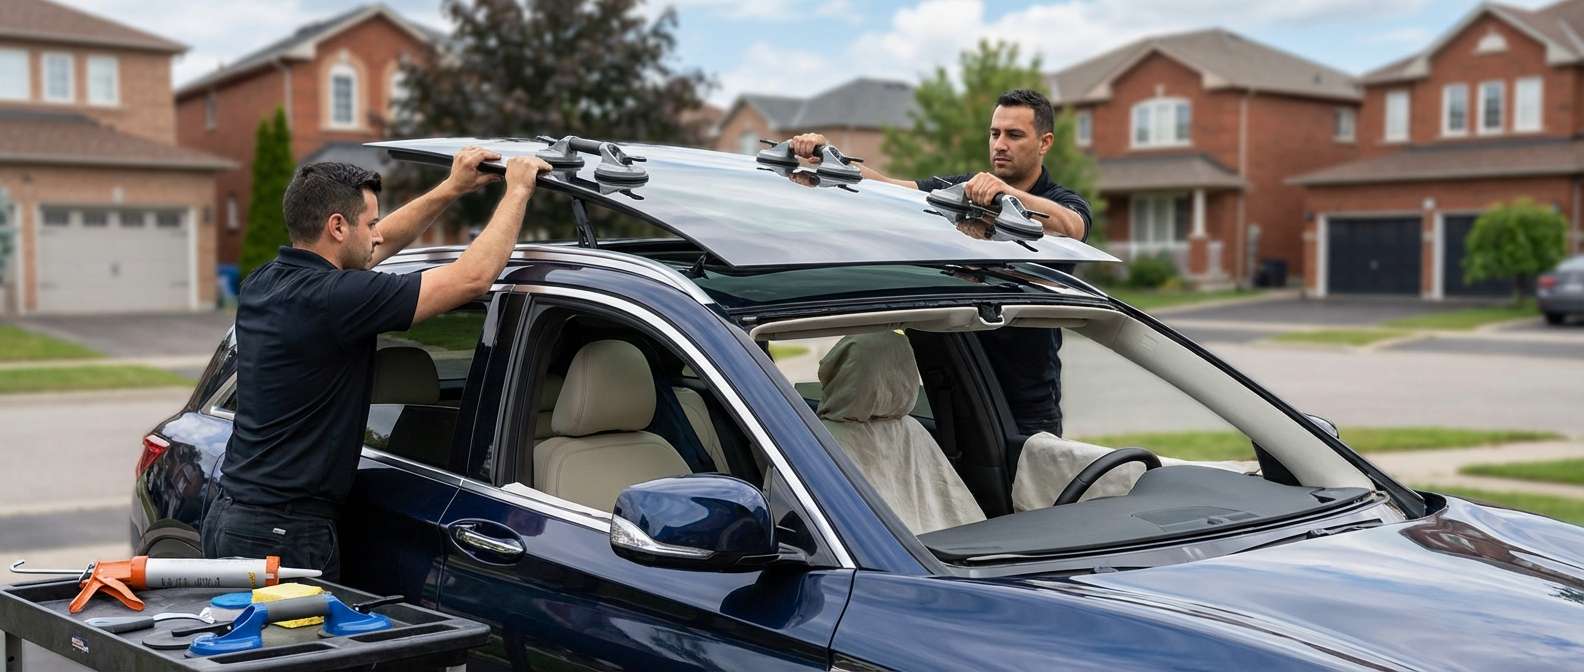
Panoramic Roof Layout and Individual Glass Panels
The panoramic roof on this crossover splits into distinct sections rather than relying on a single overhead pane. The operable front sliding glass panel (dealer reference 91210-5NA0A) glides backward over a stationary rear panoramic glass panel (dealer reference 91604-5NA0A), while a forward wind deflector assembly (dealer reference 91602-5NA0A) manages air turbulence when opened. Across the Luxe, Essential, Sensory, Sport, and Autograph trim levels, this overhead glass system interacts closely with exterior roof ditch moldings and the adjacent longitudinal roof rails.
Because each panel serves a different mechanical purpose, replacing shattered or cracked glass requires isolating the specific damaged section. The movable panel secures directly to the motorized push-pull cable guide tracks, while the larger rear glass remains fixed directly above the rear passenger seating area. The glass itself contains no integrated electronic hardware like antenna grids or defroster lines, keeping the focus entirely on perimeter seals, mechanical alignment, and mechanical clearance against the vehicle headliner below.
Interior Clearances and Track Service on the J55
Working on the overhead assembly of the J55 platform involves managing tight interior clearances. Beneath the glass panels sits a power-operated rolling fabric sunshade that runs along its own internal tension tracks. When glass breaks overhead, loose fragments inevitably fall into the lower shade cassette and the perimeter track extrusions. I can be on-site roughly an hour after you schedule the service to secure the interior and begin extracting shattered fragments before they jam the drive mechanism.
Accessing the structural mounts and track fasteners requires dropping the upper interior cabin sections. The A-pillar, B-pillar, and C-pillar garnish trims must be released to lower the perimeter of the molded headliner without creasing its backing board. If the rear fixed glass requires replacement, dropping the rear headliner section is unavoidable to access the retaining hardware. Overlooking broken glass chips inside the perimeter guide rails often leads to the cabin rattles, creaks, and motor binding that drivers frequently notice over uneven roads.
Post-Replacement Inspection Checklist
- Panel flushness: Look across the exterior roof line to verify the front sliding panel rests completely flush with both the front wind deflector and the stationary rear glass when fully vented down.
- Fabric sunshade clearance: Cycle the powered interior fabric sunshade to confirm it travels smoothly forward and backward without catching on internal guide clips or dragging against the underside of the replacement glass.
- Drive track movement: Open the front glass through its full tilt and slide cycles, listening for smooth operation without any resistance, creaking, or chatter along the side guide tracks.
- Roof ditch and trim seating: Inspect the outer roof ditch moldings and the seams around the roof rail bases to confirm every exterior seal sits flat against the sheet metal.
- Pillar trim fitment: Check that the upper A-, B-, and C-pillar interior panels have been snapped firmly back into position with zero loose edges or gaps against the headliner edge.


