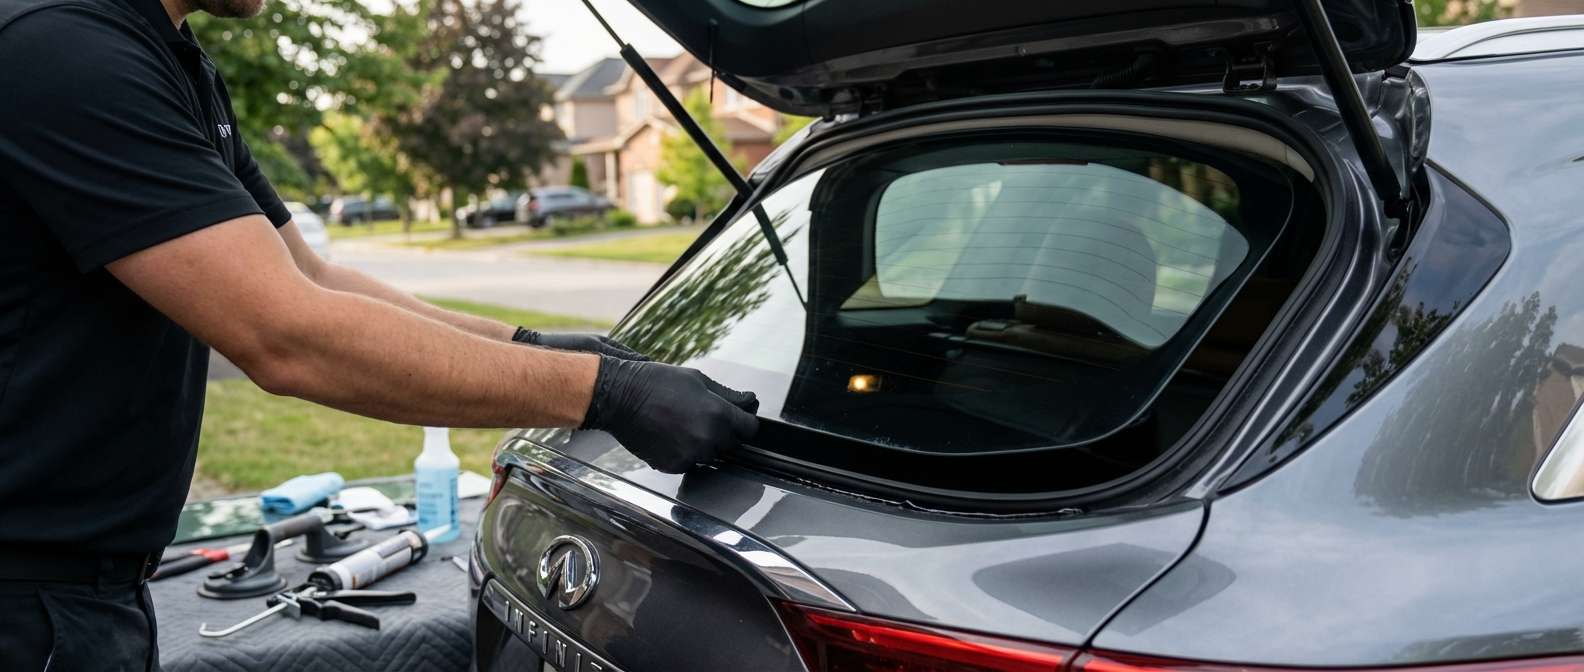
Crucial Component Checks on the QX50 Rear Window Before Setting
Replacing the back glass on this crossover requires matching the specific electrical traces and physical pass-throughs built right into the glass panel. The factory glass—referenced under Infiniti numbers 90300-5NA0A and 90300-5NF0A—carries two separate grid arrays. Across the main viewing area runs the horizontal electric defroster line system, while the upper section integrates an embedded diversity radio antenna. Before any replacement glass goes into place, I trace these printed lines and check the solder terminals on the interior perimeter to ensure neither circuit was scratched during transit.
The lower section of this panel features a dedicated factory cut-out hole designed specifically for the rear window wiper pivot shaft. The glass cannot accommodate universal components; it must seat flush with the dedicated rubber grommet seal that isolates the wiper motor spindle from the glass edge. Because the exterior of the liftgate features a deep aerodynamic roof spoiler sheltering the integrated center high-mount stop lamp (CHMSL) along the top, and glossy black side garnish mouldings running down each pillar, the outer perimeter ceramic frit band must match the vehicle's original edge reveal precisely. This black frit shields the structural adhesive from solar UV breakdown underneath the composite liftgate frame.
Interior Liftgate Components and Surrounding Trim Fitment
Inside the tailgate, the interior architecture uses a multi-piece trim surround consisting of upper trim, lateral pillar mouldings, and a wide lower inspection panel. When shattering occurs, tempered safety glass pellets inevitably fall behind the interior framing, often dropping into the lower tailgate latch mechanisms and the mountings for the power liftgate dual motorized struts. I clean out these internal voids thoroughly so loose fragments do not vibrate against the tailgate shell.
I handle these rear window replacements entirely through my mobile service, travelling directly to your driveway or workplace parking spot across Toronto and the GTA to complete the work on-site. When setting the replacement panel, the wiper drive assembly requires precise mechanical centering. If the wiper motor spindle rests off-center against the through-glass hole, the arm will bind against the glass or cause the wiper blade to park unevenly against the lower defroster lines. The surrounding glossy garnish panels and the upper roof spoiler must also interface seamlessly with the new glass edges without touching the tempered surface, preventing the persistent tailgate buzzes and rattles that commonly plague these liftgate assemblies.
Post-Installation Inspection Checklist for QX50 Owners
Once the rear window is in position, take a few moments to inspect the tailgate components and the glass features before putting the vehicle back into regular highway service:
- Wiper Spindle Seating: Confirm that the wiper arm sits level in its resting position and that the fresh rubber grommet is centered firmly within the pre-cut glass hole without pinching.
- Electric Defroster Operation: Switch on the rear defogger and verify that heat generates evenly across all horizontal grid lines without broken spots or dead horizontal bands.
- AM/FM Diversity Reception: Turn on the audio system to confirm clear radio reception across both bands, verifying that the internal antenna grid connection is secure.
- Spoiler and Garnish Clearances: Check the narrow gap between the top edge of the glass and the upper spoiler housing the third brake light, as well as the alignment along the gloss black side mouldings.
- Interior Trim Alignment: Ensure the multi-piece interior liftgate plastics snap flush to the metal frame and do not rub directly against the inner face of the new rear glass.
- Camera and Latch Clearance: Open and close the motorized liftgate to confirm that the movement is smooth and that the exterior rear camera in the license plate recess operates without interference.


