Expert Door Glass Replacement for the 1999-2004 Honda Odyssey
The 1999-2004 Honda Odyssey, representing the pioneering second generation of this iconic minivan, redefined family travel across North America with its cavernous cabin, highly dependable V6 engine, and the introduction of practical dual sliding doors. For decades, it has served as the ultimate family hauler. However, when the door glass on your reliable Odyssey is shattered—whether due to an attempted break-in, unpredictable road debris, or a stray baseball in the neighborhood—it immediately compromises the safety, security, and climate control of your vehicle. Driving with a broken window exposes your interior to the elements and leaves your family vulnerable. At AlexWindshield, we understand that an intact, fully functional window is critical to your family's daily routine, and our master technicians are here to restore your minivan to its original factory condition.
Your Premier Local Choice for Auto Glass in the GTA
Finding a trusted technician who understands the specific nuances of older, legacy vehicles like the early 2000s Honda Odyssey can be challenging. As the leading provider of auto glass solutions across the Greater Toronto Area (GTA), we take pride in delivering specialized, high-quality replacement services right to your doorstep. Whether you are parked at an office building in Markham, running daily errands around Richmond Hill, or resting at home in Vaughan, our fully equipped mobile service fleet is designed to bring the repair shop directly to you. We navigate the busy streets of the GTA to ensure that your minivan's door glass is replaced swiftly, safely, and seamlessly, saving you the hassle of driving a compromised vehicle to a traditional brick-and-mortar garage.
Understanding the 1999-2004 Honda Odyssey Door Glass Mechanics
The second-generation Honda Odyssey features a robust but intricate door assembly. Whether the damage is sustained on the front driver and passenger roll-up windows or the mechanized sliding door windows, the structural integrity of the replacement glass must meet strict Original Equipment Equivalent (OEE) standards. The door glass in these minivans is made of tempered safety glass, which is engineered to shatter into small, blunt, pebble-like pieces rather than dangerous, jagged shards upon impact. Replacing this glass is not merely about inserting a new pane; it requires a deep understanding of the Odyssey's internal window regulator, the power window motor assemblies, the weatherstripping seals, and the delicate vapor barriers that keep out the harsh Canadian weather.
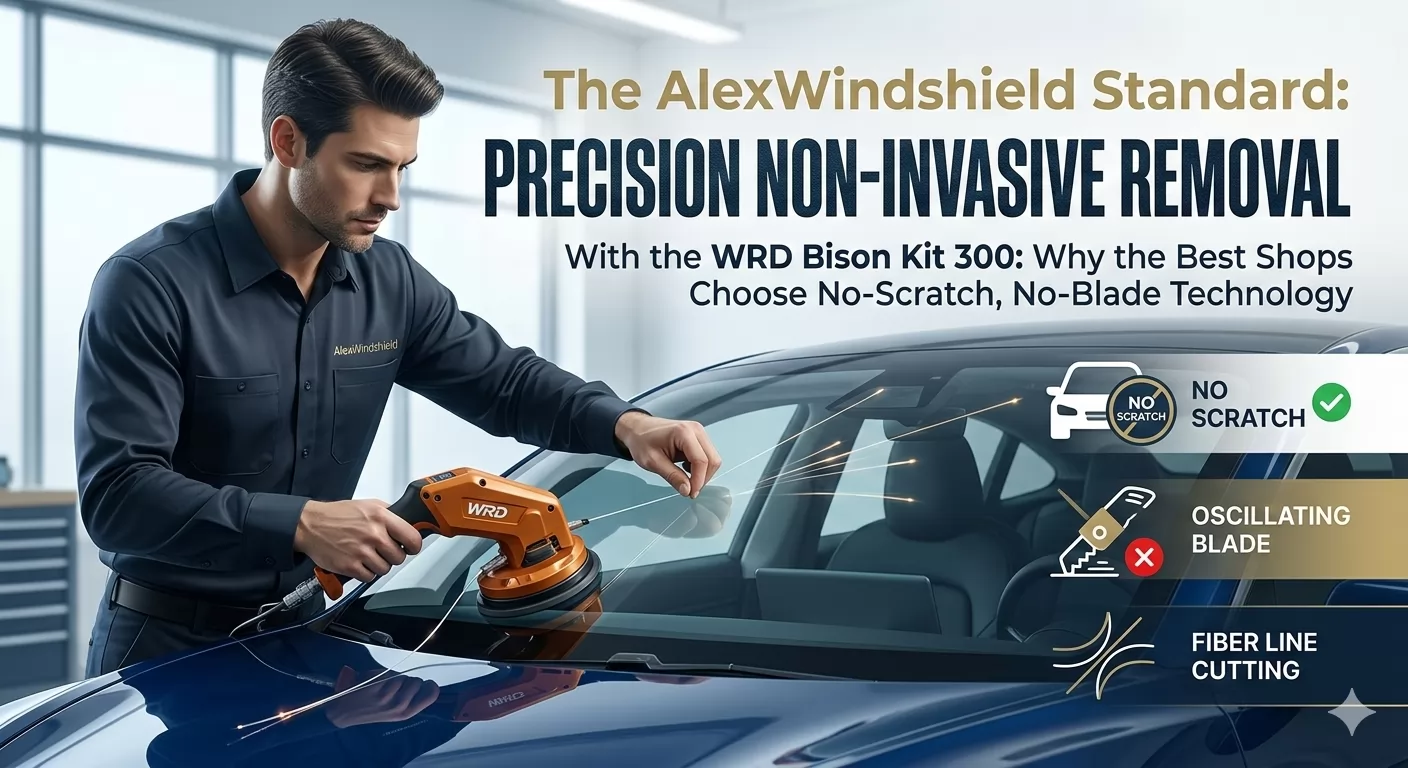
Our Master A-Z Door Glass Replacement Process
At AlexWindshield, our senior technicians follow a strict, standardized operational procedure to ensure every door glass replacement is executed flawlessly. Below is our highly detailed, step-by-step technical process for replacing the door glass on a 1999-2004 Honda Odyssey.
Step 1: Comprehensive Vehicle Preparation and Interior Protection
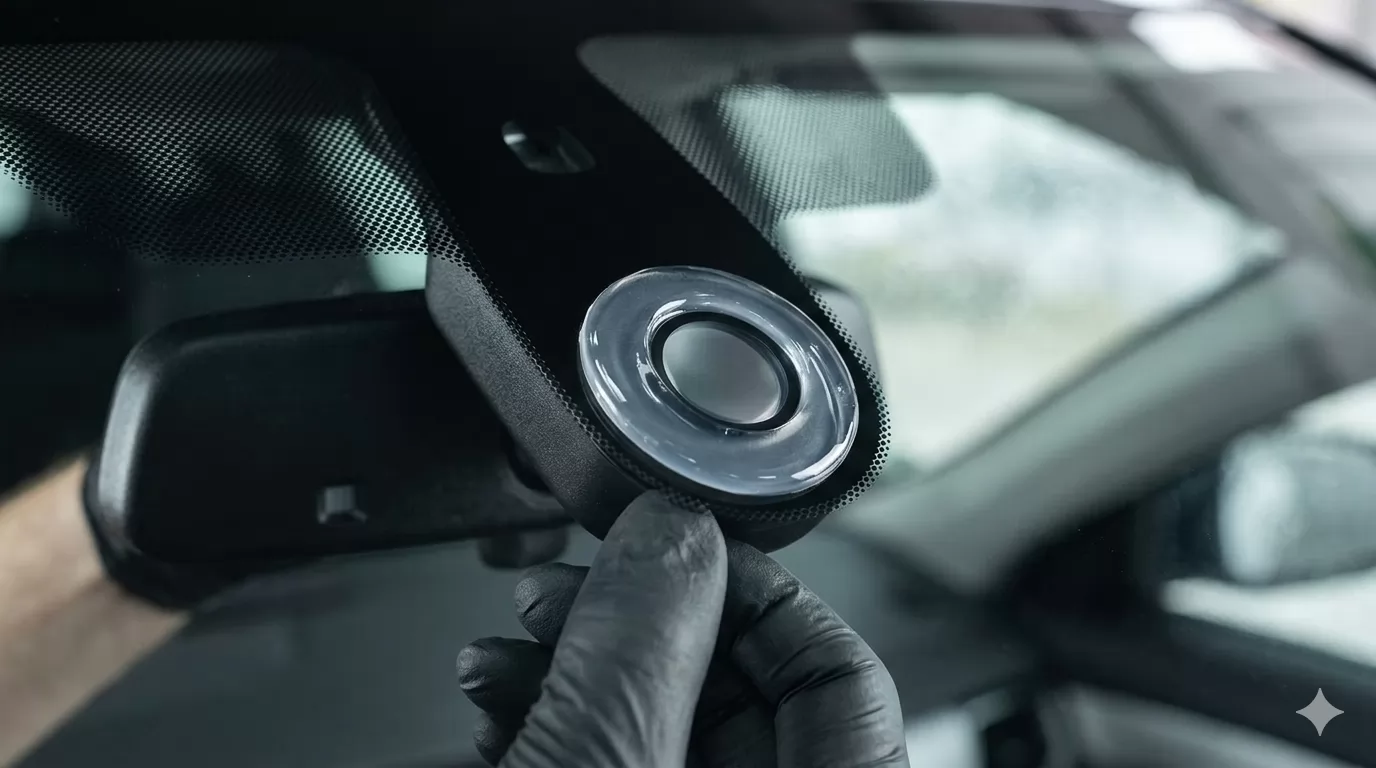
Before any tools are utilized, our primary focus is the protection of your vehicle's interior. We begin by laying down heavy-duty protective drop cloths and specialized seat covers over your Odyssey's plush cloth or leather upholstery. Because tempered door glass explodes into thousands of tiny fragments, we apply protective masking tape around the door frame to prevent accidental scratching of the exterior paint during the repair. Preparation (protecting the interior) is a non-negotiable step for our master technicians, ensuring that your family minivan remains pristine and free from secondary damage throughout the entire service.
Step 2: Expert Removal of Door Panels and Component Disconnection
Accessing the internal mounting points of the window requires the careful dismantling of the interior door structure. Using non-marring nylon pry tools, our technicians expertly remove the interior door panel without damaging the surrounding plastic trim. We locate and extract the hidden Phillips-head and 10mm bolts securing the armrest and door handle. Once the fasteners are removed, we gently pop the retaining clips to detach the panel. We then carefully disconnect the power window switch wiring harnesses, the door lock actuators, and the interior handle linkages. The removal of door panels provides us with full access to the inner door cavity, the window regulator track, and the factory vapor barrier, which is gently peeled back for the next phase of the operation.
Step 3: Meticulous Vacuuming of All Broken Glass
A shattered window leaves a massive amount of debris hidden deep within the vehicle. If left unattended, these shards can cause the new window to grind, scratch, or bind up inside the regulator track. We employ high-powered HEPA industrial vacuums to execute a thorough extraction process. Our technicians spend a significant amount of time vacuuming all broken glass shards from the vehicle's interior, including the carpets, the seat crevices, and most importantly, the bottom of the internal door cavity. We also use specialized detailing brushes to sweep out the rubber window run channels, ensuring that absolutely no granular glass dust remains to impede the smooth operation of your newly installed window.
Step 4: Removal of the Old Glass Components and Surface Cleaning
Once the door cavity is completely clear of debris, we proceed with the removal of the old glass remnants still bolted into the regulator lifter channels. We lower or raise the window regulator manually to access the 10mm mounting bolts. After removing the remaining chunks of broken glass and the old mounting hardware, we initiate a rigorous surface cleaning protocol. We use premium-grade, alcohol-based auto glass cleaners to strip away accumulated dirt, old grease, and grime from the window run channels, the rubber weatherstripping, and the metal mounting brackets. A perfectly clean surface is absolutely vital to ensure the structural longevity and smooth operation of the new replacement glass.
Step 5: Primer Application and High-Quality Adhesive Setup
While standard roll-up windows are primarily mechanically fastened, older vehicles like the 1999-2004 Honda Odyssey often require specialized bonding and sealing techniques to ensure maximum longevity and to prevent water leaks. To prepare the mounting hardware and lower lift channels, we perform a precise primer application. This specialized chemical primer etches into the mounting surfaces to promote optimal adhesion. Following the primer, we proceed with the installation of the new glass using high-quality adhesive where the glass mates with the lower mounting brackets. Furthermore, we use a premium-grade butyl adhesive sealant to perfectly re-bond the waterproof vapor barrier to the metal door frame. This critical step guarantees that no rain or car-wash water will ever leak into your door panel or ruin your interior electronics.
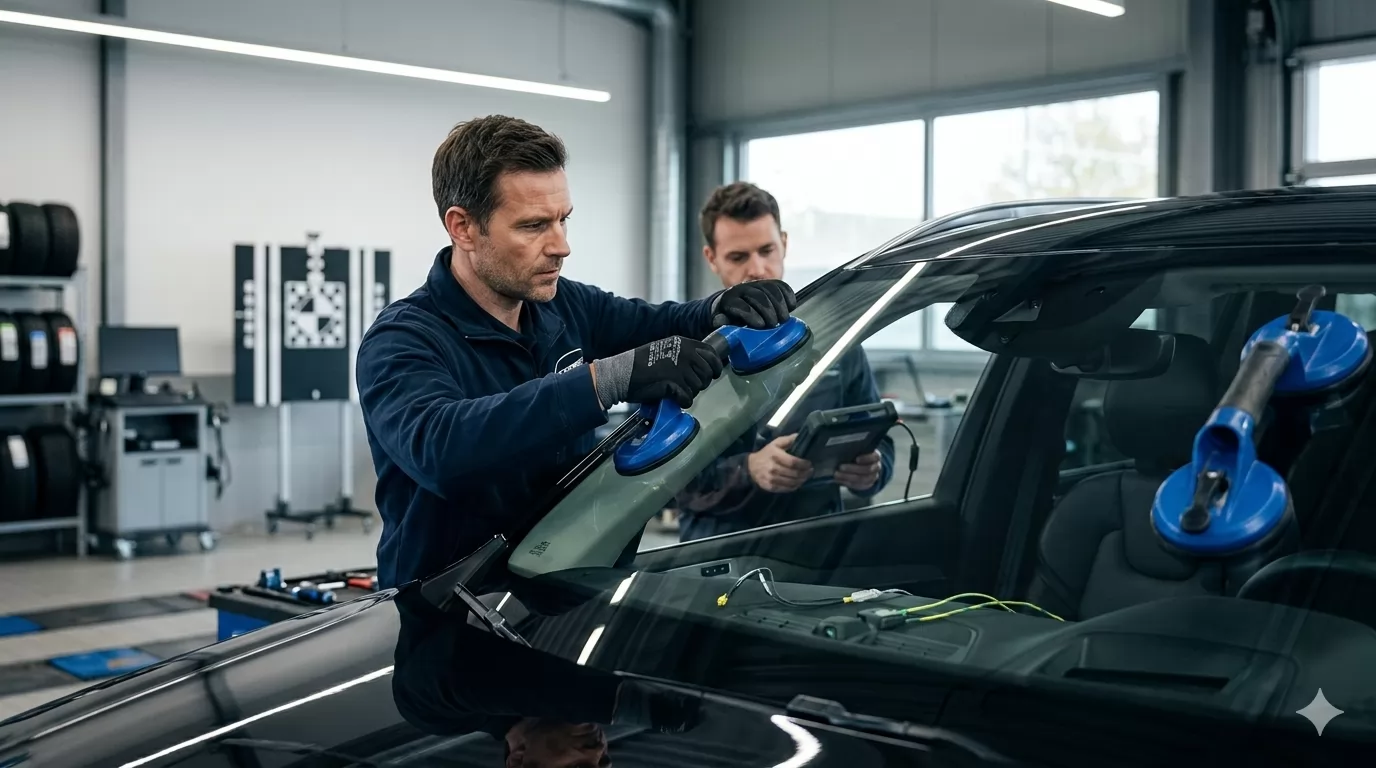
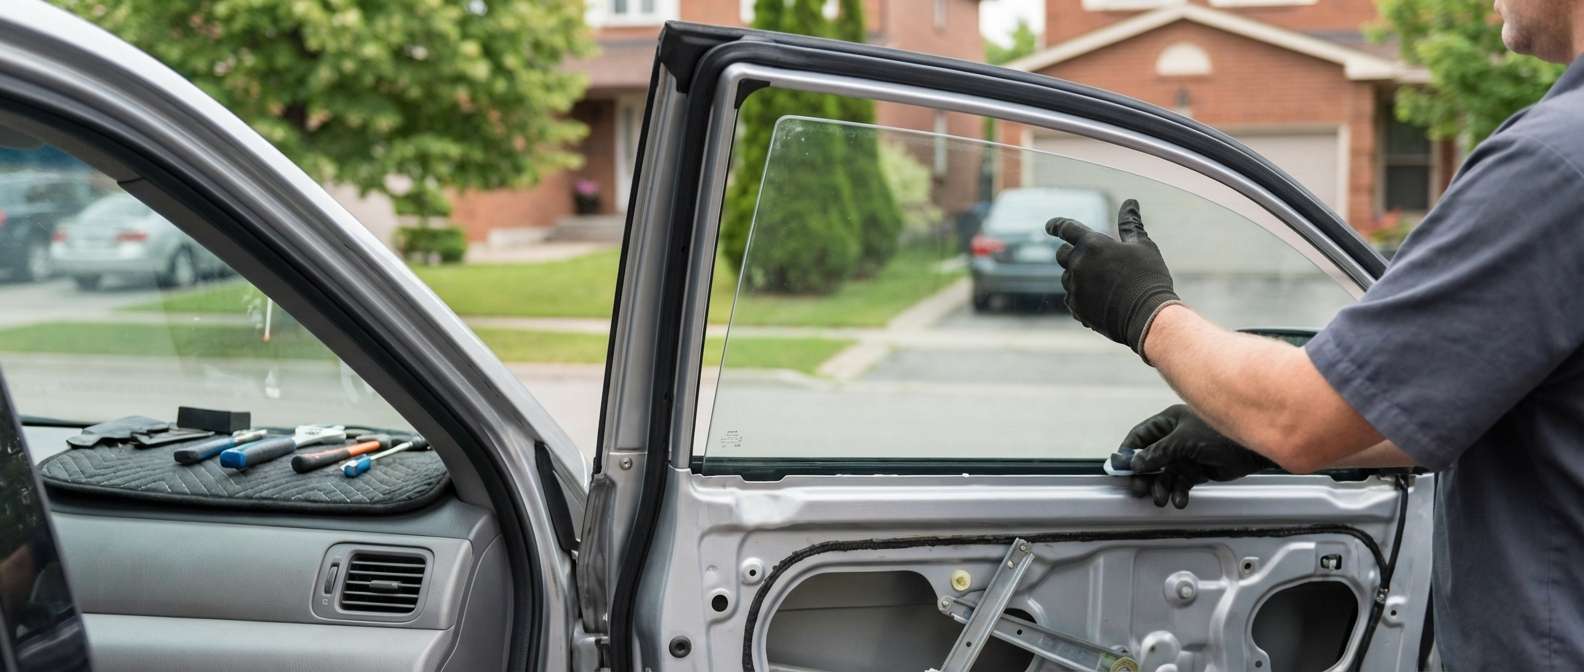
Step 6: Precision Installation of the New Door Glass
With the tracks cleaned and the mounting brackets primed and prepared, our master technicians carefully slide the brand-new, premium tempered door glass into the upper window run channel. Navigating the glass down into the door cavity requires a steady hand and expert precision to avoid damaging the fresh adhesive and the delicate rubber seals. We align the glass perfectly with the Odyssey's factory window regulator mounting points. Once aligned, we secure the glass using the factory bolts, applying the exact torque specifications mandated by Honda to ensure the glass is held firmly but is not subjected to stress fractures. The high-quality adhesive cures rapidly, creating an impenetrable bond between the glass, the weather seals, and the structural mounting brackets.
Step 7: System Testing and Final Reassembly
Before the interior is put back together, we reconnect the power window switches to perform rigorous functional testing. We roll the newly installed door glass up and down multiple times to ensure the tracking is perfectly smooth, quiet, and properly aligned. We check for any signs of binding or wind noise gaps. Once the window passes our strict quality control test, we securely re-seal the vapor barrier, reattach the interior door panel, snap the retaining clips firmly into place, and reconnect all electronic harnesses. A final, meticulous wipe-down of the new glass ensures a streak-free, crystal-clear finish.
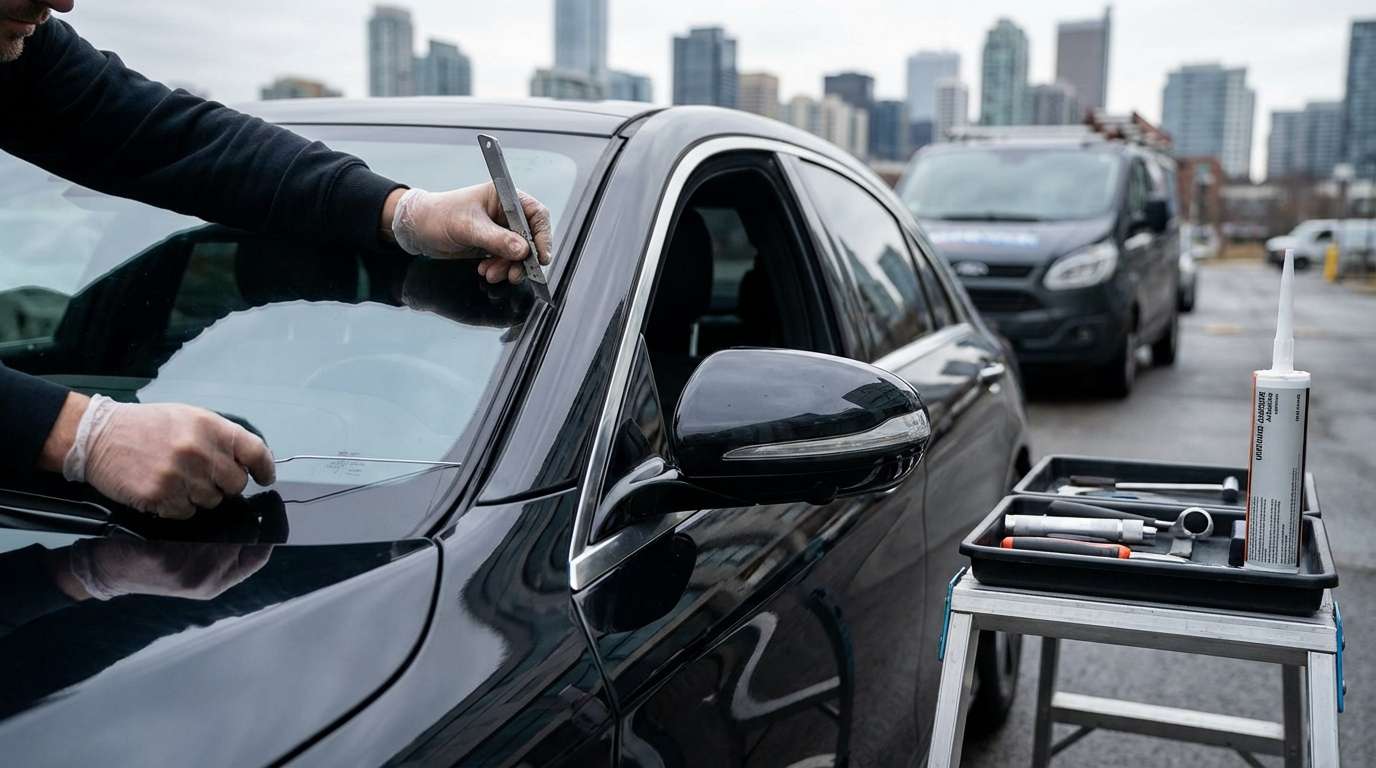
Mobile Auto Glass Excellence Across the Greater Toronto Area
Dealing with a broken vehicle window is stressful enough without having to interrupt your busy schedule. That is why our elite mobile auto glass replacement service is tailored for maximum convenience. Our fleet of specialized service vans operates heavily throughout the Greater Toronto Area (GTA).
- Vaughan: Whether you are shopping near Vaughan Mills or working in the industrial sectors, our technicians arrive promptly with all necessary parts.
- Richmond Hill: We provide rapid response times for families and commuters in Richmond Hill, ensuring your minivan is secured before the weather turns bad.
- Markham: From residential driveways to corporate parking lots in Markham, we bring our master A-Z auto glass replacement process directly to your location.
Backed by the AlexWindshield Lifetime Warranty
Your 1999-2004 Honda Odyssey has proven its reliability over the years, and your replacement auto glass should be no different. As the most trusted name in automotive glass repair and replacement, AlexWindshield is committed to unparalleled craftsmanship and superior customer safety. Every single door glass replacement we perform is backed by our comprehensive, industry-leading Lifetime Warranty, which protects you against any manufacturer defects, wind noise, or water leaks for as long as you own the vehicle. Do not let a shattered window disrupt your family's life. Trust the senior master technicians at AlexWindshield for premium, mobile auto glass services across the GTA, and get back on the road with total confidence and peace of mind.