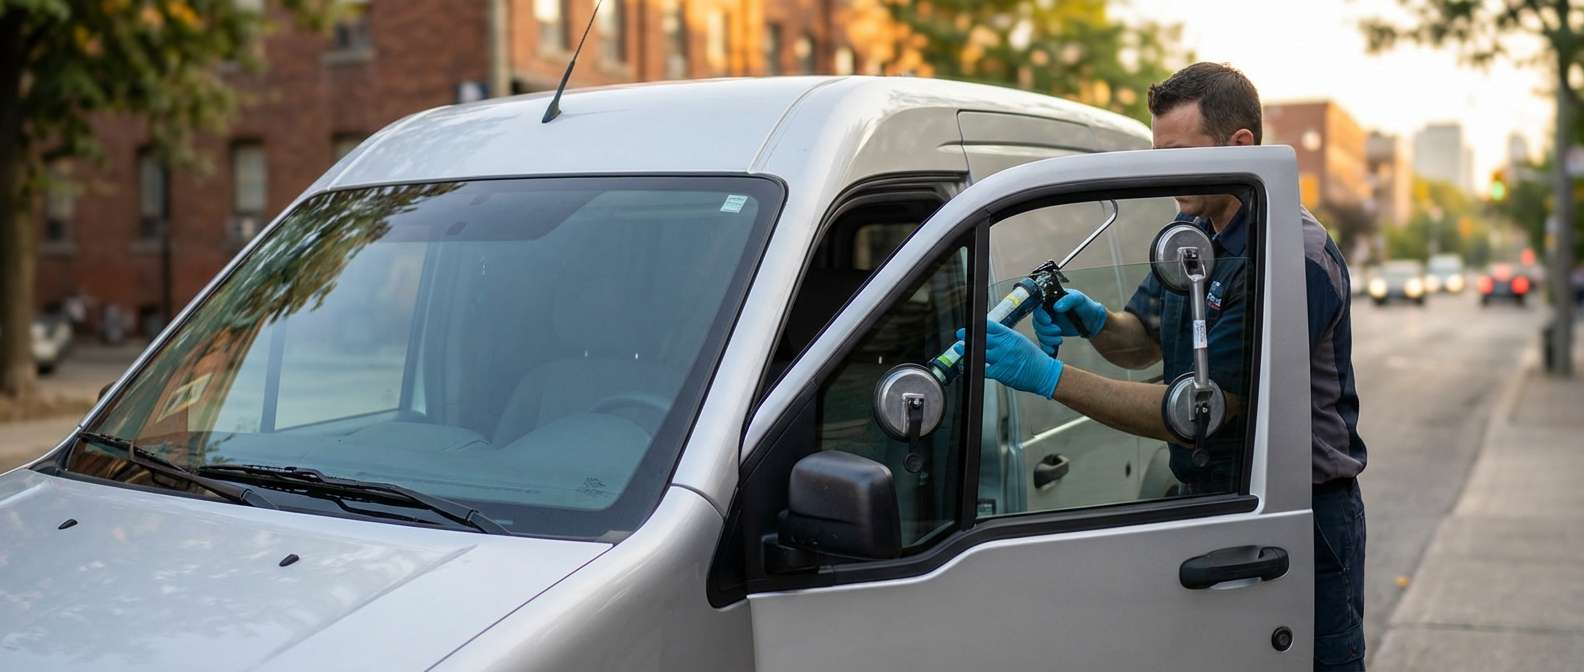
The 2010-2013 Ford Transit Connect: Securing Your Mobile Workspace
The first-generation North American Ford Transit Connect (2010-2013) revolutionized the compact commercial van market with its quirky, highly functional, high-roof design. Built to navigate tight city streets while hauling significant cargo, this vehicle quickly became the backbone for tradespeople, delivery services, and small businesses. However, its distinctive sloping front window line features a prominent, stationary vent glass—a highly targeted weak point for thieves looking to access your valuable tools, and a prime candidate for devastating road debris damage. When this specific piece of glass shatters, it doesn't just compromise your vehicle's aerodynamics; it leaves your livelihood exposed to theft and your cabin open to harsh, unpredictable Canadian weather.
At AlexWindshield, we understand that a broken vent glass on your commercial vehicle translates directly to agonizing vehicle downtime and lost revenue. You cannot afford to leave your rolling office unsecured. That is why our specialized auto glass technicians have perfected the exact replacement protocols required for the 2010-2013 Ford Transit Connect vent glass, ensuring a factory-tight seal and impenetrable security, delivered directly to your home, job site, or office.
Why Expert Vent Glass Replacement Matters for Your Commercial Van
The vent glass, often located on the front doors just ahead of the primary roll-up window, or on the rear quarter panels depending on your van's configuration, is manufactured from specialized tempered safety glass. Unlike a windshield that cracks and webs, tempered vent glass is engineered to explode into thousands of tiny, dull-edged pebble-like shards upon impact. While this prevents dangerous, guillotine-like shards from injuring passengers, it creates an absolute nightmare inside the cabin and within the internal door mechanisms.
A compromised vent glass on the 2010-2013 Ford Transit Connect leads to several immediate issues:
- Catastrophic Water Infiltration: Rain and snow will immediately enter the cabin, potentially destroying electrical components, door switches, and ruining custom interior cargo setups.
- Security Vulnerabilities: A missing vent glass allows thieves to reach right in, unlock the doors, and empty your commercial van of thousands of dollars in tools and inventory in seconds.
- Mechanical Blockages: The thousands of shattered glass shards fall directly down into the door cavity, clogging water drain holes and grinding against your main window regulator mechanisms, potentially causing secondary mechanical failures.
- Wind Noise and Structural Integrity: A poorly installed aftermarket replacement without proper adhesives will generate maddening highway wind whistling and structural vibrations.
Comprehensive Mobile Auto Glass Coverage Across the Greater Toronto Area (GTA)
As a leading authority in auto glass repair and replacement, AlexWindshield proudly dispatches our fleet of fully equipped mobile service vans across the entire Greater Toronto Area (GTA). We know that commercial van owners cannot waste a day sitting in a traditional garage waiting room. Our master technicians bring the auto glass shop directly to your location.
Whether you are on a construction site in Vaughan, running delivery routes through the busy tech parks of Markham, or parked at a residential plumbing job in Richmond Hill, our mobile auto glass units arrive fully prepared to execute a flawless, on-the-spot vent glass replacement. We service the entire GTA, ensuring that local business owners and tradespeople experience minimal disruption to their daily operations.
Master Technician’s Guide: Step-by-Step Vent Glass Replacement Process
Replacing the vent glass on a 2010-2013 Ford Transit Connect is not a simple "pop-in" procedure. It requires precise disassembly of the vehicle's interior trim, meticulous cleaning, and advanced chemical bonding techniques. As Master Technicians at AlexWindshield, here is our rigorous, A-to-Z replacement methodology:
Step 1: Complete Vehicle Assessment and Interior Protection
Before any tools are deployed, our technician conducts a thorough inspection of the vehicle's door frame and surrounding paintwork to ensure no collateral damage occurred during the glass breakage. We then apply heavy-duty protective blankets over the Transit Connect's dashboard, seats, and floorboards. We mask off the exterior paint surrounding the vent window frame with specialized automotive tape to prevent any accidental scratching during the extraction process.
Step 2: Door Panel and Interior Trim Disassembly
Because shattered tempered glass immediately falls into the door's internal cavity, we cannot simply glue a new piece of glass onto the frame. We carefully remove the interior door panel using non-marring specialized trim tools. For the Transit Connect, this involves unbolting the interior door handle, removing the window switch panels, and popping the heavy-duty commercial retention clips. We also remove the division bar (the metal guide separating the main window from the vent glass) to allow proper access to the vent glass mounting pinch weld.
Step 3: Broken Glass Extraction and Intensive Vacuuming
This is a critical step that separates amateur installers from master technicians. We utilize high-powered, industrial shop vacuums outfitted with micro-crevice tools to extract every single shard of broken glass. We rigorously vacuum the vehicle's interior seats and floorboards to protect the driver. Crucially, we vacuum deep inside the exposed door cavity, clearing the window regulator tracks, the door shell base, and the factory water weep holes. Failing to perform this deep vacuuming results in a door that rattles with every bump and eventually traps rust-causing moisture.
Step 4: Old Urethane Removal and Surface Preparation
With the frame exposed and completely free of glass debris, we focus on the pinch weld where the new vent glass will sit. Using a specialized cold knife and precision scraping tools, we carefully cut back the old factory polyurethane adhesive down to a thin, flat base layer of 1 to 2 millimeters. This process, known as "trimming the bead," provides the ideal bonding surface for the new adhesive. We then treat the entire window channel with advanced, chemical surface cleaners to strip away all dirt, road grime, and lingering oils.
Step 5: Precision Primer Application
To guarantee a watertight and structurally sound installation, bare metal scratches (caused by the initial breakage or the removal process) and the new glass bonding surface must be primed. We apply a highly specialized, fast-drying automotive glass primer to the vehicle's pinch weld and the black ceramic frit band on the edge of the new vent glass. This primer acts as a chemical bridge, ensuring the urethane adhesive cross-links perfectly with both the vehicle frame and the glass. We strictly observe the manufacturer's mandatory flash-off (drying) time to ensure maximum chemical activation.
Step 6: High-Quality Adhesive Application and Glass Installation
Once the primer is cured, we load our heated electric caulking guns with premium, OEM-grade high-quality urethane adhesive. Our technicians apply a precise, uniform V-bead of urethane around the perimeter of the vent glass frame. The new Transit Connect vent glass is then meticulously aligned and firmly pressed into the urethane bed. We apply specialized retention tape to hold the glass in perfect anatomical alignment, ensuring the glass does not slide even a millimeter while the adhesive begins its chemical curing process.
Step 7: Curing, Reassembly, and Final Quality Check
While the high-quality adhesive cures to meet strict Safe Drive Away Time (SDAT) standards, we reverse the disassembly process. We reinstall the division bar, carefully reposition the internal weather seals, and remount the interior door panel, ensuring all electronic window switches and speakers are fully connected and functional. Finally, we clean the newly installed vent glass with professional-grade, streak-free glass cleaner and conduct a comprehensive quality assurance check to ensure a perfect, factory-grade fit and a completely pristine interior.
OEM vs. OEE Glass for Your Commercial Ford
At AlexWindshield, we believe in giving our customers the best options for their budget and needs. For the 2010-2013 Ford Transit Connect, we offer both Original Equipment Manufacturer (OEM) glass and Original Equipment Equivalent (OEE) aftermarket glass. Regardless of the tier you choose, we guarantee that the vent glass meets all strict Department of Transportation (DOT) safety standards. Our OEE glass options offer the exact same dimensions, tint, and acoustic properties as the glass your van rolled off the assembly line with, providing incredible value without sacrificing an ounce of safety or durability.
Why Choose AlexWindshield for Your GTA Auto Glass Needs?
The security of your commercial fleet should never be left to chance. Fast, reliable, and technically flawless execution is what has made us the preferred auto glass replacement provider in Vaughan, Richmond Hill, Markham, and throughout the broader Greater Toronto Area (GTA). When you choose us, you are not just getting a piece of glass; you are receiving the peace of mind that comes with masterful automotive craftsmanship.
Do not let a shattered vent glass keep your Ford Transit Connect off the road and out of business. AlexWindshield is your trusted expert for premium mobile auto glass services in the GTA. We proudly back every single vent glass replacement with our comprehensive, industry-leading Lifetime Warranty against leaks, wind noise, and manufacturer defects. Contact AlexWindshield today to schedule your mobile replacement, and let our master technicians get your commercial vehicle back to work safely, securely, and swiftly.


