The Architectural Precision of the 2014-2019 Cadillac CTS: Preserving Your Luxury Ride
The 2014-2019 Cadillac CTS redefined modern American luxury by seamlessly blending aggressive, track-inspired aerodynamics with a whisper-quiet, technologically advanced cabin. Often celebrated for its sharp "Art and Science" design philosophy, every inch of this third-generation CTS was engineered for aesthetic perfection and structural integrity. Among its meticulous design elements is the often-overlooked vent glass—the smaller, stationary glass panel typically located on the rear doors or quarter panels. While compact in size, this glass plays a monumental role in maintaining the vehicle’s cabin acoustics, climate control efficiency, and overall security.
Unfortunately, because of its size and location, the vent glass is frequently targeted by opportunistic thieves looking for a quick entry point to access the interior door handle. It is also highly susceptible to side-impact debris. When compromised, this tempered safety glass shatters into thousands of tiny, granular pieces, leaving your luxurious interior exposed to the elements and covered in hazardous debris. Restoring your vehicle requires much more than a simple patch job; it demands the precision of a Master Technician. For owners seeking flawless Cadillac CTS vent glass replacement, the exact tolerances of the 2014-2019 model require a highly specialized, step-by-step approach to restore the vehicle to its factory-grade glory.
Why Cadillac CTS Vent Glass Requires Specialized Technician Expertise
Unlike standard windshields that utilize laminated glass, the vent glass on a 2014-2019 Cadillac CTS is crafted from tempered glass. When broken, tempered glass is designed to explode into small, blunt pieces to prevent deep lacerations. However, this safety feature means that shattered glass infiltrates every crevice of your luxury door panel, window tracks, and premium leather seating.
Furthermore, replacing the vent glass on this specific generation of the CTS is not a simple "drop-in" procedure. It involves complex disassembly of the interior door structure, manipulation of the window division bar, and precisely calibrated sealing to ensure that the legendary quietness of the Cadillac cabin is not compromised by wind noise or water leaks. This is where the elite technical proficiency of AlexWindshield becomes indispensable.
Comprehensive Vent Glass Replacement Process: A Master Technician’s Step-by-Step Guide
At AlexWindshield, we do not cut corners. Our A-to-Z replacement methodology ensures that your 2014-2019 Cadillac CTS is treated with the utmost respect, utilizing industry-leading materials and rigorous safety protocols. Here is exactly how our Master Technicians execute a flawless vent glass replacement.
Step 1: Pre-Installation Inspection and Extensive Interior Protection
Before any tools are lifted, we begin with a meticulous inspection of the damage. We assess the window frame, the exterior paint, and the interior trims for any secondary damage caused by the impact or break-in. Because shattered tempered glass is highly abrasive, protecting your Cadillac’s premium interior is our first priority.
- Protective Shielding: We drape heavy-duty, scratch-resistant drop cloths over the leather seats, center console, and floor mats.
- Exterior Masking: Automotive-grade masking tape is applied around the exterior door frame and painted surfaces to prevent any accidental scratching during the glass extraction and installation process.
- Component Testing: We briefly test the electronic components of the door (power locks, main window regulator, and speakers) to ensure they have not been compromised by the glass breakage.
Step 2: Precision Door Panel Removal and Structural Access
To properly access the vent glass housing on the Cadillac CTS, the interior door panel must be carefully removed. This requires a delicate touch to preserve the luxury wood or carbon fiber trims, ambient lighting wires, and delicate retaining clips.
- Trim Extraction: Using specialized, non-marring nylon pry tools, we carefully remove the cosmetic trim pieces covering the hidden Torx screws.
- Hardware Removal: All structural bolts and screws securing the door card are extracted and organized.
- Wiring Disconnection: We gently unclip the wiring harnesses for the power windows, memory seats, and premium Bose audio speakers.
- Vapor Barrier Peel: The inner moisture barrier is carefully peeled back, granting our technicians direct access to the inner door cavity and the window division bar that separates the main roll-up window from the stationary vent glass.
Step 3: Deep Vacuuming and Extrication of Shattered Glass Shards
Leaving even a single piece of shattered glass inside the door cavity can result in persistent, maddening rattles every time you close the door or drive over a bump. It can also cause catastrophic damage to the main window regulator moving parts.
- Cavity Deep Clean: We use high-powered industrial vacuums equipped with flexible micro-crevice tools to reach the very bottom of the internal door cavity.
- Track Clearing: Every shard is meticulously vacuumed from the rubber weatherstripping and window run channels.
- Interior Detailing: The floorboards, seat crevices, and surrounding interior spaces are thoroughly vacuumed to ensure your cabin is 100% safe and free of glass dust and fragments.
Step 4: Removal of the Old Vent Glass Frame and Surface Preparation
Depending on the specific trim and exact location (door vs. rear quarter), the old vent glass frame must be unbolted or unbonded.
- Division Bar Unbolting: We lower the main door glass and unbolt the division bar (the metal track separating the two windows) to create the clearance necessary to extract the damaged vent glass frame.
- Seal Cutting: If the vent glass is bonded to the pinchweld, we use a specialized cold knife or wire cutting system to slice through the old urethane adhesive without damaging the vehicle's body.
- Pinchweld Cleaning: The metal bonding surface (pinchweld) is shaved down to a thin, even layer of the original urethane. We then clean the surface thoroughly using specialized, alcohol-based glass cleaners to remove all dirt, grease, and microscopic debris.
Step 5: Primer Application and Urethane Adhesive Bonding
Creating a permanent, watertight, and airtight seal is critical to maintaining the Cadillac CTS’s acoustic dampening.
- Chemical Priming: We apply a high-performance automotive glass primer to any exposed bare metal on the pinchweld to prevent future rust. Primer is also applied to the frit band (the black painted edge) of the new, OEM-equivalent vent glass to promote maximum chemical adhesion.
- Adhesive Extrusion: Using a battery-powered caulking gun, our Master Technicians apply a perfectly uniform, triangular bead of high-quality, fast-curing urethane adhesive. This industrial-grade adhesive is the exact specification used on automotive assembly lines, ensuring structural rigidity and leak-free performance.
Step 6: Precision Installation of the New Vent Glass
Handling the new glass requires immense focus and precision.
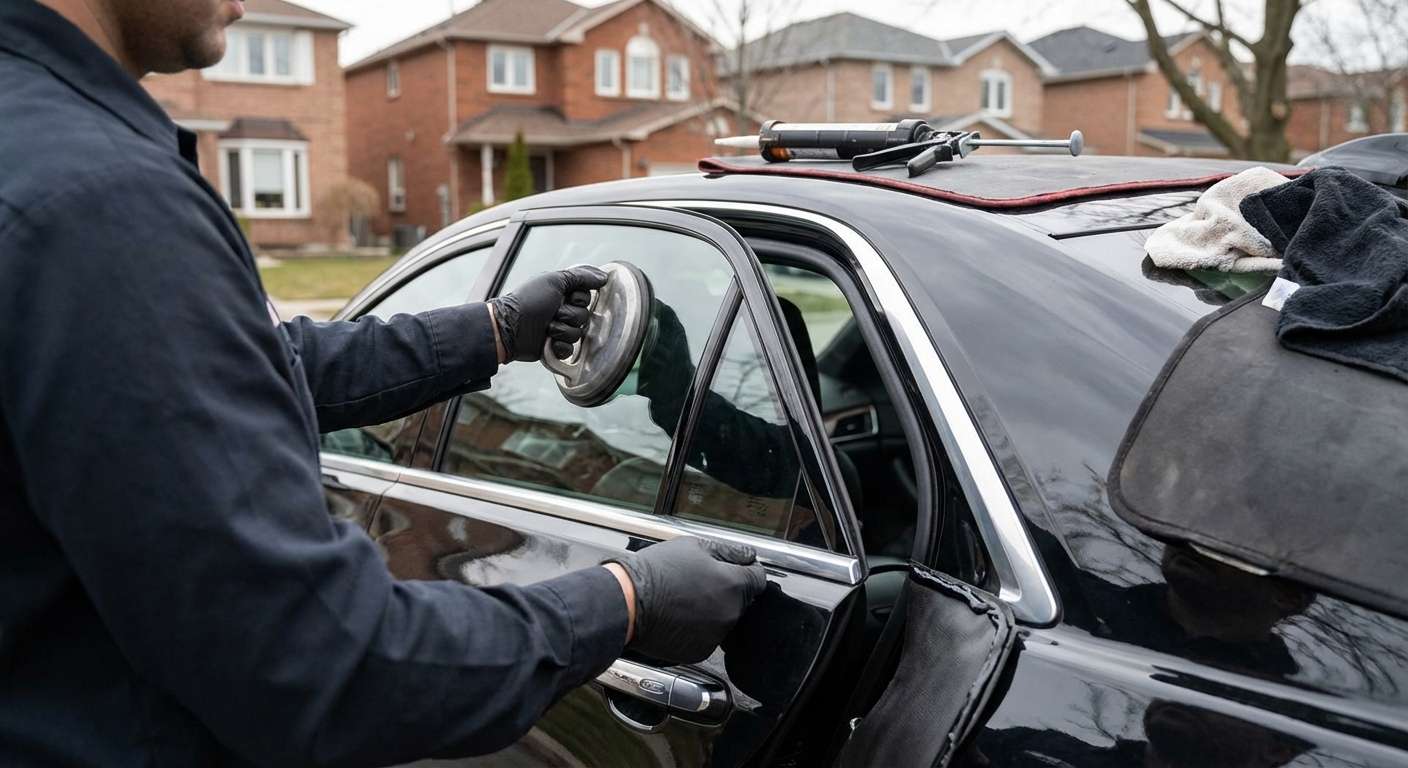
- Glass Setting: Utilizing heavy-duty suction cups, the new vent glass is carefully guided into the door frame or quarter panel opening. It is pressed into the fresh urethane bead with perfectly calibrated pressure to ensure the adhesive spreads evenly, creating an impenetrable seal.
- Division Bar Reinstallation: The division bar is moved back into its original position, securing the front edge of the vent glass. It is then bolted down to exact factory torque specifications.
- Weatherstripping Alignment: The surrounding rubber gaskets and exterior moldings are seated back into place perfectly flush with the vehicle's body lines to eliminate any chance of wind whistling at highway speeds.
Step 7: Reassembly, Curing Time, and Final Quality Check
With the new glass firmly installed, we begin the meticulous process of reassembly.
- Door Panel Restoration: The vapor barrier is resealed. Wiring harnesses are reconnected, and the interior door card is snapped back into its factory clips before all Torx screws and cosmetic trims are locked in place.
- Operational Testing: We roll the main window up and down several times to ensure there is no friction or interference with the newly installed vent glass and division bar.
- Safe Drive-Away Time: We strictly observe the Minimum Drive-Away Time (MDAT) required for the high-quality adhesive to cure, ensuring the glass is structurally sound before the vehicle is operated.
- Final Polish: The new vent glass, along with the adjacent windows, is cleaned to a streak-free, flawless shine.
Premium Mobile Auto Glass Service in the Greater Toronto Area (GTA)
At AlexWindshield, we understand that a broken window is a massive inconvenience, leaving your luxury vehicle vulnerable to theft and weather. That is why we bring our Master Technician expertise directly to your doorstep. We proudly offer rapid, professional, and fully equipped mobile auto glass repair and replacement services across the Greater Toronto Area (GTA).
Serving Vaughan, Richmond Hill, Markham, and Beyond
Whether you are parked in a commercial lot in Vaughan, at your home driveway in Richmond Hill, or at your corporate office in Markham, our mobile fleet arrives fully stocked with everything needed to execute a flawless Cadillac CTS vent glass replacement. You do not need to risk driving a vehicle with a blown-out window through GTA traffic; let our experts come to you. Our mobile service bays are equipped with the same high-end tools, industrial vacuums, and premium urethanes as a stationary shop, guaranteeing that the quality of your installation is never compromised by convenience.
Why Choose AlexWindshield for Your Cadillac CTS?
Your 2014-2019 Cadillac CTS is a masterpiece of automotive engineering, and it deserves to be serviced by technicians who treat it as such. Generic, rushed glass jobs often lead to interior water leaks, rusted pinchwelds, and annoying wind noises that ruin your driving experience. By choosing AlexWindshield, you are opting for unparalleled craftsmanship.
- Master Technicians: Our staff is rigorously trained in the specific nuances of luxury vehicle disassembly and glass installation.
- Premium Materials: We use exclusively OEM-equivalent glass and top-tier, crash-tested urethane adhesives.
- Immaculate Cleanup: We guarantee the removal of all shattered tempered glass from your vehicle's interior and internal door structures.
- Complete Peace of Mind: We stand proudly behind our craftsmanship by offering an industry-leading Lifetime Warranty on our workmanship and against any water leaks or wind noises.
Restore Your Cadillac's Security and Elegance Today
Do not let a shattered vent glass compromise the luxury, security, and quiet ride of your 2014-2019 Cadillac CTS. Trust the premier auto glass specialists in the GTA to restore your vehicle to absolute perfection. AlexWindshield is your definitive source for expert, mobile auto glass services. Contact us today to schedule your immediate, mobile vent glass replacement in Vaughan, Richmond Hill, Markham, or anywhere across the Greater Toronto Area, and experience the ultimate standard in automotive glass repair.


