Restoring the Silhouette: Expert Back Glass Replacement for the BMW X6 (E71)
The BMW X6 (E71), produced between 2008 and 2014, was a pioneer in the automotive world, effectively creating the "Sports Activity Coupe" segment. Its defining feature is the aggressive, sloping roofline that merges seamlessly into the rear deck. While this design offers a striking, muscular aesthetic, the back glass is a complex, heavily raked component that contributes significantly to the vehicle's structural rigidity and aerodynamic profile. When this glass is compromised—whether by road debris, vandalism, or accidental impact—it disrupts not just the view, but the integrity of this precision-engineered German machine.
At AlexWindshield, we understand that an E71 X6 is not just an SUV; it is a statement of performance. As Master Technicians serving the Greater Toronto Area (GTA), we specialize in the intricate process of Back Glass Replacement for the BMW X6. Unlike a standard windshield, the rear windscreen on the X6 involves complex defroster circuitry, integrated antenna systems, and the challenge of managing tempered glass fragments. We bring the repair shop to you, offering mobile service excellence in Vaughan, Richmond Hill, and Markham.
The Complexity of BMW E71 Rear Auto Glass
The rear window of the 2008-2014 BMW X6 is manufactured using tempered safety glass. Unlike the laminated glass found in your front windshield, tempered glass is heat-treated to withstand high surface compression. This makes it incredibly strong, but it also means that upon significant impact, it is designed to shatter into thousands of small, pebble-like pieces rather than jagged shards.
While this is a safety feature intended to prevent injury, it creates a chaotic scenario for the vehicle owner. The shattered glass does not simply fall away; it infiltrates the trunk, embeds itself in the carpet, falls inside the rear hatch paneling, and can even migrate to the rear passenger seats. A standard glass shop might just swap the window. At AlexWindshield, we perform a comprehensive restoration.
Key Features of the X6 Back Glass:
- Integrated Heating Elements: The defroster grid on the E71 is sensitive and requires precise electrical reconnection.
- Diversity Antenna System: Many BMW models utilize the rear glass for radio and GPS signal reception; improper installation can lead to signal loss.
- Privacy Tinting: Matching the factory privacy glass hue is essential to maintaining the X6’s OEM look.
Step-by-Step: The AlexWindshield Replacement Protocol
As a Master Technician, I approach every BMW installation with a surgical mindset. The replacement of the back glass on an E71 requires patience, specialized tools, and a rigorous adherence to safety protocols. Below is our detailed, A-to-Z process for restoring your vehicle.
Phase 1: Site Safety and Vehicle Preparation
Before we touch a single tool, we prepare the work environment. Whether we are servicing your vehicle in a driveway in Richmond Hill or an office parking lot in Markham, the process begins with protection.
- Exterior Protection: We apply protective tape and fender covers around the rear hatch frame to prevent accidental scratches to the paintwork during the removal of debris.
- Interior Shielding: We place heavy-duty covers over the rear leather seats and cargo area to catch falling glass during the removal of the remaining shards.
- Wiper Arm Removal (If Equipped): While most X6 models rely on airflow for clearing the rear window, if any aftermarket or specific region wiper assemblies are present, they are carefully removed using a puller tool to avoid damaging the splines.
Phase 2: Debris Management and Panel Removal
This is the most critical step distinguishing a professional job from a hasty one. Broken tempered glass gets everywhere. To ensure no rattling noises persist after the repair, we must access the internal structure of the rear hatch.
Step-by-Step Interior Cleaning:
- Panel Disassembly: We carefully use non-marring pry tools to pop the retaining clips of the interior liftgate trim panels. This exposes the metal skeleton of the hatch.
- Vacuuming the Frame: Using a high-powered industrial vacuum with a flexible crevice tool, we extract glass shards that have fallen inside the metal door frame. We manipulate the hatch (opening and closing it) to dislodge hidden pieces.
- Cabin Cleanup: We meticulously vacuum the rear cargo area, the spare tire well, and the rear seats. We aim to return the interior to a pristine condition.
Phase 3: Removal of the Old Glass and Urethane
Once the mess is contained, we focus on the aperture.
- Disconnecting Electronics: We identify the wiring harnesses for the rear defroster and antenna modules. These connectors are often located behind the side trim. We carefully unclip them to prevent damage to the vehicle's main wiring loom.
- Cutting the Bond: Using a specialized oscillating tool (often called a "Cold Knife") or a wire-cutting system, we slice through the existing urethane bead that holds the glass remains to the body.
- Trimming the Old Bead: We do not remove all the old adhesive. Instead, we trim the existing polyurethane down to a height of approximately 1-2mm. This provides the perfect base for the new adhesive to bond to, ensuring a cohesive "molecular cross-link" between the old and new urethane.
Phase 4: Surface Preparation and Primer Application
The longevity of the installation depends on chemical preparation. A BMW X6 requires high-modulus adhesive to maintain structural rigidity.
- Pinch Weld Inspection: We inspect the metal frame (pinch weld) for any scratches or corrosion. If any metal was exposed during the removal process, we sand it lightly and apply a rust-inhibitive metal primer.
- Glass Preparation: The new BMW X6 back glass is cleaned thoroughly with a glass activator to remove silicone or grease from the manufacturing process.
- Priming the Glass: We apply a specialized black primer to the frit band (the black ceramic border) of the new glass. This primer serves two purposes: it blocks UV light from degrading the adhesive and provides a chemical bonding surface for the urethane.
Phase 5: Adhesive Application and Installation
This is the moment of precision. We use only OEM-grade, high-viscosity urethane adhesive (such as Sika or Dow) that meets BMW's strict drive-away time requirements.
- V-Bead Application: Using a high-ratio battery-operated caulk gun, I apply a triangular "V-bead" of urethane directly onto the glass or the vehicle body (depending on the specific fitment requirement of the E71). The V-shape ensures that when the glass is compressed, the glue spreads evenly without trapping air bubbles, preventing leaks.
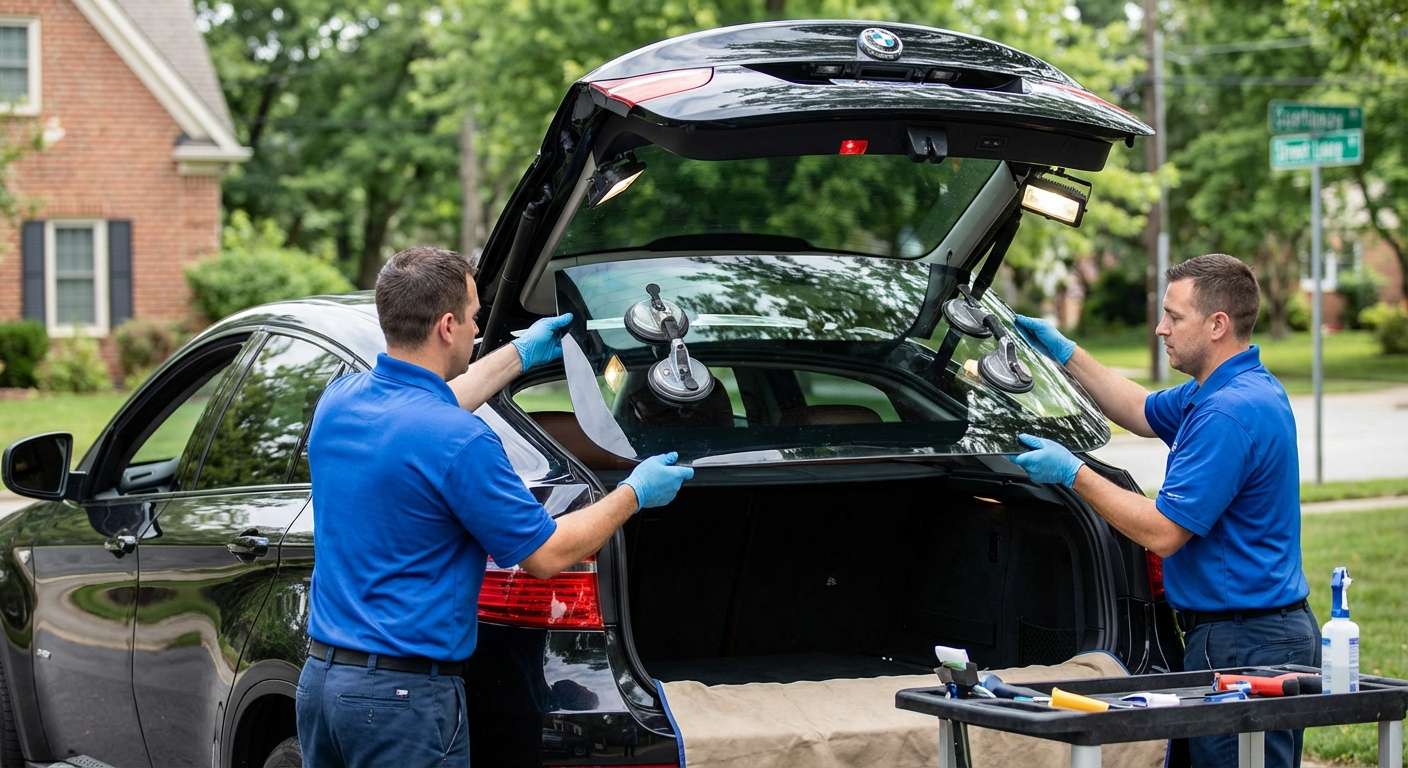
- Setting the Glass: Using heavy-duty suction cups (Gecko grips), two technicians carefully lift the large, curved back glass. We align it with the roofline and the quarter panels, ensuring the gaps are symmetrical on both the left and right sides.
- Compression and Connections: We gently press the glass into the urethane to ensure proper contact. Immediately after, we reconnect the defroster and antenna plugs, testing the electrical continuity before reassembling the trim.
Phase 6: Reassembly and Post-Installation Checks
With the glass set, we reinstall the interior liftgate panels, ensuring all clips engage with a satisfying "click." We perform a leak test (using ultrasonic detection or water testing once cured) and verify that the rear hatch closes smoothly without contacting the bumper or roof.
Serving the GTA: Vaughan, Richmond Hill, and Markham
The BMW X6 is a popular vehicle in the affluent suburbs north of Toronto, and AlexWindshield is the preferred service provider for this region. We understand that our clients in Vaughan (near Rutherford or Major Mackenzie) value their time. We know that residents in Richmond Hill (along Bayview or Yonge) expect dealership-level quality without the dealership wait times. Our coverage extends deep into Markham, ensuring that whether you are at the office or home, our mobile unit comes to you fully equipped.
Our mobile vans are essentially rolling workshops. They are equipped with generators, power tools, lighting, and all the necessary vacuum equipment to handle a shattered back glass scenario anywhere in the GTA. We navigate the 407, 404, and 400 highways daily to bring expert auto glass solutions to your doorstep.
Why Choose AlexWindshield?
Choosing the right technician for your BMW X6 (E71) is crucial. Incorrect installation of a back glass can lead to water leaks that damage the battery and electronics located in the trunk floor of the X6, or wind noise that ruins the quiet cabin experience.
The AlexWindshield Advantage:
- OEM Quality Glass: We use glass that meets or exceeds Original Equipment Manufacturer standards, ensuring perfect fitment, tint match, and defroster performance.
- Master Technicians: Our team is trained specifically on European luxury vehicles. We know the intricacies of BMW clips, wiring, and sensors.
- Thorough Cleanup: We pride ourselves on leaving your car cleaner than we found it. We hunt down every shard of broken glass.
- Mobile Convenience: We service Vaughan, Richmond Hill, Markham, and the entire GTA at no extra convenience cost.
Lifetime Warranty and Final Assurance
We stand firmly behind our craftsmanship. At AlexWindshield, every back glass replacement comes with a Lifetime Warranty on the installation. This covers you against leakage, wind noise, and workmanship defects for as long as you own the vehicle. When you drive a high-performance machine like the BMW X6, you should never settle for "good enough."
If you are facing the unfortunate situation of a shattered back window on your BMW X6 2008-2014, do not risk the structural integrity of your vehicle with amateurs. Trust the Master Technicians who understand the engineering behind the glass.
Contact AlexWindshield today. Let us restore the view and the safety of your Ultimate Driving Machine.


