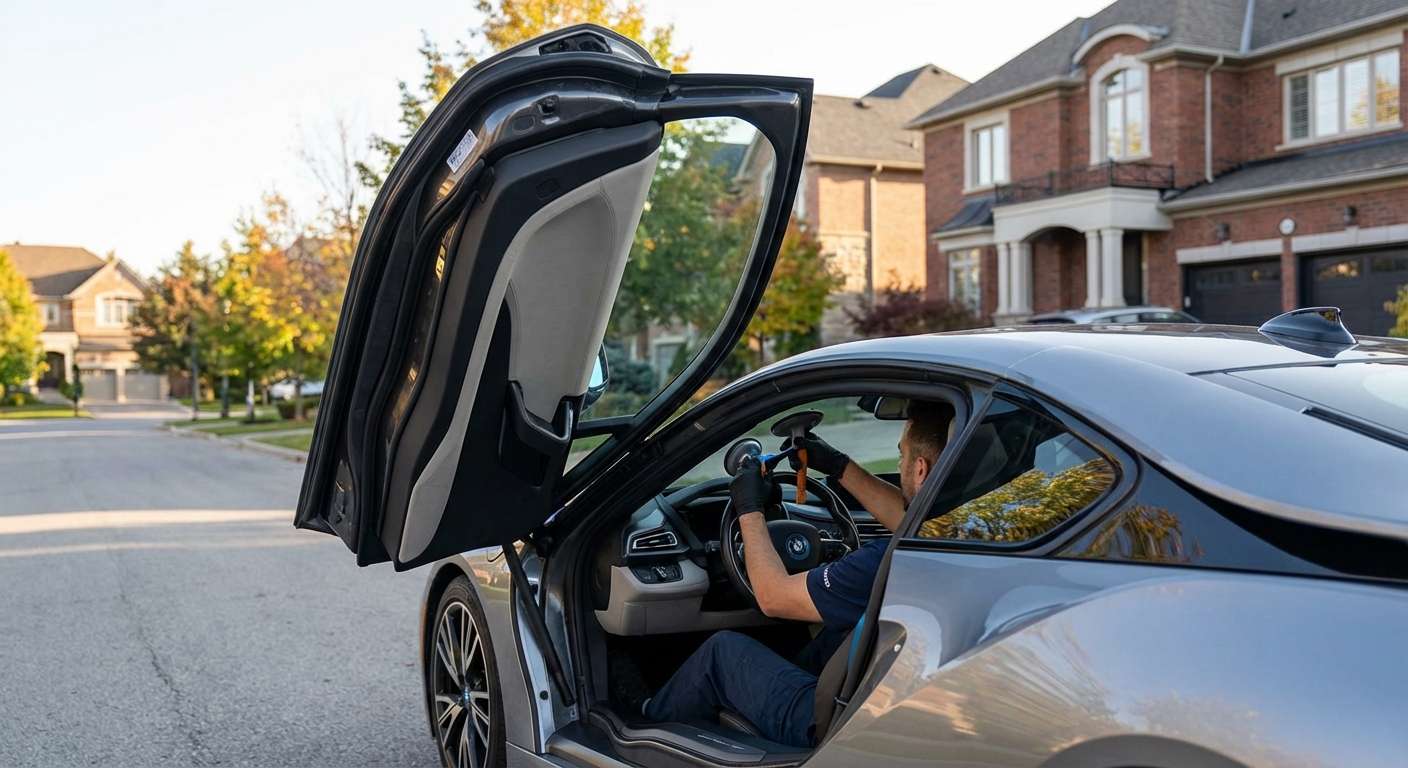
Restoring the Vision of Tomorrow: BMW i8 (I12) Vent Glass Replacement
The BMW i8 (2014-2020) is not merely a vehicle; it is a rolling testament to the future of automotive engineering. Built upon the revolutionary "LifeDrive" architecture—combining a carbon-fiber-reinforced plastic (CFRP) passenger cell with an aluminum chassis—this plug-in hybrid sports car requires a level of service that goes far beyond the capabilities of a standard repair shop. When a component as integral as the vent glass is compromised, it disrupts the aerodynamic efficiency, the aesthetic continuity, and the security of this technological masterpiece. At AlexWindshield, we understand that touching an I12 chassis demands surgical precision, deep technical knowledge of butterfly door mechanics, and an unwavering commitment to quality.
Whether your vehicle suffered from road debris impact, vandalism, or stress fracturing, a damaged vent glass on your BMW i8 is an urgent matter. As Master Technicians serving the Greater Toronto Area (GTA), we specialize in high-end exotic and electric vehicle glass replacement. This guide details our comprehensive, factory-standard approach to replacing the vent glass on your BMW i8, ensuring your vehicle remains as pristine as the day it left Leipzig.
Why Professional Care is Critical for the BMW i8 (I12)
Replacing auto glass on a mass-market sedan is routine; replacing the vent glass on a BMW i8 is a specialized procedure. The I12 model features distinctive dihedral (butterfly) doors that open upwards and outwards. This unique geometry changes how gravity affects the glass setting process and how the internal components of the door are accessed. Furthermore, the door structure is a complex composite of lightweight materials that can be easily damaged by improper prying or incorrect torque specifications.
At AlexWindshield, we utilize proprietary tools designed for carbon-fiber and aluminum interfaces to ensure zero damage to your door cards, leather trim, or the CFRP sill structure. We proudly offer our specialized mobile services to clients in Vaughan, Richmond Hill, Markham, and throughout the entire GTA.
Step-by-Step Technical Process: BMW i8 Vent Glass Replacement
Transparency is the hallmark of a true expert. Below, we detail the A-to-Z process we employ when replacing the vent glass on your BMW i8. This is not a quick fix; it is a systematic restoration of your vehicle's integrity.
Phase 1: Site Preparation and Vehicle Protection
Before any tools touch your vehicle, we establish a safe working environment. Given the low stance and wide door swing of the i8, specific preparations are required.
- Interior Shielding: We apply high-grade protective covers to the "Spheric" leather seats, the center console, and the unique CFRP door sills. The i8 interior is prone to scratches, and we take zero risks.
- Exterior Masking: The paintwork surrounding the window frame and the A-pillar is taped off using non-marring automotive masking tape. This prevents accidental contact between our removal tools and the thermoplastic body panels.
- Battery Safety: While not always mandatory for glass, on the i8, we ensure the vehicle is in a safe state, preventing the window indexing system (the automatic drop feature) from engaging unexpectedly during the repair.
Phase 2: Door Panel Removal and Access
To access the mounting points and tracks for the vent glass, the interior door panel (card) must be removed. On the BMW i8, this is a delicate operation due to hidden fasteners and ambient lighting wiring.
- Fastener Removal: We locate and remove the hidden Torx screws secured behind the decorative trim and door handle recess.
- Clip Release: Using specialized polymer trim tools, we carefully pop the retaining clips holding the door card to the carbon-fiber door shell. Great care is taken not to snap these fragile clips.
- Electrical Disconnect: The door panel is pulled back slightly to disconnect the wiring harnesses for the window switches, door locks, ambient lighting strips, and the Harman Kardon speaker system.
- Panel Storage: The door card is placed on a padded stand to prevent leather creases or damage.
Phase 3: Debris Management and Vacuuming
If the vent glass has shattered (tempered glass), the interior of the door shell will be filled with thousands of glass cubes. Leaving this debris is unacceptable, as it causes rattling and can damage the window regulator or door lock actuators.
- Vapor Barrier Removal: We carefully peel back the weather-sealing vapor barrier to access the door cavity.
- High-Power Extraction: Using a high-suction industrial vacuum with a flexible crevice tool, we extract every shard of glass from the bottom of the door shell.
- Drainage Check: We inspect the door drain holes to ensure no glass shards are blocking water drainage, which could lead to electrical corrosion later.
- Hidden Debris: We use a borescope and compressed air to dislodge glass trapped in the window regulator grease or corner crevices.
Phase 4: Removal of the Old Glass and Hardware
With the cavity clean, we proceed to remove the remnants of the old vent glass assembly.
- Run Channel Removal: The vent glass often sits within a rubber run channel or is bolted to a divider bar. We loosen the tension on the main window regulator to allow movement of the glass guide rails.
- Urethane Cut (If Bonded): If the vent glass is a bonded module (common in modern luxury vehicles), we use a precise oscillating tool or wire cutting system to slice through the old urethane adhesive without scratching the pinchweld paint.
- Extraction: The damaged unit is carefully maneuvered out of the door frame. Given the butterfly door angle, this requires steady hands to avoid dropping the assembly.
Phase 5: Surface Preparation and Priming
The longevity of the replacement depends entirely on surface preparation. We do not skip this step.
- Pinchweld Cleaning: The metal (or composite) frame where the glass sits is cleaned of all old adhesive, dirt, and road grime using a specialized solvent that does not harm carbon fiber resin.
- Abrasion and Activation: If bonding to a painted surface, we lightly scuff the area to promote adhesion and apply an activator.
- Primer Application: We apply a high-quality black primer to the vehicle body and the new glass rim. This primer serves three purposes: it blocks UV light from degrading the adhesive, prevents rust on metal components, and chemically bonds the urethane to the glass.
Phase 6: Installation of the New Vent Glass
We use only OEM-equivalent glass that matches the tint, thickness, and curvature of the original BMW i8 specifications.
- Adhesive Application: We apply a triangular bead of high-modulus, non-conductive urethane adhesive. This is critical for the i8 to ensure that the adhesive does not interfere with the vehicle's complex electronics or antenna systems often embedded in glass.
- Setting the Glass: The new vent glass is positioned into the frame with millimeter precision. We check the flushness against the A-pillar and the main door glass to ensure zero wind noise at high speeds.
- Hardware Torque: Any bolts or guide rails loosened during removal are re-torqued to BMW factory specifications.
Phase 7: Reassembly and Functional Testing
Once the glass is set, we begin the reconstruction of the door.
- Vapor Barrier Reseal: The vapor barrier is re-adhered using butyl tape to ensure the cabin remains watertight.
- Panel Installation: The door panel is reconnected (lights, speakers, switches) and clipped back into place. We ensure a tight fit with no gaps.
- Window Indexing: We perform a reset procedure on the window regulator. This teaches the car the new "top" and "bottom" positions of the window, ensuring the Smart Window Drop functions correctly when the door handle is pulled.
- Clean and Polish: The new glass is cleaned inside and out with streak-free cleaner, and the interior is given a final vacuum.
Service Availability in the Greater Toronto Area
Driving a BMW i8 means you value efficiency and time. You shouldn't have to waste a day at a repair shop waiting room. AlexWindshield brings the workshop to you. Our fully equipped mobile units are capable of performing this complex replacement in your driveway or office parking lot.
We provide priority service to the following areas:
- Vaughan: From Woodbridge to Maple, we are your local experts.
- Richmond Hill: reliable service along Yonge Street and Bayview Avenue.
- Markham: Covering Unionville to Cornell with rapid response times.
- Greater GTA: We service the entire metro area with the same dedication to quality.
Why Choose AlexWindshield for Your BMW i8?
The BMW i8 is a future classic. Its maintenance requires a technician who respects the engineering behind the badge. At AlexWindshield, we combine old-school craftsmanship with modern technical training.
Our Promise to You:
- Lifetime Warranty: We stand behind our workmanship for as long as you own the vehicle. If there is a leak, a rattle, or a stress crack due to installation, we fix it for free.
- Master Technicians: Your car is serviced by senior staff experienced with exotic and electric vehicles.
- OEM Quality Materials: We use glass, primers, and adhesives that meet or exceed BMW manufacturing standards.
Don't compromise the integrity of your BMW i8 (I12) with sub-par glass service. Trust the experts who understand the nuances of carbon fiber construction and complex automotive glazing.
Ready to restore your view? Contact AlexWindshield today for a quote on your BMW i8 vent glass replacement. Experience the premier mobile auto glass service in Vaughan, Richmond Hill, and Markham.


