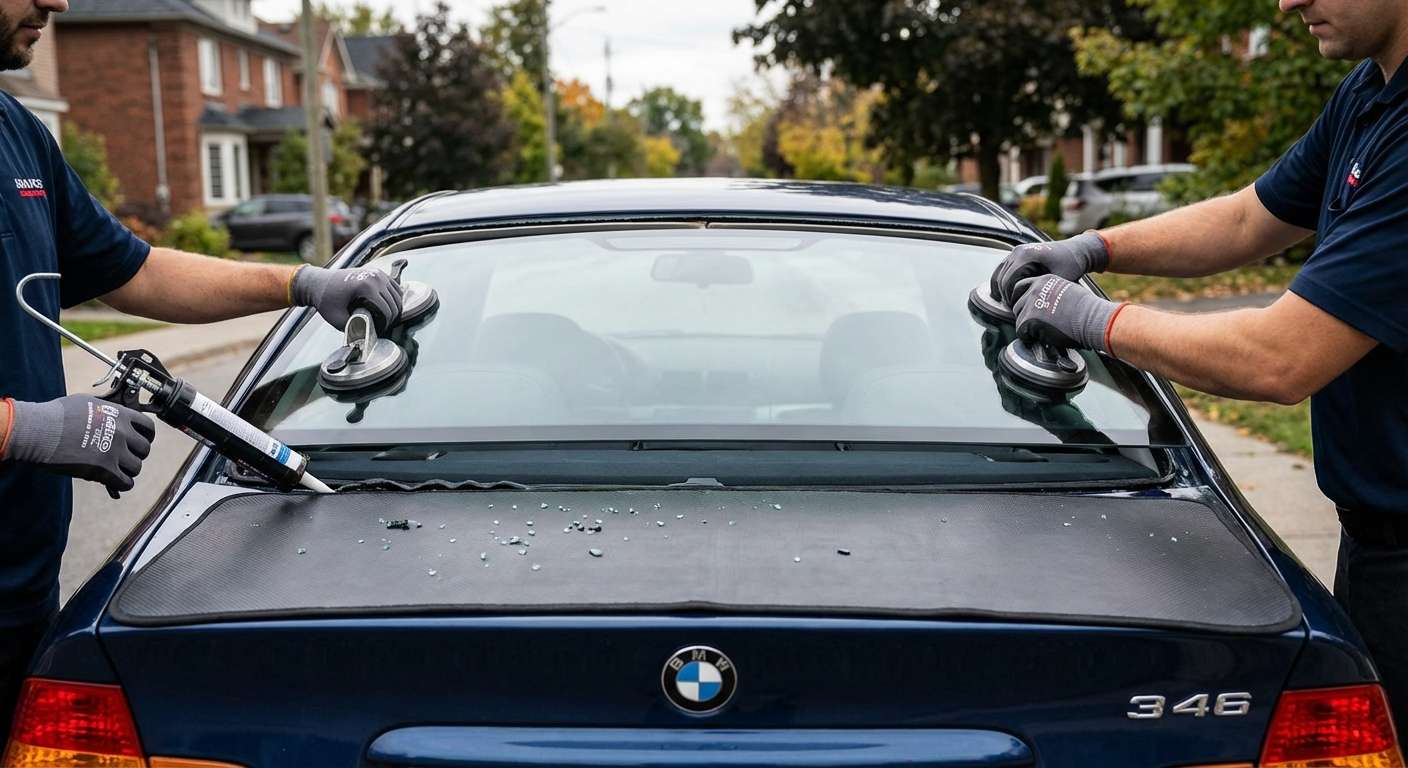
Restoring a Modern Classic: Back Glass Replacement for BMW 3 Series 1999-2005 (E46)
The BMW 3 Series, specifically the E46 generation (1999-2005), is widely regarded by enthusiasts and mechanics alike as the pinnacle of the compact executive car. It strikes a perfect balance between analog driving dynamics and modern comfort. However, seeing the shattered remains of a rear window on such a timeless machine is a heartbreaking sight for any owner. Whether caused by vandalism, a stray baseball, or thermal stress, a broken back glass does more than just expose your vehicle to the elements—it compromises the structural integrity and security of your German engineering.
At AlexWindshield, we understand that an E46 is not just "another old car." It requires a specific touch, particularly regarding the rear heating elements and the integrated diversity antenna systems often found in the glass of this era. As the leading experts in auto glass replacement in the GTA, we treat your vehicle with the reverence it deserves. This guide outlines our Master Technician-approved process for restoring your BMW to its factory glory.
Why the E46 Back Glass is Unique
Replacing the back glass (or rear windshield) on a BMW 3 Series E46 is significantly more complex than a standard door glass replacement. Unlike the laminated glass found in the front windshield, the rear glass is made of tempered safety glass. When impacted, it is designed to shatter into thousands of small, pebble-like pieces to prevent injury. However, this safety feature creates a massive cleanup challenge.
Furthermore, the E46 rear glass serves multiple functions:
- Structural Rigidity: The glass contributes to the stiffness of the vehicle's unibody.
- Defrosting Capabilities: It contains a complex grid of heating lines that must be correctly connected to the vehicle's electrical harness.
- Signal Reception: Depending on the specific trim (Sedan, Coupe, or Touring), the glass often houses the AM/FM and key fob remote antenna, requiring delicate handling of electrical tabs during installation.
Service Availability: Greater Toronto Area
We are proud to offer our specialized mobile auto glass services across the entire Greater Toronto Area. We understand that driving a BMW with a shattered rear window is dangerous and often illegal. Therefore, our fully equipped mobile units come to you.
We have a strong presence and dedicated technicians available in:
- Vaughan: From Woodbridge to Maple, we service all residential and commercial hubs.
- Richmond Hill: Quick response times for all neighborhoods along Yonge Street and Bayview Avenue.
- Markham: covering Unionville, Cornell, and the business districts.
Whether you are at work, at home, or stuck in a parking lot, AlexWindshield brings the repair shop to your location.
Step-by-Step Replacement Process: The Master Technician Approach
At AlexWindshield, we do not cut corners. Replacing the back glass on a BMW E46 requires a systematic approach to ensure no glass shards are left behind, the electrical systems function correctly, and the new glass is sealed watertight. Here is our detailed, A-to-Z process.
Step 1: Site Safety and Initial Assessment
Upon arrival, our technician inspects the damage. We check the extent of the shattering and the condition of the rear window molding (which is notorious on the E46 for drying out and cracking). We also verify the specific glass options—checking if your vehicle requires a green tint, privacy glass, or specific antenna configurations.
Step 2: Interior Protection and Preparation
Before we touch a single shard of glass, we protect your BMW’s interior. The E46 interiors, often featuring high-quality leather and soft-touch plastics, must be shielded.
- We place heavy-duty protective covers over the rear seats, the front seats, and the rear parcel shelf.
- Protective tape is applied to the exterior paint surrounding the window frame (C-pillars and trunk lid) to prevent scratches during the removal of debris.
Step 3: Extensive Debris Removal and Vacuuming
This is the most time-consuming and critical part of replacing tempered back glass. When an E46 rear window shatters, glass falls everywhere—into the trunk, inside the rear shelf, down into the ventilation ducts, and under the seats.
- Gross Debris Removal: We manually remove the large chunks of glass remaining in the pinch weld.
- Industrial Vacuuming: Using high-powered, shop-grade vacuums, we meticulously clean the rear seats, the floor mats, and the dashboard.
- Interior Trim Removal: To access hidden glass, we carefully remove the necessary interior trim panels. This includes the C-pillar covers and, crucially, the rear parcel shelf (hat rack) cover. Glass shards often accumulate near the third brake light and the rear speakers; removing these panels allows us to extract every last piece.
- Trunk Cleaning: We open the trunk and vacuum the lining, ensuring no glass has fallen through the speaker holes into the luggage compartment.
Step 4: Removing the Old Adhesive and Molding
Once the loose glass is gone, we must remove the bond that held the old glass in place.
- We remove the exterior rubber molding. On the 1999-2005 3 Series, we almost always recommend installing a brand new upper molding, as the original rubber has likely become brittle over two decades.
- Using a specialized cold knife or an oscillating cutout tool, the technician slices through the old urethane bead closer to the vehicle frame.
- We trim the existing urethane down to a thickness of approximately 1-2mm. This old urethane serves as the best base for the new adhesive to bond to.
- Any corrosion found on the metal pinch weld is treated immediately to prevent future rust issues—a common problem in older vehicles exposed to Canadian winters.
Step 5: Electrical Disconnection and Prep
The BMW E46 utilizes specific spade connectors or soldered tabs for the rear defroster and antenna.
- We locate the electrical leads found on the sides of the window aperture.
- We carefully disconnect the old tabs and inspect the wiring harness for any damage caused by the glass breakage.
- We clean the contact points to ensure the new defroster will operate at 100% efficiency.
Step 6: Primer and Chemical Preparation
A watertight seal relies on chemistry. We use a premium automotive-grade primer system (such as Sika or Dow) to prepare the surfaces.
- Glass Preparation: The new glass is cleaned with a specialized glass cleaner to remove manufacturing oils. We then apply a glass activator and primer to the frit band (the black ceramic edge) of the new glass.
- Body Preparation: Any areas of bare metal on the pinch weld are primed to prevent rust and ensure the urethane adheres to the vehicle body, not just the paint.
Step 7: Adhesive Application and Installation
This is the moment of truth. We use high-modulus, non-conductive polyurethane adhesive. Using non-conductive glue is mandatory for BMWs to prevent interference with the diversity antenna system embedded in the glass.
- The technician applies a high-profile, V-shaped bead of urethane directly onto the existing urethane path on the vehicle body or onto the glass, depending on the specific molding setup of the E46.
- Setting the Glass: Using specialized suction cups (and often a second technician for precision alignment), the new back glass is lifted and lowered into the frame.
- Alignment: We meticulously align the glass to ensure the gaps between the roof and the trunk lid are symmetrical, mimicking the factory fit. The new molding is pressed firmly into place.
Step 8: Reassembly and Electrical Testing
Once the glass is set, we reconnect the electrical systems.
- The defroster and antenna cables are reattached to the new glass terminals.
- We perform a continuity test to confirm the heating grid is operational.
- We reinstall the rear parcel shelf, C-pillar trims, and third brake light assembly, ensuring all clips engage properly and no rattles are introduced.
- A final vacuum is performed to catch any dust dislodged during reassembly.
Step 9: Post-Installation Guidelines
After installation, the vehicle is safe to drive, but specific care must be taken during the "Safe Drive-Away Time" (SDAT).
- We apply retention tape to hold the molding in place while the adhesive cures. This should remain on for 24 hours.
- We advise keeping a window slightly cracked open for the first 24 hours. This prevents air pressure spikes when closing doors from pushing the uncured fresh adhesive outward, which could cause a leak.
- Avoid high-pressure car washes for at least 48 hours.
The Importance of OEM Quality Glass
For a vehicle like the BMW 3 Series, the quality of the glass affects the aesthetic and value of the car. At AlexWindshield, we prioritize the use of OEM-equivalent (OEE) glass. This ensures that the curvature matches the E46's body lines perfectly, the heating elements are durable, and the optical clarity is distortion-free. Cheap aftermarket glass often suffers from "wavy" distortions and poor electrical connectors that fail after a few months.
Why Trust AlexWindshield?
Your BMW E46 is a precision machine, and it demands a precision repair. When you choose AlexWindshield, you are choosing:
- Experience: Our technicians are Master Certified and have performed hundreds of glass replacements on BMW platforms.
- Convenience: Our mobile service covers Vaughan, Richmond Hill, Markham, and the entire GTA, saving you the hassle of a towing fee.
- Cleanliness: We pride ourselves on returning your car cleaner than we found it, free of dangerous glass shards.
- Lifetime Warranty: We stand behind our workmanship. Our installations come with a lifetime warranty against water leaks and air noises for as long as you own the vehicle.
Don't let a broken back window compromise the look or safety of your BMW 3 Series. Contact the experts who know your car inside and out.
Call AlexWindshield today to schedule your mobile replacement and get your E46 back on the road in pristine condition.


