Restoring Safety and Style: Back Glass Replacement for Acura RDX 2013-2018
The shattered silence of a rear window failure on your 2013-2018 Acura RDX is more than just an inconvenience; it exposes your luxury crossover's cabin to the harsh Canadian elements and compromises the structural integrity of your tailgate. Unlike a simple chip in a windshield, when the back glass of your RDX fails, it typically catastrophic—thousands of tiny, pebble-sized shards scatter throughout your trunk, rear seats, and even into the hidden crevices of the liftgate itself. At AlexWindshield, we understand that this specific generation of the Acura RDX combines refined aesthetics with complex utility, requiring a specialized approach to glass replacement that goes far beyond a simple "pop-in" repair.
As a Master Technician at AlexWindshield, I have performed countless replacements on this specific vehicle platform. The 2013-2018 model years utilize a tempered privacy glass that integrates a complex defrost heating grid and often houses antenna connections. Replacing this glass requires surgical precision to ensure the electrical systems function correctly and that every dangerous shard of glass is removed from the vehicle's interior. We are proud to offer this premium service across the Greater Toronto Area (GTA), with dedicated mobile units servicing Vaughan, Richmond Hill, and Markham.
Understanding the Acura RDX (2nd Gen) Rear Glass Architecture
Before we begin the replacement process, it is vital to understand what makes the back glass on the Acura RDX 2013-2018 unique. This generation marked a shift for Acura towards a more streamlined, aerodynamic rear profile. The glass is not flat; it features a subtle curvature that contributes to the vehicle’s drag coefficient and fuel efficiency. Furthermore, this is tempered safety glass. Unlike the laminated glass found in your front windshield (which holds together when cracked), tempered glass is designed to shatter into obtuse granules to prevent lacerations during an impact.
However, this safety feature creates a massive cleanup job. The rear wiper assembly on this RDX model is mounted directly through the glass or immediately adjacent on the panel, requiring careful disassembly. Additionally, the defrost connectors are soldered onto the glass surface. A poor installation can result in a non-functioning rear defroster—a safety hazard during our freezing Ontario winters.
The AlexWindshield Mobile Advantage in the GTA
We know that driving a vehicle with a missing or shattered rear window is dangerous and often illegal. That is why AlexWindshield brings the repair shop to you. Whether you are parked in a driveway in Markham, at your office in Vaughan, or stuck in a parking lot in Richmond Hill, our mobile service vans are fully equipped workshops on wheels.
Our mobile service includes:
- Rapid Response: We prioritize back glass replacements because they leave your vehicle open to theft and weather.
- All-Weather Materials: We use high-viscosity urethanes that cure properly even in varying GTA humidity and temperature levels.
- Power Supply: Our vans are equipped with power inverters to run high-powered vacuums and tools, ensuring we can clean your car thoroughly, even without access to your home's electricity.
Detailed Step-by-Step Replacement Process: From Chaos to Clarity
As a Master Technician, I follow a rigorous protocol for every Acura RDX back glass replacement. This is not a rushed job; it is a meticulous restoration of your vehicle's condition. Below is the A-to-Z process we utilize to ensure OEM-quality results.
Step 1: Site Preparation and Interior Protection
Upon arrival, the first priority is protecting the undamaged portions of your Acura. We apply heavy-duty protective tape and blankets over the rear bumper and the quarter panels. The paint on the 2013-2018 RDX is susceptible to scratches from falling glass shards during the removal process. We cover the rear seats with industrial-grade covers to prevent glass from embedding in the leather or fabric upholstery.
Step 2: Extensive Glass & Debris Removal (The Cleanup)
This is the most time-consuming and critical step for back glass replacement. When the RDX rear window shatters, glass falls everywhere.
- Surface Vacuuming: We use high-powered industrial vacuums to remove visible glass from the trunk floor, spare tire well, and rear seats.
- Interior Panel Removal: This is a step many budget shops skip. We carefully remove the interior plastic trim panels of the rear liftgate. Glass shards inevitably fall inside the metal shell of the tailgate. If left there, they will rattle incessantly every time you go over a bump or close the trunk.
- Internal Cavity Cleaning: Once the panels are off, we use flexible vacuum attachments and compressed air to dislodge and remove glass hidden inside the door frame structure. We ensure the drainage holes at the bottom of the tailgate are clear of debris to prevent water accumulation and rust.
Step 3: Hardware and Wiper Assembly Removal
The 2013-2018 Acura RDX features a rear wiper system that must be carefully managed. We remove the wiper arm nut cover, the nut itself, and the wiper arm. Depending on the specific shatter pattern, we may also need to remove the rear spoiler or upper moulding to access the top edge of the glass bond. We also disconnect the electrical pigtails for the rear defroster heating element, inspecting the vehicle-side connectors for any damage or corrosion.
Step 4: Removing the Old Urethane Seal
Using a specialized "Cold Knife" or a powered oscillating tool, we cut the existing urethane bead that held the old glass in place. This requires a steady hand to avoid scratching the "pinch weld" (the metal frame where the glass sits). We trim the old urethane down to a thin, level layer, typically about 1mm to 2mm thick. This remaining layer serves as the best possible base for the new adhesive to bond to.
Step 5: Pinch Weld Preparation and Priming
A leak-free installation depends on chemical cleanliness. We clean the pinch weld area with a specialized solvent to remove dirt, road grime, and silicone residues. If there are any minor nicks or scratches on the metal frame caused by the shattering glass or removal tools, we apply a rust-inhibiting primer. This black primer seals the metal, preventing rust from forming under your new glass—a common issue in the GTA due to road salt usage.
Step 6: Preparing the New Glass
We inspect the new Acura RDX back glass for optical clarity and heating element continuity. We then clean the inside perimeter of the new glass with a bonding activator. This chemical prepares the ceramic band (the black frit on the edge of the glass) to accept the urethane adhesive.
Step 7: Adhesive Application
We utilize Sika or Dow Automotive Systems high-modulus urethane, the industry standard for safety and longevity. We apply a triangular bead of urethane directly to the glass or the vehicle body (depending on the specific requirement of the RDX model year). The triangular shape is crucial; it ensures that when the glass is pressed into place, the glue spreads evenly without creating air pockets or leaks.
Step 8: Glass Installation and Alignment
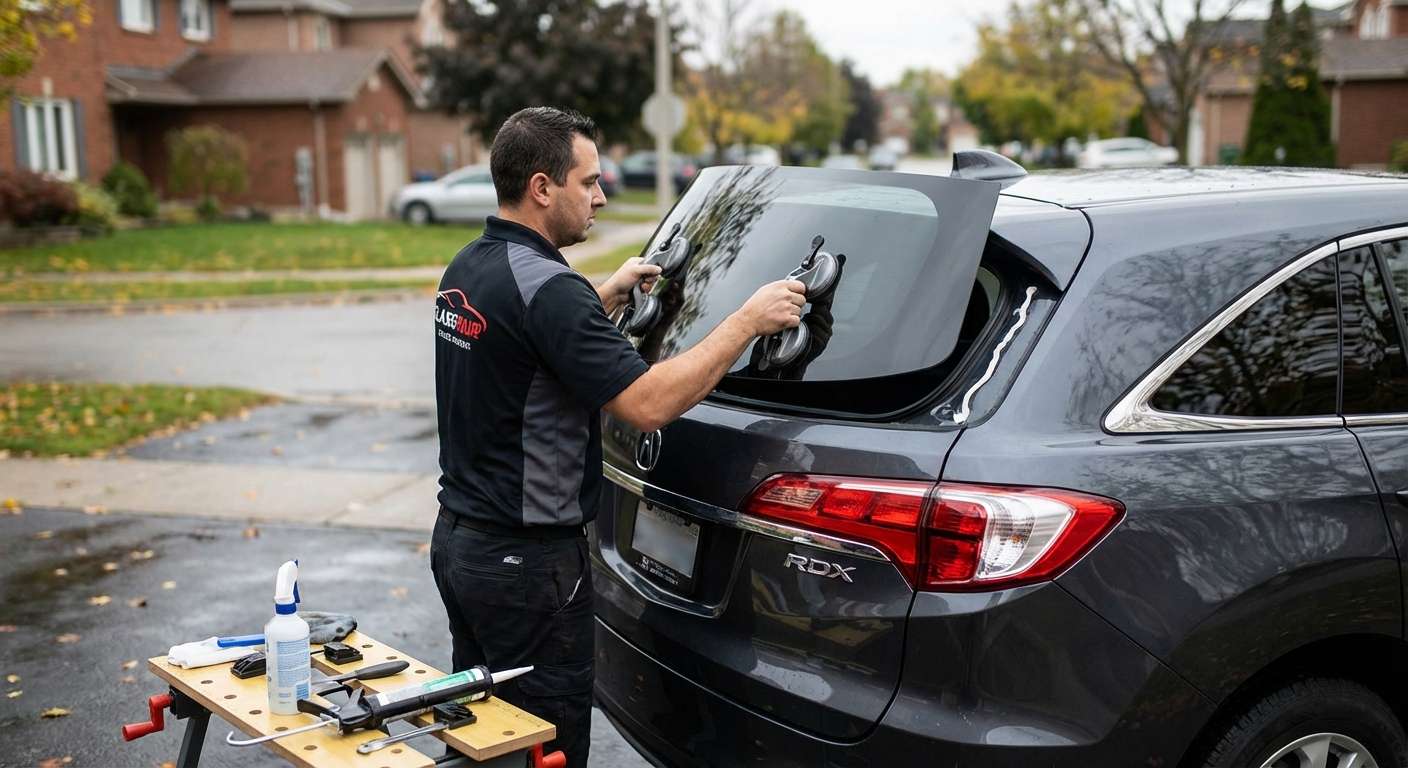
Using heavy-duty suction cups, two technicians (or one using a setting tool) carefully lift the new back glass and lower it into the opening. We align the glass with the roofline and the taillights to ensure perfectly even gaps on the left and right sides. Once positioned, we gently press the glass to seat it into the urethane, ensuring a watertight seal.
Step 9: Reassembly and Functional Testing
Once the glass is set, we reconnect the rear defroster cables and the antenna leads. We reinstall the rear wiper motor assembly and the wiper arm, ensuring it is indexed correctly to wipe the proper area of the glass. Finally, we reinstall the interior liftgate trim panels that were removed for cleaning.
Crucial Check: We test the rear defrost function and the rear wiper operation immediately to ensure all electrical connections are solid.
Why Debris Cleanup Matters for Your Acura
The primary complaint customers have after visiting "budget" glass shops is the sound of broken glass rolling around in the trunk lid weeks later. At AlexWindshield, we take the "cleanup" phase as seriously as the installation itself. We understand that your Acura RDX is a premium vehicle, and it should not sound like a maraca when you drive. Our technicians are trained to be meticulous, vacuuming under the spare tire, in the seat tracks, and inside the tailgate structure until every shard is gone.
Service Availability: Vaughan, Richmond Hill, and Markham
Our commitment to the community is strong. We specialize in local service for the northern GTA.
- Vaughan: From Woodbridge to Maple, our technicians can navigate to your residential or commercial location for same-day service.
- Richmond Hill: Whether you are near Yonge Street or out by Oak Ridges, we provide rapid response for shattered back glass.
- Markham: Serving Unionville, Cornell, and the business parks, ensuring you can get back on the road safely.
Post-Installation Care for Your New Back Glass
After we complete the installation on your Acura RDX, we will provide you with specific aftercare instructions to ensure the adhesive cures properly:
- Wait Time: Do not drive the vehicle for at least 60 minutes after installation (Safe Drive-Away Time).
- Car Wash: Avoid high-pressure car washes for at least 48 hours. The high pressure can displace the curing urethane.
- Windows: Leave a side window cracked open by an inch for the first 24 hours. This prevents air pressure from slamming the doors (the "air hammer" effect) from pushing the new glass outward before the glue has fully set.
Conclusion: Trust the Experts at AlexWindshield
Replacing the back glass on a 2013-2018 Acura RDX requires a blend of technical knowledge, patience, and the right tools. It is not just about glass; it is about electronics, debris management, and preserving the value of your vehicle. Don't trust your luxury crossover to generalists who might leave glass inside your tailgate or damage your heating elements.
Choose AlexWindshield for a seamless, professional, and safe replacement experience. We stand behind our workmanship with a Lifetime Warranty on leakage and workmanship for as long as you own the vehicle. When disaster strikes your rear window, we are the clear choice in the GTA.
Contact AlexWindshield today to schedule your mobile Acura RDX back glass replacement. We restore your view, your safety, and your peace of mind.


