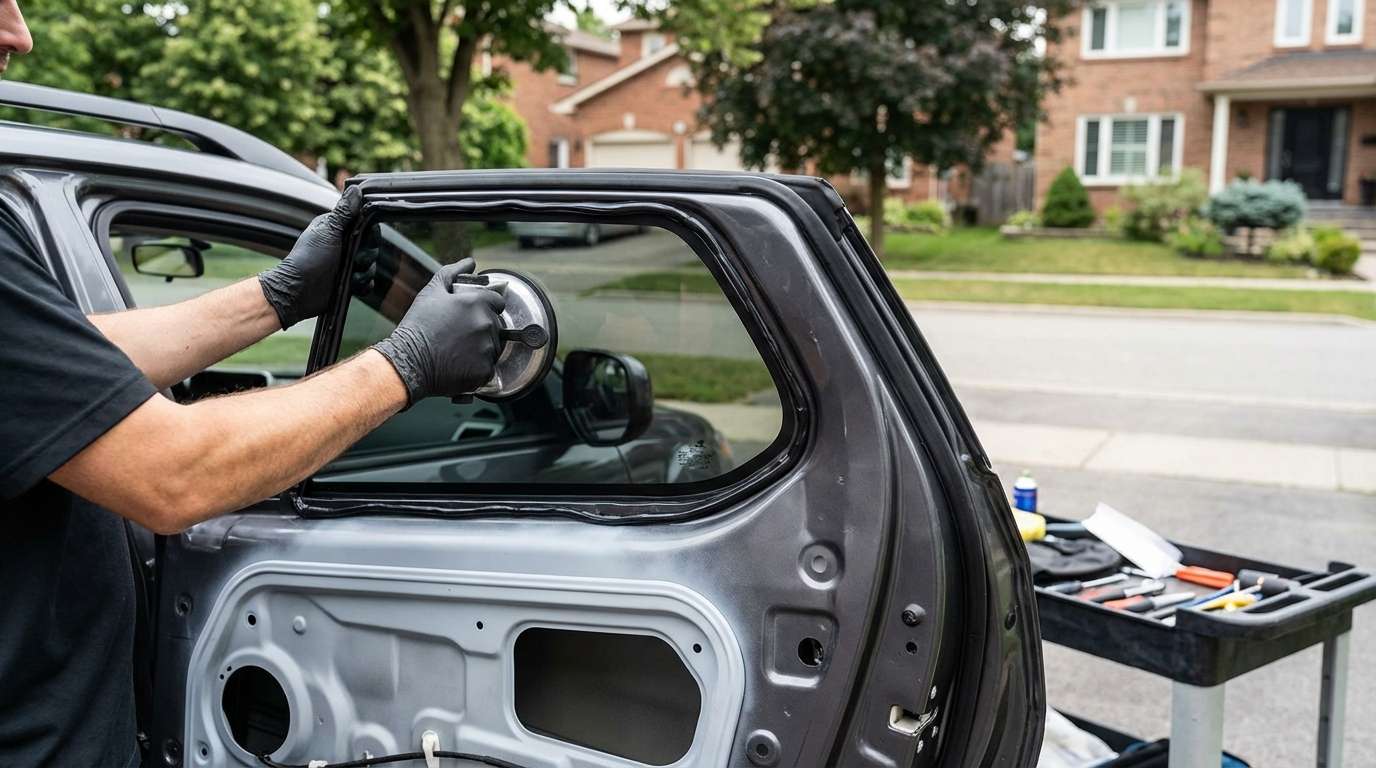
The 2007-2013 Mitsubishi Outlander: A Rugged Crossover with a Vulnerable Target
The second-generation Mitsubishi Outlander 2007-2013 revolutionized the crossover SUV market with its robust frame, dynamic V6 engine options, and iconic split-folding tailgate. However, despite its rugged build, its sleekly integrated side vent glass remains an unintended target. Often situated at the rear doors or the rear quarter panel, this small but structurally significant piece of automotive glass is frequently the victim of smash-and-grab break-ins, flying highway debris, or severe side impacts. As a Master Technician at AlexWindshield, I have seen firsthand how a shattered vent glass can instantly compromise your vehicle's security, cabin acoustics, and climate control.
Replacing the vent glass on this specific generation of the Outlander is not a simple "pop and swap" job. It requires a deep understanding of Mitsubishi's specific trim retainers, urethane bonding, and interior door cavity structures. Whether you are dealing with weather exposure or the stressful aftermath of a break-in, our specialized Vent Glass Replacement service ensures your Outlander is restored to its exact factory specifications. Let’s dive deep into the highly technical, uncompromising procedure we utilize to restore your vehicle's safety and aesthetics.
Why Vent Glass Damage Requires Immediate Professional Attention
Unlike laminated windshields that spiderweb upon impact, the vent glass on your Mitsubishi Outlander 2007-2013 is made from high-strength tempered safety glass. When compromised, it is engineered to shatter into thousands of tiny, blunt cubes. While this prevents dangerous, guillotine-like shards from injuring passengers, it leaves a gaping hole in your cabin. Furthermore, these thousands of glass cubes instantly fall into the intricate mechanisms of your interior door panels or rear quarter cavities. Delaying this repair exposes your interior to water damage, invites further theft, and allows hidden glass fragments to jam your power window regulators or create maddening rattles every time you hit a bump.
Comprehensive Step-by-Step Vent Glass Replacement Process for the Mitsubishi Outlander
At AlexWindshield, we do not cut corners. Our A to Z replacement methodology is strictly aligned with OEM (Original Equipment Manufacturer) standards to ensure your vehicle is safe, secure, and structurally sound. Here is the detailed technical breakdown of our replacement process.
Step 1: Thorough Preparation and Interior Protection
Before any tools touch your vehicle, our first priority is protecting your Outlander’s interior. We begin by laying down heavy-duty protective drop cloths over your premium fabric or leather seats, floor mats, and center console. We also apply protective automotive tape to the exterior painted surfaces surrounding the vent glass frame to prevent any accidental scratches during the extraction and installation process. Proper preparation is the hallmark of a Master Technician's workflow.
Step 2: Interior Trim and Door Panel Removal
Because shattered tempered glass falls directly into the vehicle's body cavities, accessing the internal structure is mandatory. Using specialized non-marring trim removal tools, we carefully unclip the Outlander's interior plastic moldings and the interior door panel (if the compromised vent glass is door-mounted). We meticulously disconnect the power window switches, door lock linkages, and speaker wiring harnesses. By completely removing these interior panels, we gain unrestricted access to the vehicle's inner door shell and the glass mounting points, ensuring nothing is overlooked.
Step 3: Extensive Vacuuming of Broken Glass Shards
This is a critical step that generic, high-volume shops often rush through. Armed with high-powered industrial shop vacuums and specialized flexible crevice attachments, we extract every single cube of shattered glass from the vehicle's interior. We vacuum the seats, the floorboards, and the tracks. More importantly, we reach deep into the exposed door shell cavity to remove the shards resting at the bottom of the door. Failing to perform this deep extraction will result in blocked water weep holes—leading to interior rust—and persistent rattling noises as the glass vibrates against the metal door skin while driving.
Step 4: Precision Removal of the Old Glass Frame and Urethane
With the interior completely clean and the mounting area exposed, we focus on the exterior vent glass frame. Depending on the exact trim level of your Mitsubishi Outlander 2007-2013, the vent glass may be bolted in place through a track divider or bonded directly to the pinch weld. For bonded glass, we utilize specialized cold knife tools and precision wire-cutting systems to slice through the old polyurethane adhesive. We carefully extract the remaining frame and glass remnants without distorting the metal pinch weld. We then use a razor-sharp scraper to pare down the old urethane bead, leaving a thin, uniform baseline of original adhesive (approximately 1-2 millimeters thick) which provides the optimal bonding base for the new sealant.
Step 5: Surface Cleaning and Primer Application
Adhesion is purely dependent on chemical cleanliness. We thoroughly clean the entire pinch weld and the surrounding frame using an alcohol-based, automotive-grade glass cleaner to remove any dirt, grease, or hand oils. Once the surface is flawlessly clean, we inspect the metal pinch weld for any bare metal scratches that may have occurred previously or during removal. We meticulously apply a specialized, fast-drying primer to any exposed metal and over the old urethane track. This primer acts as a chemical bridge for the new adhesive and provides critical corrosion protection, guaranteeing that your Outlander will never develop hidden rust around the window seals.
Step 6: Preparation of the New Vent Glass and Adhesive Application
We source only premium, OEM-equivalent replacement glass for your Outlander, ensuring the tint, curvature, and structural integrity match the original factory piece perfectly. The inside edge of the new vent glass—specifically the black ceramic frit band—is rigorously cleaned and prepped with a glass-specific primer. We then load our power caulking gun with an advanced, fast-curing high-quality adhesive (polyurethane). Applying a perfectly uniform, V-shaped bead of this high-grade urethane around the perimeter of the glass or pinch weld requires a Master Technician's steady hand. This ensures a watertight, wind-noise-free, and structurally secure seal.
Step 7: Precision Installation and Setting of the Vent Glass
Timing and precision are paramount once the adhesive is applied. We carefully lift the new vent glass and align it perfectly with the Outlander's body lines and molding tracks. We gently press the glass into the fresh urethane bead, applying equal pressure to ensure the adhesive spreads uniformly without squeezing out into the interior. We secure the glass in place with specialized retention tape to prevent any micro-shifting while the polyurethane begins its chemical curing process. If the vent glass features a bolted division bar, we firmly torque the 10mm bolts to the manufacturer's specified tightness.
Step 8: Reassembly and Rigorous Final Inspection
Once the glass is securely set, we reverse the disassembly process. We re-install the interior door panels, re-connect the window switches and linkages, and snap the interior trim pieces back into their factory positions, ensuring all plastic retaining clips are intact and secure. We run the main door window up and down to ensure there is no binding or friction against the newly installed vent glass divider. Finally, we clean the new vent glass with a streak-free solution, perform a final visual inspection of the seals, and wipe down your interior, leaving your Mitsubishi Outlander 2007-2013 looking as though the damage never occurred.
Local GTA Mobile Service: Vaughan, Richmond Hill, and Markham
We understand that driving with a shattered vent glass is not only a massive security risk but also highly uncomfortable due to wind, weather, and road noise. That is why AlexWindshield brings the glass shop directly to you. Our fully equipped, state-of-the-art mobile service vans operate comprehensively across the Greater Toronto Area (GTA).
- Vaughan: Whether your vehicle was compromised while shopping at Vaughan Mills or parked at your home in Woodbridge, our mobile technicians will arrive promptly to secure your vehicle.
- Richmond Hill: If you step out of your office in the business district of Richmond Hill to find your vent glass shattered, we offer rapid on-site replacement so you don’t have to disrupt your workday.
- Markham: From residential driveways in Unionville to commercial lots, our Markham mobile service ensures you get Master Technician quality without the hassle of towing or driving a compromised vehicle.
Our mobile auto glass units are climate-controlled and stocked with the exact primers, high-quality adhesives, and OEM-equivalent glass required for your Mitsubishi Outlander, allowing us to perform flawless replacements in almost any environment across the GTA.
Book Your Lifetime Warranty Auto Glass Service Today
When it comes to the safety and security of your vehicle, you cannot afford to trust amateurs. Your Mitsubishi Outlander 2007-2013 requires the steady hand, deep technical knowledge, and premium materials that only a Master Technician can provide. At AlexWindshield, we are proud to be the leading experts in mobile auto glass services throughout the GTA.
We stand firmly behind the quality of our craftsmanship and the durability of our materials. That is why every single replacement we perform comes backed by our comprehensive Lifetime Warranty. This warranty covers any issues related to workmanship, including wind leaks, water leaks, or molding defects for as long as you own the vehicle. Don't let a shattered vent glass compromise your peace of mind. Contact AlexWindshield today to schedule your mobile replacement and experience the pinnacle of automotive glass restoration.


