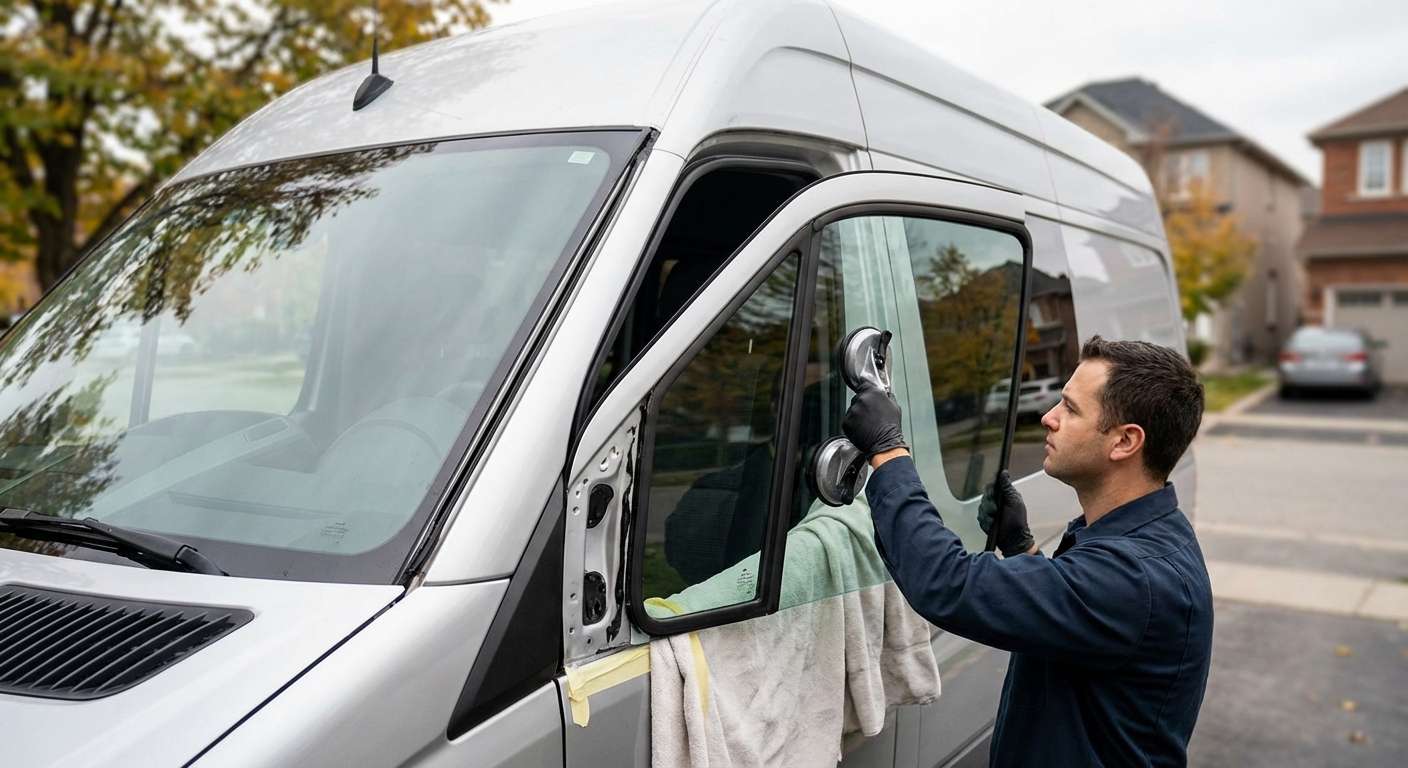
Vulnerability to Body Flex, Flying Gravel, and Conversion Blowouts
Rear quarter panels take direct punishment from gravel kicked up on unpaved roads and the torsional twist of long delivery runs. On these vans, the quarter glass sits flush against the stamped metal body apertures without heavy exterior rubber gaskets, exposing the raw ceramic frit perimeter directly to highway debris. Breakage also happens frequently during camper conversions when interior framing shifts under load, or when cargo shifts against the inner sheet metal pinch-weld ribs and shatters the tempered glass from the inside out.
Because the NCV3 platform relies on a structural direct-bond design, the quarter window actually stiffens the rear exterior envelope. When a piece shatters—whether it is the front door vent glass (OEM reference A9067250209) or the vast rear-most side panel—the entire cabin's climate control and structural integrity suffer. I see many broken quarter panels resulting from stressed factory seams or improper conversions where aftermarket slider units were forced into distorted cutouts.
Wheelbase Variations and NCV3 Glass Dimensions
The correct glass depends entirely on your van's wheelbase and body configuration. Mercedes-Benz stamped different side apertures depending on whether the van is a standard or extended length, meaning a panel for one setup will never fit another.
| Wheelbase Variant | Window Position | Benchmark Reference | Panel Characteristics |
|---|---|---|---|
| 144-inch Wheelbase | Right Rear Quarter | Model Specific | Shorter fixed panel, flush aerodynamic edge |
| 170-inch Wheelbase | Right Rear Quarter | DQ11863YPY | Long fixed glass, factory dark solar tint option |
| 170-inch Extended | Rear Quarter (Overhang) | 906-673-33-09 Equiv. | Elongated rear glass covering the extended body cavity |
When sourcing replacements, I supply strictly high-grade aftermarket glass from manufacturers like Pilkington, FYG, PGW, and XYG, matching the correct dark solar privacy tint (usually 17% to 28% light transmission) so your replacement matches the factory side glass across the rest of the body.
Recall History: Bonding Failures and Glass Composition
This specific vehicle line has a history of factory quarter glass complications. Mercedes-Benz issued past recalls regarding window separation hazards caused by multi-layered paint around the window cavities failing to hold adhesive properly. If the bond between the paint and the metal gives way under chassis flex, the whole quarter panel can work itself free at speed.
A separate 2019 recall addressed instances where tempered safety glass was fitted to certain rear-side apertures instead of required laminated glass, failing federal ejection mitigation requirements. Getting the glass specification right ensures your van maintains proper occupant retention and weather sealing without unseating along the sheet metal seams.
Post-Replacement Inspection Checklist
Once the new glass is in place on your van, inspect the following details before putting it back into severe service:
- Check that the exterior glass sits entirely flush with the surrounding stamped window cavity, with an even gap running the full perimeter.
- Inspect the broad black ceramic frit band around the edge to ensure no gaps or light leaks expose the interior cavity to UV breakdown.
- Verify that the dark solar tint percentage visually matches the front cab glass or mid-body crew window panels.
- If your van is equipped with interior crew or passenger trim, ensure the inner plastic moldings clip fully back over the pinch-weld ribs without resting hard against the glass surface.
- Examine the lower window channel after the first rain or wash to confirm there is no water pooling along the interior floor seams.


