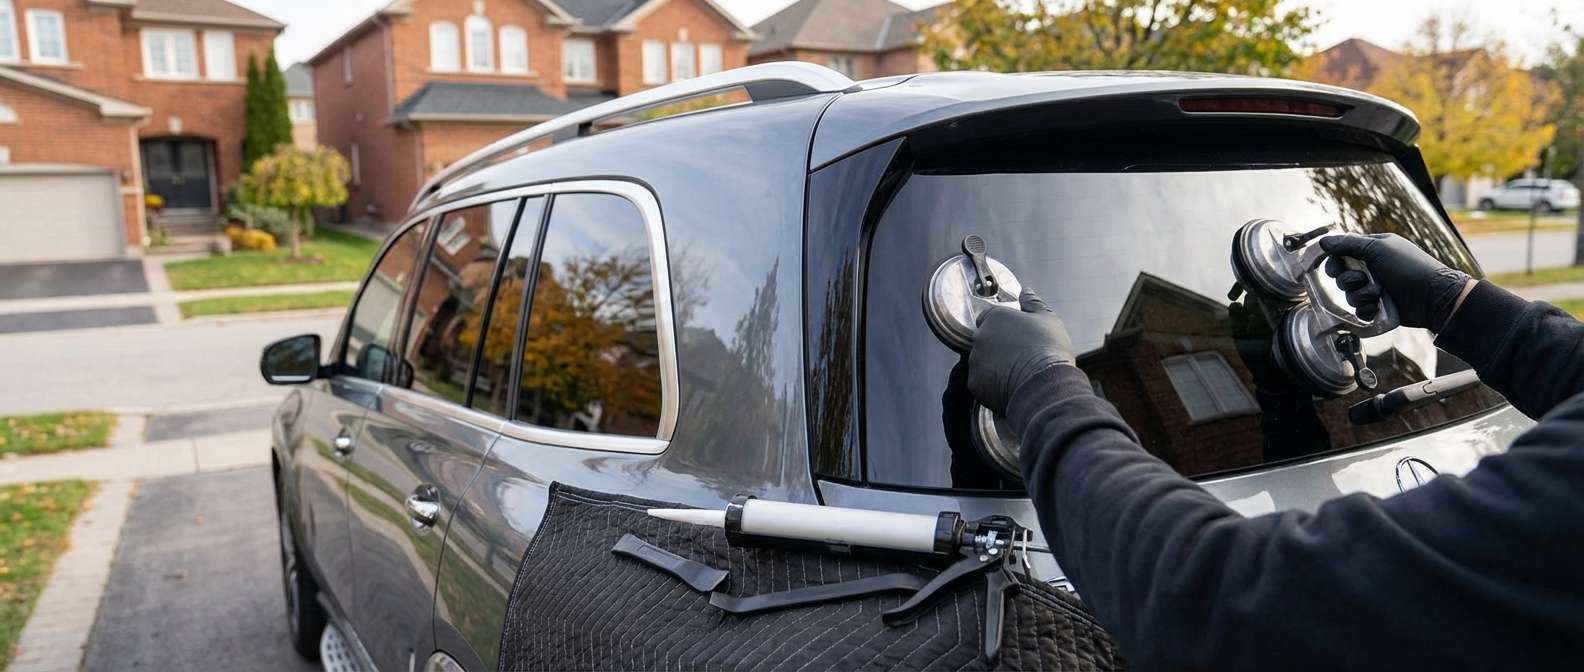
The Unseen Vulnerability of the S-Class of SUVs: Mercedes-Benz GLS-Class (X167) Vent Glass
The Mercedes-Benz GLS-Class (X167), spanning the 2020 to 2027 model years, is widely celebrated as the undeniable "S-Class of SUVs." Boasting whisper-quiet cabins, exceptional ride dynamics, and meticulously crafted interiors, this vehicle is a masterclass in German engineering. However, its luxurious appeal and high value often make it a prime target for opportunistic theft, and the rear vent glass is frequently the weakest link. This small, stationary pane of glass—situated just behind the main roll-down window on the rear doors or along the rear quarter—is commonly shattered by thieves attempting to access the cabin or damaged by high-velocity road debris. Replacing the vent glass on an X167 chassis is not a standard plug-and-play job; it requires the meticulous touch of a Master Technician who understands the complex acoustic sealing, delicate ambient lighting harnesses, and premium leather trims unique to Mercedes-Benz.
Why the X167 Chassis Demands Specialized Auto Glass Expertise
Modern luxury SUVs rely on a sealed, acoustically optimized environment to deliver their signature ride quality. The vent glass on the 2020-2027 Mercedes-Benz GLS-Class plays a crucial role in maintaining this cabin pressure, minimizing wind noise, and supporting the structural integrity of the rear door assembly. When this glass is compromised, you lose the thermal efficiency and acoustic dampening that define the GLS experience. At AlexWindshield, we specialize in luxury European auto glass, ensuring that your replacement vent glass matches the exact OEM specifications, including privacy tint matching and acoustic glazing properties.
Unmatched Mobile Service Across the Greater Toronto Area (GTA)
Dealing with a shattered vent glass is stressful enough without the added burden of driving a compromised, drafty vehicle to a repair shop. That is why AlexWindshield brings our state-of-the-art mobile auto glass service directly to your driveway, workplace, or secure parking garage. We proudly serve the entire Greater Toronto Area (GTA), with dedicated, rapid-response mobile units specifically highlighting our core service zones in Vaughan, Richmond Hill, and Markham. Whether you are at a corporate office in Markham or your private residence in Vaughan, our Master Technicians arrive fully equipped to execute a flawless, factory-grade installation on-site.
A to Z Master Technician Replacement Process: Mercedes-Benz GLS Vent Glass
Replacing the vent glass on a highly computerized, luxury SUV requires absolute precision. A single misstep can damage the Burmester speaker grilles, scratch the Nappa leather, or trigger SRS airbag faults. Here is the rigorous, step-by-step methodology we employ at AlexWindshield to guarantee a perfect installation.
Step 1: Vehicle Assessment and Interior Protection
Before any tools are lifted, we conduct a comprehensive pre-inspection. We lay down heavy-duty protective moving blankets and specialized fender covers over the exterior paintwork. Inside, we drape the rear seats, carpets, and center console with drop cloths. Because the Mercedes-Benz X167 features soft-touch materials that are easily scored by glass shards, completely isolating the work area is our top priority.
Step 2: Deep Vacuuming of Broken Glass Shards
When a vent glass breaks, it typically explodes into thousands of tiny, sharp cubes of tempered glass. Because the vent glass is integrated into the door or rear quarter framework, these shards inevitably fall deep into the door cavity, the seat tracks, and the premium floor mats. We utilize industrial-grade, high-suction vacuums with specialized micro-crevice tools to extract every single piece of broken glass from the interior. We vacuum the seats, the floorboards, and the interior door sills to ensure the safety of your passengers.
Step 3: Delicate Removal of the Interior Door Panel and Trim
To access the mounting points and the deep tracks of the vent glass, the interior door panel must be safely detached.
- Disconnecting the Battery: We start by safely isolating the vehicle's electrical system to prevent triggering any SRS (airbag) or door module faults.
- Trim Extraction: Using non-marring, specialized nylon pry tools, we carefully unclip the premium wood or carbon fiber trim pieces, ensuring zero damage to the surrounding leather.
- Harness Disconnection: We meticulously disconnect the ambient lighting harnesses, window switch modules, and Burmester audio cables.
- Secondary Vacuuming: With the door panel removed, we vacuum the inner door cavity, removing all glass shards that could cause a frustrating rattling noise while driving.
Step 4: Removing the Damaged Glass and Old Sealant
Once the framework is exposed, we remove any remaining shards of the broken vent glass still attached to the vehicle. Depending on whether the specific vent pane is bolted in via a track or urethane-bonded to the frame, our Master Technicians proceed accordingly. If bonded, we use a specialized cold-knife or wire-cutting system to slice through the original polyurethane adhesive without scratching the vehicle's paint or the delicate pinch weld.
Step 5: Surface Cleaning and Pinch Weld Preparation
A new glass installation is only as strong as the surface it bonds to. We trim down the old urethane bead to a flat, 1-2 millimeter base, creating the perfect bonding substrate. Next, we use an industry-specific, alcohol-based glass cleaner to degrease the entire frame. If any bare metal is exposed on the pinch weld during the removal process, we apply a specialized anti-corrosion metal primer to prevent future rust. This is a critical step that many budget auto glass shops skip, which can lead to severe structural rust down the road.
Step 6: Primer Application and Urethane Extrusion
We prepare the new OEM-quality vent glass by treating the bonding edge with a glass-specific frit primer. This primer promotes maximum adhesion and protects the urethane from UV degradation. Next, we apply a thick, triangular bead of high-quality, advanced-cure automotive adhesive (urethane) to the vehicle's frame. We use only premium, crash-tested adhesives that meet or exceed Mercedes-Benz factory safety standards, ensuring the structural rigidity of the cabin is fully restored.
Step 7: Precision Installation of the New Vent Glass
Handling the new glass with suction cups to avoid contaminating the primed edge with skin oils, the technician carefully aligns the glass with the contour of the X167’s roofline and door frame. We firmly press the glass into the fresh urethane bed, ensuring a watertight and airtight seal. The glass is then temporarily secured with specialized retention tape to prevent any micro-shifting while the urethane begins its chemical curing process.
Step 8: Reassembly and Final Quality Control
While the high-quality adhesive cures, we begin the meticulous reassembly process:
- We reconnect all internal door electronics, including the window regulators, ambient lighting, and audio cables.
- The interior door panel is carefully aligned and snapped back into its factory clips, followed by the delicate reinstallation of the cosmetic trim.
- We reconnect the battery and run a diagnostic check to ensure all door modules and windows are functioning flawlessly with no warning lights on the dashboard.
- A final, rigorous vacuuming of the vehicle's interior is performed, followed by a thorough exterior detailing of the new glass using streak-free, ammonia-free cleaners.
Uncompromising Safety and Curing Standards
At AlexWindshield, we never compromise on safety. The polyurethane adhesive we use boasts a highly accelerated Safe Drive-Away Time (SDAT). However, we strictly advise our clients on the necessary curing period before the vehicle is subjected to high-speed driving or high-pressure car washes. Because the Mercedes-Benz GLS-Class cabin is so heavily sealed, closing the doors with all windows rolled up immediately after installation can create a pressure spike that pushes the newly installed glass outward. Our Master Technicians will leave a window slightly cracked and provide you with precise aftercare instructions to ensure the urethane sets to factory-grade perfection.
Your Trusted Partner for Mobile Auto Glass in the GTA
Driving a 2020-2027 Mercedes-Benz GLS-Class means you accept nothing but the absolute best. When it comes to replacing your shattered vent glass, you need an auto glass partner who shares your high standards. AlexWindshield has built a stellar reputation across the Greater Toronto Area by treating every vehicle as if it were our own. Whether you are situated in the bustling commercial sectors of Markham, the elegant neighborhoods of Richmond Hill, or the rapidly growing communities of Vaughan, our mobile auto glass replacement service is just a phone call away.
Do not let a broken vent glass ruin the quiet luxury of your X167 GLS. Choose the seasoned experts who understand the intricacies of premium German engineering. At AlexWindshield, we back every single installation with our comprehensive Lifetime Warranty, covering any leaks, wind noise, or manufacturer defects for as long as you own the vehicle. Contact AlexWindshield today to schedule your mobile vent glass replacement and experience the pinnacle of automotive glass repair.


