Matching the Liftgate Glass Features on Your GLS
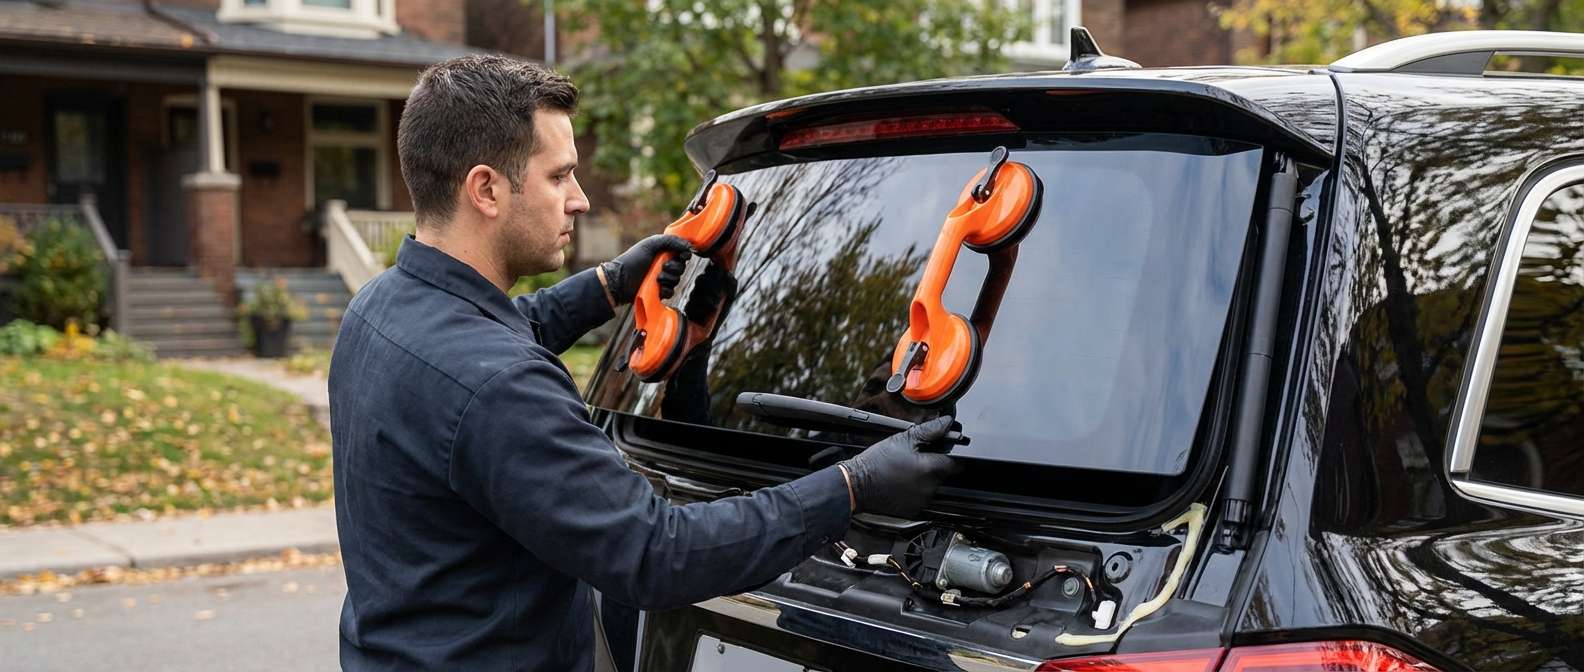
Checking the replacement panel against the factory liftgate on the GLS 450, GLS 550, or GLS 63 AMG requires matching the rear defroster grid and the embedded antenna structure before anything else. The original dark-tinted privacy glass, cataloged under dealer part number A1667402200 (superseding the older A1667400857), integrates heating traces across the viewing zone alongside antenna conductors that feed radio reception and the Keyless-Go central locking module. Clear or light green options under part number A1667402000 exist globally, but Canadian-market vehicles carry factory dark privacy tint from the roof spoiler down to the lower trim. I verify that the terminal tabs on the replacement panel mirror the solder points hidden under the upper and side pillar interior garnish mouldings, because connecting an antenna lead to the wrong terminal disrupts the keyless entry receiver housed in the rear gate.
The bottom edge of the glass features a dedicated factory hole bored directly through the tempered sheet. This pass-through accommodates the rear wiper motor spindle, which must center cleanly without contacting the glass edges. When I inspect the panel out of the crate, I confirm the wiper hole bore diameter and check that the surrounding black ceramic frit band is completely uniform. Whenever I source panels from aftermarket manufacturers like Pilkington, PGW, FYG, or XYG, I make sure the ceramic frit lines up precisely with the perimeter weatherstrip dam on the liftgate shell so the interior tailgate liners and the exterior chrome trim strip beneath the Mercedes-Benz star emblem conceal the entire bond perimeter.
Interior Clearances and Upper Spoiler Alignment
The stationary rear glass on the X166 liftgate is bounded at the top by the exterior roof spoiler, which houses the high-mount LED third brake light and the rear window washer nozzle. Before setting the glass in place, I test the depth clearance between the glass top edge and the spoiler recess. If the glass sits even two millimeters too high, it binds against the spoiler mounting hardware or pinches the washer fluid hose. Fluid leaks from this overhead nozzle are known to seep down the interior gate cavity, threatening the tailgate latch actuator and electronic wiper connections below.
I also inspect the clearance around the motorized pinch-protection strips that trace the side jambs of the power liftgate. The automatic lift struts apply significant downward force during closure, and the glass must sit flush with the exterior steel skin so the latch mechanism can pull the gate into the secondary cinch phase without stressing the glass perimeter. The rearview backup camera and the 360-degree surround cameras sit externally within the lower chrome liftgate handle, so while they do not attach directly to the glass, their view angle depends on the tailgate seating evenly against its perimeter body seal.
Post-Installation Diagnostic and Electrical Verifications
Once the rear window is positioned, I test the continuity of the defroster elements and the Keyless-Go antenna traces before reinstalling the interior tailgate trim panels. Using a digital multimeter, I test the resistance across the main horizontal grid lines to ensure none of the ceramic silver traces sustained hairline breaks during transport. A break in these fine lines leaves dead cold bands on the glass in frosty weather or creates static interference over the AM/FM radio bands when the defroster switch is engaged on the dashboard.
The final mechanical check focuses on the rear wiper assembly. With the wiper motor spindle reinserted through the factory hole, I seat the specialized rubber grommet to seal out moisture before torquing the outer spindle nut against the glass. The wiper arm must sweep its full arc across the glass surface without the rubber blade snagging the bottom edge of the upper roof spoiler or sweeping off the glass border near the chrome belt moulding. I cycle the rear washer pump to ensure fluid sprays directly onto the glass face rather than dripping behind the upper trim, then test the power liftgate through a full open-and-close cycle to verify that the glass frame moves silently with the powered struts.


