Identifying the Correct Rear Quarter Glass for Your CX-9
Determining which rear side window fits your CX-9 comes down to verifying the factory glass tint level and matching your vehicle's specific side. The stationary glass installed behind the C-pillar illuminates the third-row seating area and differs between trim levels. Base Sport models frequently left the factory with standard green solar glass, while Touring and Grand Touring trims came equipped with dark privacy glass from the second row back.
You can identify the tint by holding a sheet of white paper directly behind the opposite rear door drop glass or remaining quarter window. If the paper remains clearly legible through the glass with a pale greenish hue, your vehicle uses the standard solar variant. If the paper is obscured and the glass looks near-opaque black from the exterior, your CX-9 requires the deep privacy version. Dealer records catalogue these units under base part numbers TD11-63-950 (or revised TD11-63-950C) for the passenger right side and TD11-63-960 (TD11-63-960C) for the driver left side.
| Glass Position | OEM Reference | Factory Tint Variant | Integrated Moulding |
|---|---|---|---|
| Right Side (Passenger) | TD11-63-950C | Solar Green or Deep Privacy | Pre-bonded Polyurethane Lip |
| Left Side (Driver) | TD11-63-960C | Solar Green or Deep Privacy | Pre-bonded Polyurethane Lip |
Moulding Design and Interior Structure
Unlike the front and rear passenger doors that use conventional movable window regulators and division channels, the CX-9 quarter assembly is direct-glazed to the vehicle's unibody aperture along the D-pillar. The perimeter of the glass features an encapsulated polyurethane moulding cured directly to the glass edge at the factory, complete with molded plastic alignment studs. If a salvage yard or shop tries to reuse glass with a torn outer seal, it cannot be fixed separately; the entire unit must be replaced as an integrated piece.
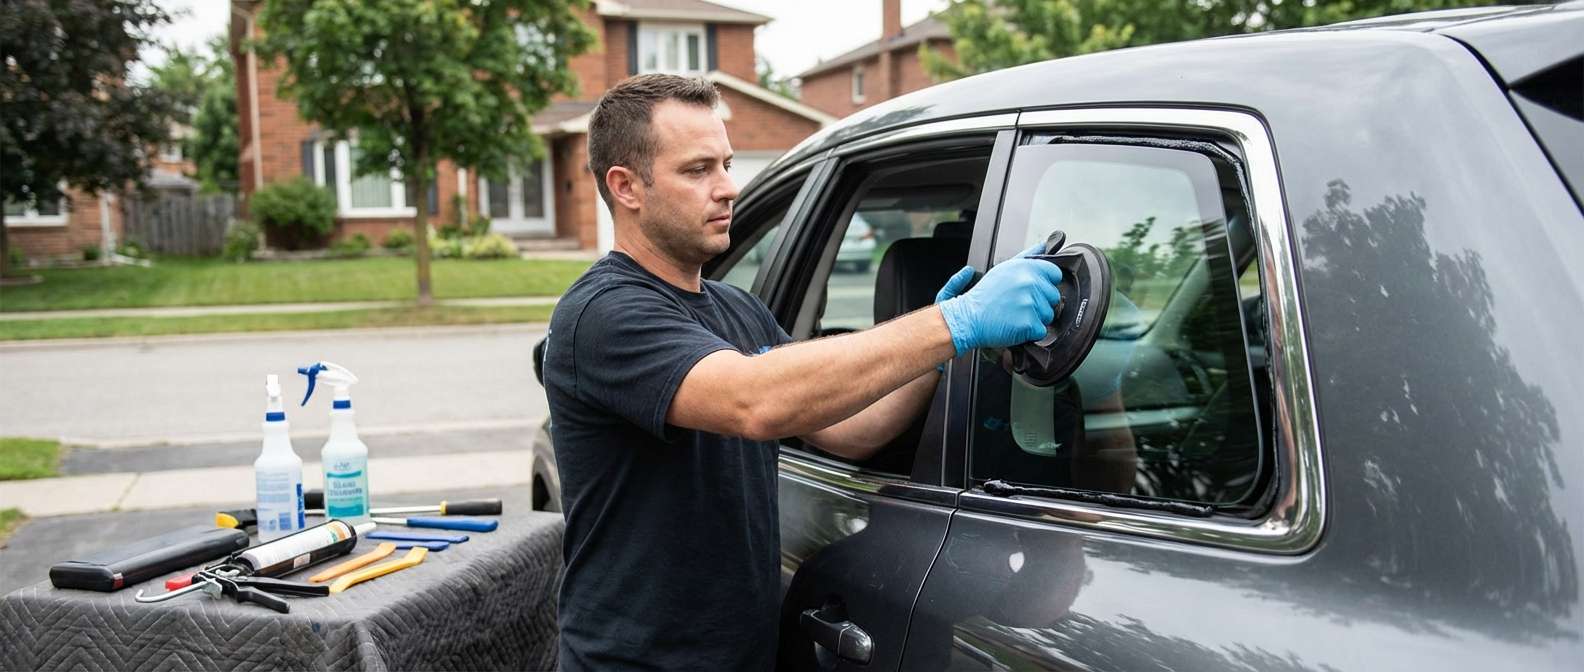
I handle these quarter glass replacements entirely on-site at your home or workplace anywhere across Toronto and the GTA, which saves you from driving with broken cargo glass exposed to the weather. Interior preparation for this vehicle requires dropping the rear cargo floor storage trays and unsnapping the D-pillar upper trim panels alongside the third-row seat belt anchors, because the inner metal pinchweld and the plastic locating clips sit concealed beneath the cabin plastics.
Exterior Clearance and Surrounding Trim Issues
The exterior edges of this quarter window sit tight against the rear fender quarter panel sheet metal, the roof line, and the liftgate jamb closure seam. Pay attention to the condition of the surrounding beltline plastics. Mazda documented issues in Service Alert SA-058/24 where exterior window mouldings and pillar trim on these vehicles suffered distortion or melting caused by intense solar reflections concentrated from high-efficiency exterior building windows. When replacing broken quarter glass, inspecting the surrounding trim ensures the new pre-bonded perimeter seal sits flush against straight, unwarped body surfaces.
Post-Replacement Inspection Checklist
Once the replacement glass is installed and the interior trims are locked back into place, walk around the cargo section of your CX-9 to verify these vehicle-specific points:
- Moulding Lip Uniformity: The pre-bonded outer rubber lip must lie completely flat against the rear fender arch and upper roof seam without buckling or leaving gaps where car wash spray could collect.
- Tint Match: The darkness of the new glass should match the factory dark privacy tint or light solar green of the adjacent rear passenger door glass.
- Third-Row Interior Reassembly: Check that the upper D-pillar plastic trim and the lower cargo quarter trim have snapped fully back into their retention clips without bulging near the third-row seat belt guides.
- Tailgate Clearance: Open and close the rear liftgate to ensure the outer edge of the tailgate frame clears the newly installed glass moulding cleanly along the D-pillar shut line.


