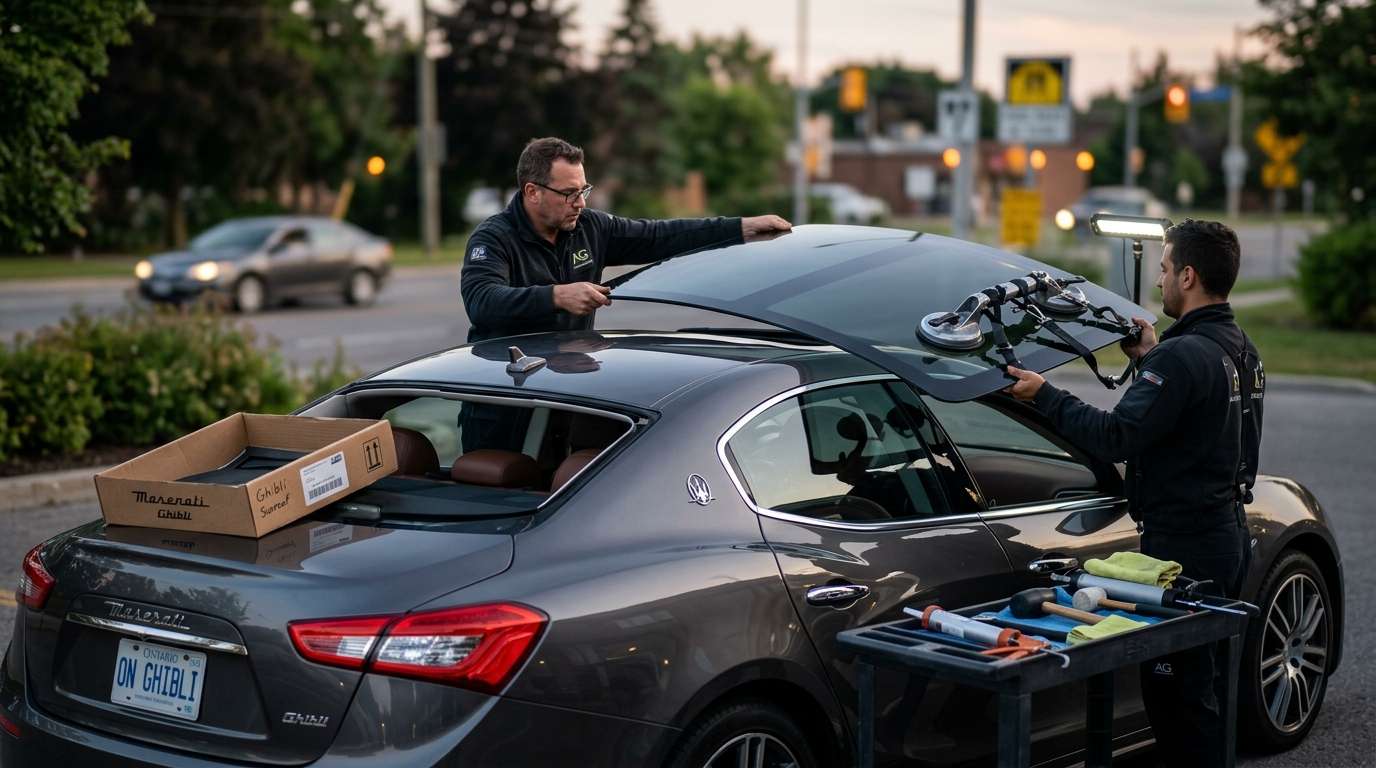
Servicing the Ghibli Sunroof Glass Versus the Full Cassette
Working on the power moonroof of this sports sedan differs significantly depending on whether you are dealing with cracked glass or mechanical drive failure. The tempered, solar-tinted glass panel (OEM part 673009009) retracts inward between the outer roof skin and the headliner. If road debris shatters the panel, you do not have to pull apart the entire cabin. The glass mounts to left and right mechanism arms with four M3x8 Torx screws (part 980139314). I access these by peeling back the flexible side gaiter bellows from inside the car, which lets me unbolt the broken pane, clear the tracks, and drop in a fresh panel from above without dropping the ceiling.
Replacing the underlying cassette frame (part 673008102) is a much larger undertaking. When the dual guide tracks (part 980139310) bind or the 12V drive motor (part 673000063) strips its gears, the whole unit has to drop. That job demands stripping the overhead console, grab handles, and the interior pillar trim across the A, B, and C-pillars before lowering the full headliner—whether your cabin is finished in standard fabric or the optional Alcantara sunshade material (such as part 673000060). Because the M157 platform shares its core roof architecture, tracks, and glass with the sixth-generation Quattroporte (M156), the mechanical layout inside the roof cavity is identical between both cars.
Drain Routing and Electrical Hazards Under the Carpet
The sunroof frame uses a built-in catchment trough plumbed to four corner exit hoses, including the molded front drain tubes like LH pipe 670003340. These lines snake down through the A-pillars and rear quarters to discharge road water beneath the floor pan. In this car, a neglected leak does far more damage than water spots on the headliner. Water escaping disconnected or blocked front tubes runs down behind the kick panels directly into the front footwells.
Maserati routed crucial body wiring harnesses and sensitive CAN bus junction points along the floorboards beneath the heavy foam carpet underlay. When water pools undetected in the floor pans, it corrodes these connectors, triggering phantom electrical errors, warning lights on the instrument cluster, and erratic accessory behavior. When I install aftermarket glass from manufacturers like Pilkington, PGW, FYG, or XYG, I always verify that the perimeter seal is seated uniformly against the outer roof sheet metal so water flows into the designated channels rather than overwhelming the drainage system.
Post-Replacement Inspection Checklist
- Panel flushness: Sight down the roofline from front to back; the front edge of the glass should sit roughly 1 mm below the roof sheet metal to prevent wind roar, while the trailing edge should sit flush to 1 mm above it to clear turbulent airflow.
- Torx screw security: Confirm the four M3x8 mounting screws on the lift arms are fully torqued and that the rubber accordion side bellows are clipped into place without binding during movement.
- Pop-up wind deflector action: Open the roof fully to ensure the front spring-loaded deflector (part 673000051) pops up smoothly on its hinges without catching on the front glass edge.
- Sunshade slider tension: Slide the manual sunshade back and forth to confirm it glides smoothly along its lower track without dragging or snagging on the underside of the newly mounted glass.
- Drain tray test: Pour a controlled amount of water into the front and rear perimeter troughs while the roof is open to confirm it drains out underneath the vehicle rather than weeping into the A-pillar trim.


