Restoring Your British SUV: Land Rover LR2 (Freelander 2) 2008-2015 Back Glass Replacement
The Land Rover LR2, internationally recognized as the Freelander 2, was engineered to conquer both rugged off-road trails and the sophisticated urban sprawl. However, its expansive, heated rear tailgate glass remains highly vulnerable to unexpected impacts, trail debris, or sudden break-ins. When the back glass of your 2008-2015 LR2 shatters, it does not just crack; as a tempered piece of safety glass, it explodes into thousands of tiny, pebble-like shards. This leaves your luxury SUV's interior exposed to unpredictable weather, compromises vehicle security, and creates a significant safety hazard. You need an expert, precision-driven solution to restore the integrity of your vehicle's cabin.
As a Master Technician and Senior SEO specialist at AlexWindshield, I know firsthand that replacing the rear glass on a British-engineered luxury SUV requires much more than just slapping on a new piece of glass. It demands a meticulous, multi-step technical approach, an understanding of the vehicle's internal tailgate architecture, and the use of premium automotive adhesives to ensure factory-level safety and durability.
Premium Mobile Auto Glass Service Across the Greater Toronto Area
Driving with a shattered rear windshield is dangerous and often illegal. That is why AlexWindshield brings the repair shop directly to your driveway, workplace, or fleet lot. We are proud to offer our highly specialized mobile auto glass services across the Greater Toronto Area (GTA). Whether you are navigating the busy commercial districts of Vaughan, parked safely in a residential neighborhood in Richmond Hill, or working at a tech hub in Markham, our fully equipped mobile service vehicles arrive promptly to secure your vehicle.
Our commitment to local drivers in Vaughan, Richmond Hill, and Markham means you do not have to pay for costly towing services or waste your day sitting in a traditional garage waiting room. We deliver OEM-quality glass and premium service directly to your location, ensuring your Land Rover LR2 is back on the road safely and efficiently.
The Technical Blueprint: Step-by-Step Back Glass Replacement for the LR2 (2008-2015)
Replacing the back glass on a 2008-2015 Land Rover Freelander 2 is a complex, multi-stage procedure. Because the rear glass is tempered, a completely different approach is required compared to a laminated front windshield. Here is the rigorous A-to-Z process executed by the Master Technicians at AlexWindshield.
Step 1: Pre-Installation Inspection and Interior Cabin Protection
Before any tools are utilized, we perform a comprehensive walk-around of your Land Rover LR2 to assess the extent of the damage and inspect the surrounding paintwork for any pre-existing scratches. Because tempered glass shatters explosively, the immediate priority is protecting your luxury interior.
- Protective Tarping: We lay heavy-duty protective drop cloths over the cargo area, folding down the rear seats to ensure no glass fragments embed themselves into the premium leather or fabric upholstery.
- Exterior Shielding: Protective tape is applied to the painted edges of the tailgate frame to prevent any accidental scratching during the glass removal process.
- Safety Gear: Our technicians equip themselves with cut-resistant Kevlar gloves and safety goggles to safely handle the hazardous glass debris.
Step 2: Tailgate Disassembly and Component Removal
To access the bonding surface of the rear window, several exterior and interior components specific to the 2008-2015 Freelander 2 must be systematically removed.
- Rear Wiper Assembly: We carefully unbolt the rear wiper arm, which rests directly against or passes through a specific cutout in the back glass. We secure the wiper motor spindle to prevent damage.
- Interior Tailgate Panels: The interior plastic trim panels on the inside of the tailgate are delicately unclipped using specialized non-marring nylon pry tools. This grants us access to the electrical connectors and the internal cavity of the tailgate door.
- Electrical Disconnections: We disconnect the wiring harnesses for the heated defroster grid and the integrated radio antenna. Handling these fragile connections with care is vital to ensure full functionality once the new glass is installed.
Step 3: Comprehensive Glass Shard Extraction
This is arguably the most critical step when dealing with a shattered rear windshield. If left unchecked, rogue glass shards will cause persistent, maddening rattles every time you open or close your tailgate.
- Deep Vacuuming: We use industrial-grade, high-suction shop vacuums to extract all visible glass from the cargo area, the rear bumper ledge, and the floor mats.
- Tailgate Cavity Extraction: Because the glass shatters downward, thousands of pieces fall directly into the hollow metal shell of the tailgate door. With the interior door panels removed, we meticulously vacuum the inside of the door frame.
- Compressed Air Flush: We utilize controlled bursts of compressed air to dislodge any stubborn glass fragments hidden deep within the drainage channels and tight crevices of the Land Rover LR2 tailgate, ensuring a completely silent, rattle-free door post-installation.
Step 4: Pinch Weld Preparation and Old Adhesive Removal
With the debris cleared, we must prepare the vehicle's frame—known as the pinch weld—to receive the new adhesive.
- Cutting the Urethane Bead: Using precision cold knives and specialized wire-cutting systems, we slice through the original, hardened polyurethane bead that held the factory glass in place.
- Trimming to Specifications: We trim the old adhesive down to a thin, uniform base layer of approximately 1 to 2 millimeters. This existing base layer provides the ideal bonding foundation for the fresh adhesive.
- Debris Clearing: A final wipe-down is performed to ensure no microscopic glass dust or dirt remains on the pinch weld.
Step 5: Surface Cleaning and High-Performance Primer Application
The longevity of a back glass replacement depends entirely on chemical adhesion. Proper surface preparation is non-negotiable.
- Chemical Cleaning: We clean the edges of the new replacement glass with specialized, alcohol-based auto glass foaming cleaners to remove any manufacturing residues, oils, or fingerprints.
- Pinch Weld Primer: If any bare metal was exposed on the tailgate frame during the removal process, we apply a highly specialized, fast-drying automotive black primer. This prevents oxidation and rust from forming around the window seal in the future.
- Glass Primer Application: A specialized glass prep/primer is applied to the frit band (the black painted edge) of the new back glass. This activates the glass surface, ensuring a molecular bond with the urethane.
Step 6: OEM-Quality Urethane Extrusion
At AlexWindshield, we never compromise on the quality of our adhesives. We utilize premium, high-modulus, non-conductive polyurethane adhesive.
- Precision V-Bead: Using an electric caulking gun, our Master Technician extrudes a continuous, perfectly uniform "V-shaped" bead of hot-applied or advanced-cure urethane directly onto the pinch weld.
- Structural Integrity: This specific type of urethane is designed to cure quickly and safely, restoring the structural roof-crush strength of the Land Rover LR2 to strict factory safety specifications.
Step 7: Precision Glass Placement and Electrical Reconnection
Timing and precision are paramount once the urethane is applied.
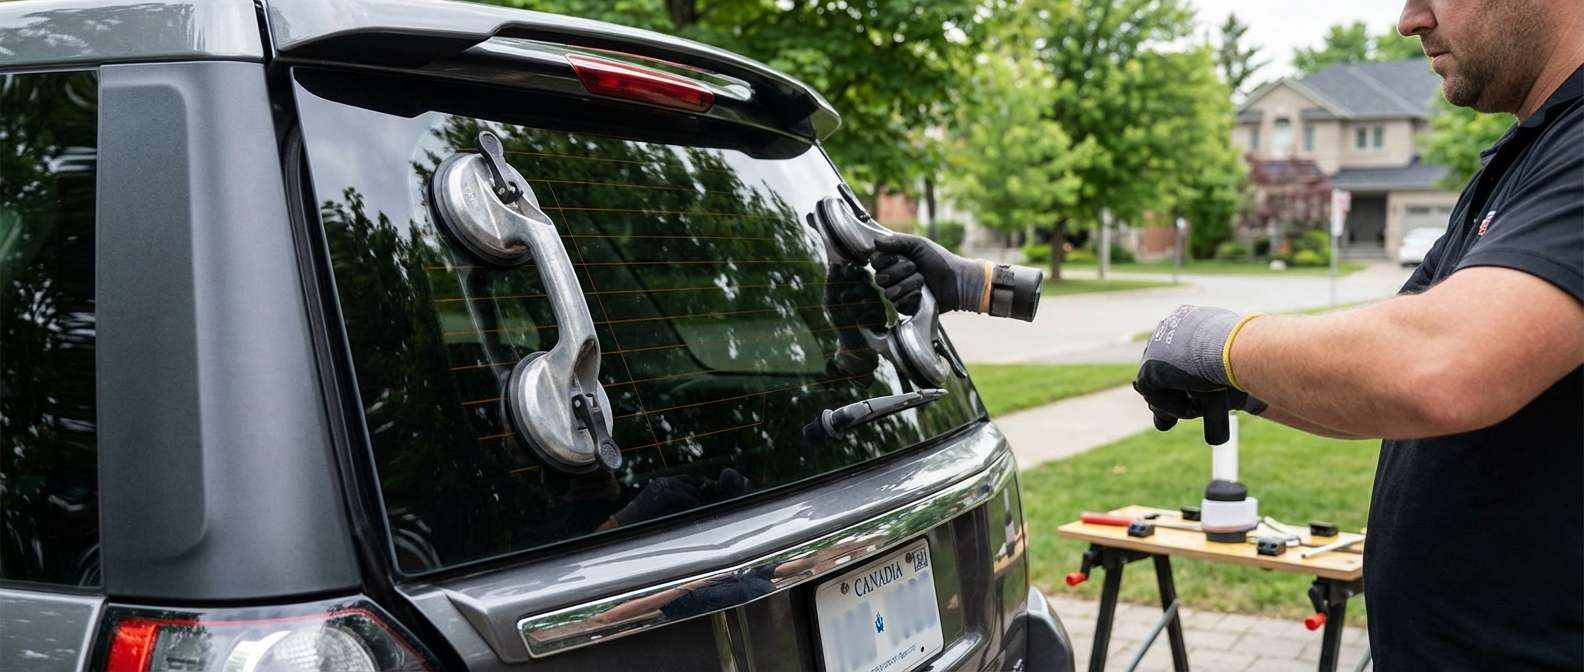
- Setting the Glass: Utilizing heavy-duty suction cups, two technicians carefully lift and align the new back glass. It is gently pressed into the wet urethane bead, ensuring a flawless, airtight, and watertight seal around the entire perimeter.
- Taping: Specialized retention tape is applied to hold the glass firmly in its perfect alignment while the adhesive begins its initial flash-cure phase.
- Reconnecting Electronics: We carefully reattach the defroster grid terminals and the antenna wiring harness to the new glass, testing the connections to guarantee your rear defogger will perform perfectly during harsh Canadian winters.
Step 8: Final Reassembly, Cleaning, and Curing Protocol
We believe in leaving your vehicle in better condition than we found it.
- Reinstalling Trim and Components: The interior tailgate panels are securely snapped back into place. The rear wiper motor, wiper arm, and blade are re-bolted, aligned, and torque-tested for proper sweeping motion.
- Post-Installation Polish: We clean the newly installed rear glass, as well as all other windows on the vehicle, using streak-free professional glass cleaners.
- Safe Drive-Away Time: We inform the customer of the Minimum Drive-Away Time (MDAT), ensuring the urethane has cured sufficiently for the vehicle to be driven safely.
Why the Right Glass Matters for Your Land Rover
The Land Rover LR2 (2008-2015) features a highly specific tailgate curvature designed to maximize cargo space while maintaining aerodynamic efficiency. Installing subpar, aftermarket glass can lead to optical distortion, wind noise, and water leaks. By choosing an expert technician, you ensure that the replacement glass perfectly matches the precise dimensions, tint level, and electrical resistance requirements of your original Freelander 2 rear window.
Trust AlexWindshield: The GTA's Premier Auto Glass Experts
When disaster strikes your luxury SUV, you need a team that combines technical mastery with unparalleled customer convenience. AlexWindshield is recognized as the leading provider of mobile auto glass repair and replacement services across the Greater Toronto Area. From the busy streets of Vaughan to the suburban driveways of Markham and Richmond Hill, our mobile fleets are ready to respond.
We stand behind every single installation we perform. That is why every back glass replacement, windshield installation, and auto glass repair completed by AlexWindshield is backed by our comprehensive Lifetime Warranty. We guarantee our work against any air leaks, water leaks, or manufacturer defects for as long as you own your vehicle. Do not let a shattered rear window compromise your safety or your vehicle's interior. Trust the Master Technicians at AlexWindshield to deliver flawless, factory-grade results right to your door.


