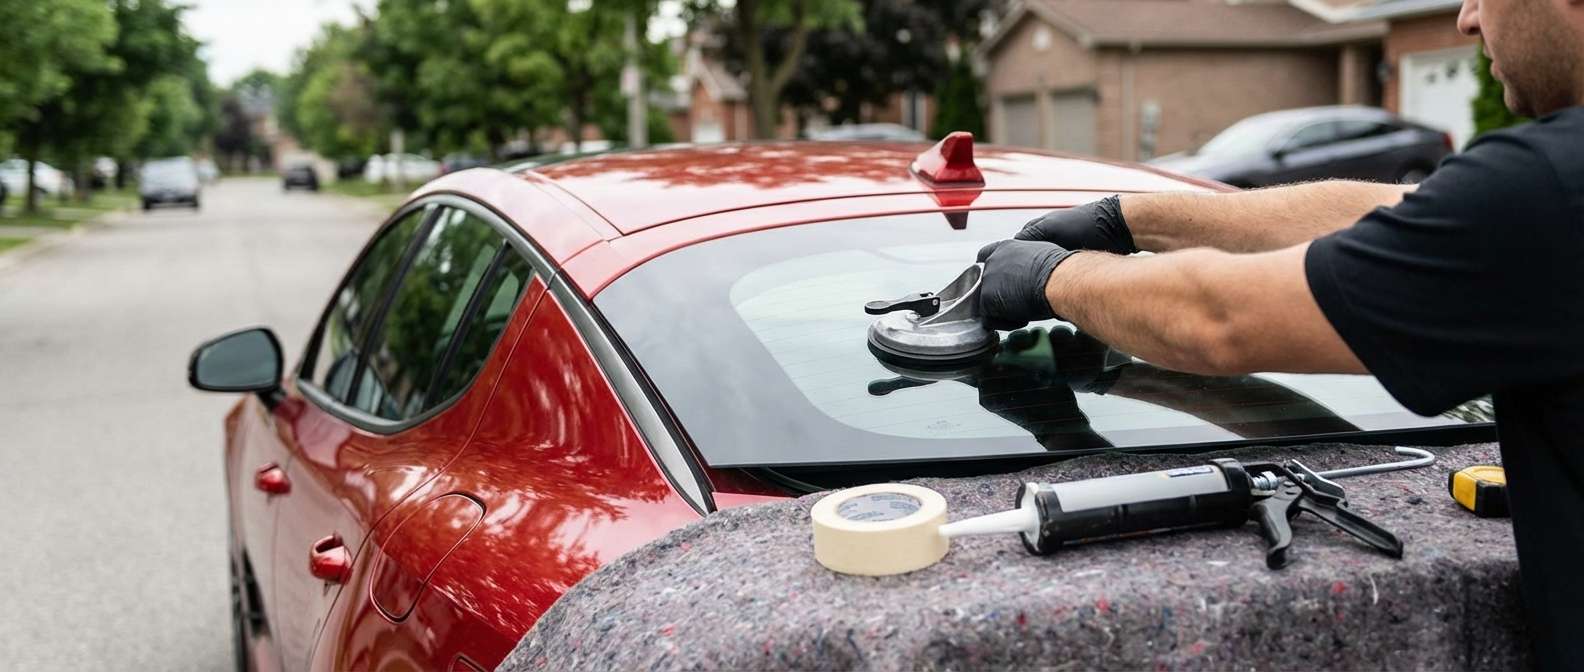
Smash-and-Grab Damage on the Stinger Rear Quarter Door Glass
Thieves frequently target the stationary rear vent glass on the Kia Stinger under the false impression that this smaller triangular pane is cheap to replace and avoids tripping primary door sensors. Because the Stinger uses a rigid upper door sash rather than a frameless setup, the glass shatters into hundreds of tempered fragments inside the door shell rather than falling away cleanly onto the pavement. When cleaning out the broken pane, every loose shard must be vacuumed out from the bottom cavity of the rear door, specifically around the lock actuators and lower vapor barrier, before a replacement is fitted.
The stationary vent pane on this fastback is isolated from the movable roll-down window by an upright division bar. To swap this glass, the interior rear door card must be released alongside the division post fasteners at the base of the window track. Because I operate entirely as a mobile service visiting customers at their homes or workplaces across Toronto and the GTA, I handle this interior disassembly and vacuuming on-site right in your driveway or parking space.
Verifying Glass Specs and Trim Finish Prior to Installation
Before installing a replacement pane on a Stinger, I examine the exterior finish package and match the glass shade against the surviving windows. Depending on whether the car is a GT-Line, GT1, or GT2, the exterior upper door sash mouldings and beltline mouldings will feature either a gloss black finish or a dark satin chrome. The replacement vent piece must slide beneath these mouldings without marring their factory coating.
The pane itself is a single-layer tempered safety glass enclosed in an EPDM rubber channel assembly. It does not carry defrost grids, radio antennas, or embedded wire leads. However, factory tint density varies between clear solar green and darker privacy glass depending on the original equipment level. When comparing replacement units to factory specifications, several key references apply:
| Component / Feature | Specification on Kia Stinger |
|---|---|
| Glass Structure | Single-pane tempered safety glass |
| Passenger Side OEM Reference | 83580-J5510 |
| Surrounding Moulding Accents | Gloss black or dark satin chrome (GT-Line / GT) |
| Internal Electronics | None (no antenna, heating elements, or sensors) |
| Door Frame Style | Full upper sash framed door |
Post-Installation Checks on the Division Channel and Roll-Down Window
Once the replacement vent window is seated in its rubber channel, the vertical division post must be aligned with exact precision before tightening down the hidden lower mounting bolts. This post does double duty: it locks the stationary glass in place and guides the rear roll-down window up and down.
I perform three specific mechanical checks on the Stinger rear door before securing the trim panel back onto the metal frame:
- Division post clearance: If the metal division bar is angled even a millimeter inward during vent installation, the main roll-down glass will bind or trigger the anti-pinch motor reversal when rolling up.
- EPDM seal compression: The perimeter rubber moulding around the vent must sit uniformly flat along the upper sash frame. Any pinched rubber lip allows wind turbulence and whistling along the Stinger rear pillar at highway speeds.
- Exterior beltline alignment: The bottom edge of the vent rubber seal must align flush with the horizontal beltline trim running along the door sill, preventing rainwater from leaking behind the inner moisture barrier.


