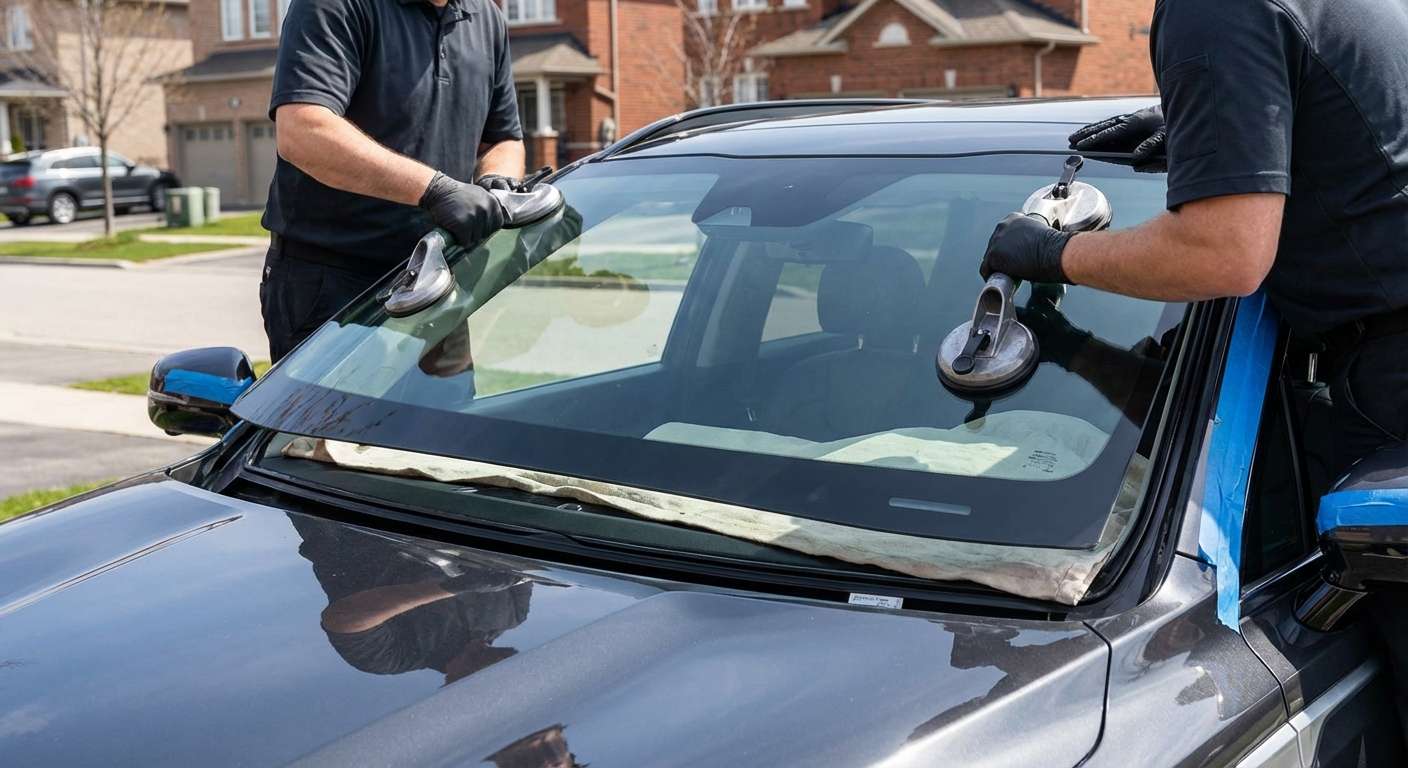
Matching the Right Glass to Your Sorento Trim
Ordering the correct replacement windshield for this vehicle requires checking the hardware behind your rearview mirror before anything else. The fourth-generation Sorento (MQ4) uses multiple glass configurations across the base LX, mid-range EX, and SX and SX Prestige models. A basic glass pane will not seat correctly if your vehicle carries the forward-facing camera bracket (OEM part 99216-P2000) for Lane Keeping Assist or the condensation sensor attached to the glass matrix.
The 2024 mid-cycle styling refresh altered the windshield profile and camera bracket mounts significantly. Installing an earlier pane on a refreshed model results in misaligned moldings and bracket clearance issues at the top header.
| Model Years & Drivetrain | Key Windshield Hardware | OEM Reference Family |
|---|---|---|
| 2021–2024 Hybrid / PHEV | Acoustic laminate, auto-defog, mono camera | 86111-P2211 / 86111-P2220 |
| 2024–2027 Hybrid (Facelift) | Updated frit band, standard camera bracket, no rain sensor | 86111-P4AA0 |
| 2024–2027 Gas / AWD (Facelift) | Acoustic interlayer, active ADAS camera & radar mounts | 86111-P2AV0 |
Pre-Installation Checks: Acoustic Film and Sensor Mounts
Kia owners frequently experience fast-spreading stress cracks from small highway stone chips on the factory glass. When I source an aftermarket windshield for your Sorento, I inspect the glass stamp to verify it includes the acoustic interlayer found on original EX and SX trims. Skipping acoustic lamination introduces noticeable wind buffeting at highway speeds around the A-pillar gloss garnishes.
I also inspect the integrated rain sensor port before placing the glass into the vehicle opening. The round optical lens demands a brand-new silicone gel pad without air bubbles or dust pockets; reusing old gel leaves the automatic wipers erratic or completely unresponsive in light mist.
Every aftermarket windshield I fit on these SUVs includes a one-year warranty on the glass itself against stress defects, alongside my lifetime guarantee covering the installation workmanship. The ceramic frit matrix must be aligned precisely over the lower dashboard edge so your vehicle identification number (VIN) remains unobstructed in the lower driver-side viewing window.
Post-Installation Fitment: Cowl and Wiper Clearances
Once the glass is set into the direct-glazed pinchweld, the trim pieces flanking the Sorento windshield require meticulous alignment to prevent cabin rattles and water leaks:
- Wiper Service Mode operation: The wiper arms sit recessed below the trailing edge of the hood. I set the ignition to off and hold the wiper stalk upward in the MIST position for two to three seconds so the arms lift upward into their service position, allowing proper wiper arm re-indexing without scratching the hood paint.
- Cowl panel clip engagement: The two-piece plastic cowl top grille at the base of the windshield relies on OEM 85839-3X000 trim clips. If these clips snap during cowl removal, the plastic panel lifts away from the lower glass edge, funneling pine needles and road debris into your cabin air intake.
- A-pillar exterior gloss moldings: The gloss-black exterior side garnishes along the A-pillars must sit flush against the glass border without pinch points. High-speed wind buffeting often traces back to loose clips along these structural side panels.
- Roofline reveal gap: The top glass edge must align evenly across the painted roof header, leaving uniform clearance ahead of the panoramic sunroof wind deflector mechanism on equipped models.


