The Unibody Evolution: Uncompromising Safety for Your 2011-2015 Kia Sorento
When Kia completely redesigned the Sorento for the 2011 model year, they abandoned the old, heavy body-on-frame architecture in favor of a highly rigid, lightweight unibody chassis. This structural evolution radically transformed the vehicle's driving dynamics and crash safety ratings. However, this engineering shift also meant that the windshield became a critical load-bearing component. In the event of a front-end collision or a rollover incident, the windshield provides up to 30% of the cabin's structural roof support, preventing the roof from caving in on passengers. At AlexWindshield, we understand that performing a Kia Sorento windshield replacement is not just about restoring your view of the road—it is a vital structural repair that demands the utmost technical precision and premium materials.
The second-generation Kia Sorento (2011-2015) features highly specialized auto glass. Depending on your specific trim level—whether an LX, EX, or SX—your windshield may be equipped with an acoustic sound-dampening interlayer, a heated wiper park area (windshield de-icer) specifically designed for harsh Canadian winters, rain sensors for automatic wipers, and early Advanced Driver Assistance Systems (ADAS) like the Lane Departure Warning System (LDWS). Replacing this highly engineered piece of glass requires far more than generic sealants and guesswork; it requires the expertise of a Master Technician.
Step-by-Step Windshield Replacement Process for the 2011-2015 Kia Sorento
As senior technicians, we follow an uncompromising, step-by-step A to Z protocol to ensure your Sorento is returned to factory-level safety standards. Here is the exact technical process we execute during our mobile service appointments.
Step 1: Comprehensive Pre-Inspection and Interior Protection
Before any tools touch your vehicle, we conduct a thorough pre-inspection of the Sorento. We test the functionality of the wipers, the rain sensors, and the windshield de-icer system to establish a baseline. Because the replacement process involves heavy tools and chemical adhesives, protecting your vehicle's interior and exterior is our first priority. We drape specialized protective covers over the hood and fenders to prevent accidental paint scratches. Inside the cabin, we lay down heavy-duty protective blankets over the dashboard, the steering wheel, and the front seats to shield your interior from debris, dust, and urethane.
Step 2: Cowl, Wiper, and Trim Removal
The lower edge of the Sorento's windshield is tucked beneath a plastic cowl panel and the windshield wiper arms. We begin by unbolting and carefully removing the wiper arms. Next, we carefully unclip the two-piece plastic cowl, disconnecting the windshield washer fluid nozzles. For Sorentos equipped with the Canadian cold-weather package, we carefully locate and unplug the electrical connector for the heated wiper park grid. We also remove the side molding trims framing the A-pillars, taking special care not to break the fragile retaining clips.
Step 3: Extracting the Old Sorento Windshield
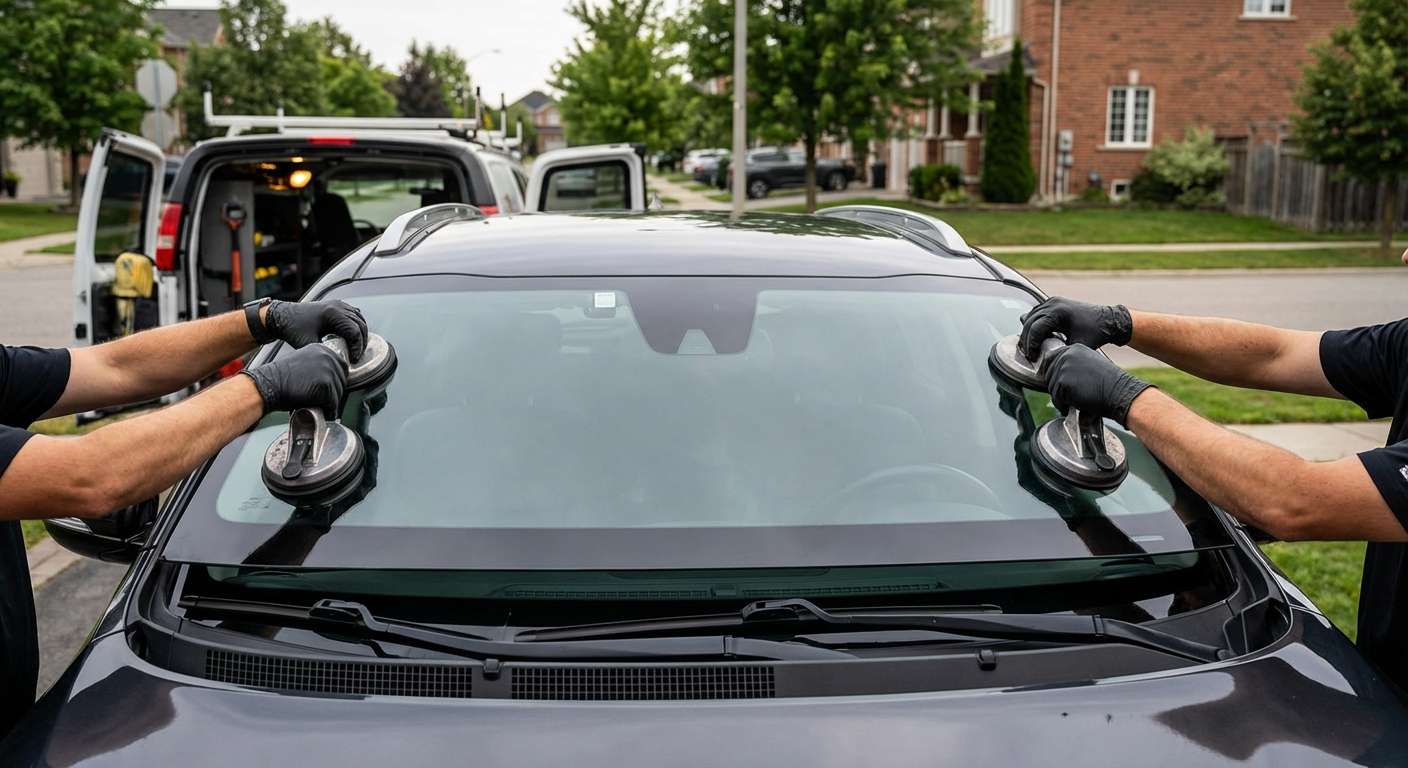
Removing the shattered or cracked windshield requires breaking the incredibly strong bond of the factory polyurethane adhesive. To protect the Sorento's pinch weld (the metal frame the glass sits on), we utilize advanced wire cutting systems or specialized oscillating cold knives. By threading a high-tensile braided wire through the urethane bead from the inside out, we methodically cut around the entire perimeter of the glass. This precise technique ensures that the Sorento's interior headliner, A-pillar airbags, and exterior paint remain completely untouched. Once the urethane seal is completely broken, we use heavy-duty suction cups to safely lift the damaged glass away from the vehicle.
Step 4: Pinch Weld Preparation and Cleaning
The secret to a structurally sound windshield replacement lies entirely in the surface preparation. Once the old glass is removed, a thick bead of the original urethane remains on the vehicle's pinch weld. We use ultra-sharp, specialized scraper blades to meticulously trim this existing adhesive down to a thin, uniform base layer of exactly 1 to 2 millimeters. This process is crucial, as the new urethane adheres best to freshly cut, clean old urethane. We then thoroughly vacuum the cowl area to remove any dirt, pine needles, or road debris. Finally, we clean the entire bonding area using a specialized, residue-free chemical glass cleaner to ensure a pristine working surface.
Step 5: Precision Primer Application
During the scraping process, tiny microscopic scratches can occasionally expose the bare metal of the Sorento's pinch weld. If left untreated, moisture can penetrate these areas, leading to highly destructive rust that compromises the structural integrity of future windshields. To prevent this, we apply a high-quality, chemically active anti-corrosion black primer to any exposed metal scratches. We also apply a glass-specific primer to the frit band (the black outer edge) of the new premium windshield. We strictly adhere to the manufacturer's required "flash time"—the mandatory waiting period allowing the chemical solvents in the primer to evaporate completely before the adhesive is introduced.
Step 6: High-Quality Urethane Adhesive Application
With the Sorento's frame perfectly prepped and primed, we apply the structural adhesive. At AlexWindshield, we use exclusively industry-leading, high-modulus, fast-curing polyurethane adhesives. Using an electric caulking gun, we apply the urethane in a perfect, continuous "V-bead" profile around the entire perimeter of the new windshield. The triangular shape of the V-bead is an essential engineering standard; as the glass is pressed into place, the peak of the V flattens out to create a flawless, air-tight, and water-tight seal without any gaps or air bubbles.
Step 7: Installation of the New Glass and Reassembly
Timing is critical once the urethane is applied. Two master technicians use specialized suction-cup setting tools to carefully lower the new windshield precisely onto the Kia Sorento's pinch weld. The glass is gently pressed into the V-bead to guarantee optimal adhesion. We re-connect the heated wiper grid, reattach the rearview mirror, and plug the rain sensors and forward-facing ADAS cameras back into their housing. Finally, we re-install the exterior cowl, side moldings, and wiper arms, torquing everything back to factory specifications. We finish by cleaning the newly installed glass to a streak-free shine.
Mandatory ADAS Camera Calibration for Your Kia Sorento
Many upper-trim 2014 and 2015 Kia Sorento models are equipped with advanced forward-facing cameras mounted directly to the windshield behind the rearview mirror. These cameras power your Lane Departure Warning System (LDWS) and forward collision alerts. When a windshield is replaced, the physical angle and pitch of the camera are unavoidably shifted—even if only by a single millimeter.
A millimeter of misalignment at the windshield translates to feet of miscalculation at highway speeds, potentially causing your Sorento to fail to recognize road lines or brake unnecessarily. Therefore, an ADAS camera calibration is strictly mandatory following the windshield installation. Utilizing highly advanced diagnostic computers and specialized optical laser targeting boards, our technicians tap into your Kia's On-Board Diagnostics (OBD-II) port to manually recalibrate the camera's software. We ensure the computer perfectly aligns with the new optical clarity of the glass, guaranteeing that your safety systems perform exactly as the manufacturer intended.
Premium Local Mobile Auto Glass Service in the Greater Toronto Area (GTA)
Driving in the Greater Toronto Area exposes your vehicle to a unique set of hazards. From flying gravel kicked up by commercial dump trucks on Highway 400, to sudden temperature drops during freezing winter commutes on the Don Valley Parkway, your Sorento's glass is constantly under stress. At AlexWindshield, we bring our master-level expertise directly to your driveway or workplace.
We are proud to offer comprehensive, fast, and reliable mobile auto glass services across the GTA. Whether you are dealing with a massive spiderweb crack while parked at a shopping center in Vaughan, need an emergency replacement before your commute from Richmond Hill, or require advanced ADAS calibration at your corporate office in Markham, our fully-equipped mobile service vans come directly to you. We save you the hassle of waiting in dingy repair shops, executing the entire flawless process right where you are parked, ensuring you get back on the road safely and efficiently.
Why Trust AlexWindshield for Your Auto Glass Needs?
Your 2011-2015 Kia Sorento protects you and your family, and the quality of your replacement windshield should never be compromised. As the premier auto glass specialists in the region, we refuse to cut corners. We utilize only OEE (Original Equipment Equivalent) or OEM glass, premium-grade urethane adhesives, and state-of-the-art ADAS calibration equipment. We handle everything from the intricate teardown of the Sorento's unibody trim to the delicate rewiring of the Canadian winter de-icer grids.
Choosing the right technician makes the difference between a noisy, leaky windshield and a factory-perfect structural installation. We stand entirely behind our craftsmanship and the materials we use. When you book with us, you are fully covered by the AlexWindshield Lifetime Warranty, protecting you against any manufacturer defects, air leaks, or water leaks for as long as you own your vehicle. Do not compromise on your safety or your vehicle's structural integrity. Trust the master technicians at AlexWindshield for the highest quality auto glass replacement and calibration in the GTA.


