Restoring the Sleek Profile of Your Luxury Ride: Infiniti G37 2008-2013 Vent Glass Replacement
The 2008-2013 Infiniti G37 is celebrated for its aggressive stance, refined interior, and sweeping, aerodynamic silhouette. However, the signature angled vent glass that completes this vehicle’s sharp C-pillar profile isn't just a design afterthought—it is a critical structural component that ensures the cabin's acoustic insulation, thermal efficiency, and overall security. Unfortunately, because of its discreet location, the vent glass is often the primary target for "smash-and-grab" break-ins, or it can fall victim to unexpected road debris. When your G37 suffers a shattered vent window, you lose more than just aesthetic appeal; you lose your vehicle's secure seal against the elements and potential intruders.
As a Master Technician at AlexWindshield, I have witnessed firsthand the distress a broken vent glass can cause Infiniti owners. This specific auto glass replacement requires much more than just sticking a new piece of glass into a frame. The Infiniti G37 demands precision engineering, an intimate understanding of luxury interior trim, and a flawless adhesive application to prevent future wind noise and water leaks. We have mastered this specialized craft, delivering flawless restorations that return your G37 to its factory-original condition.
Premier Local Auto Glass Service Across the Greater Toronto Area (GTA)
Dealing with a broken vehicle window is stressful enough without having to navigate heavy traffic to reach a repair shop. Because a shattered vent glass leaves your vehicle exposed to the weather and theft, driving it is often unsafe and impractical. That is exactly why AlexWindshield provides comprehensive, fully equipped mobile auto glass services directly to your location throughout the Greater Toronto Area (GTA).
Our fleet of mobile technician vans is specifically outfitted to handle luxury vehicle auto glass replacements on-site. Whether you are at your corporate office in Markham, parked in your residential driveway in Richmond Hill, or visiting a commercial plaza in Vaughan, our experts bring the auto glass shop directly to you. We eliminate the downtime and hassle by providing prompt, professional service wherever you are in the GTA, ensuring your Infiniti G37 is secured and road-ready without interrupting your daily schedule.
The Master Technician's A-to-Z Process: Infiniti G37 Vent Glass Replacement
Replacing the vent glass on a 2008-2013 Infiniti G37 is a delicate procedure. Because vent glass is constructed from tempered glass, it is designed to shatter into thousands of tiny, blunt pieces upon impact. While this is a crucial safety feature that prevents severe lacerations, it creates a monumental mess inside the vehicle's interior door cavities and seating areas. Below is our meticulous, step-by-step master technician process to guarantee a perfect, safe, and clean installation.
Step 1: Thorough Pre-Inspection and Interior Protection
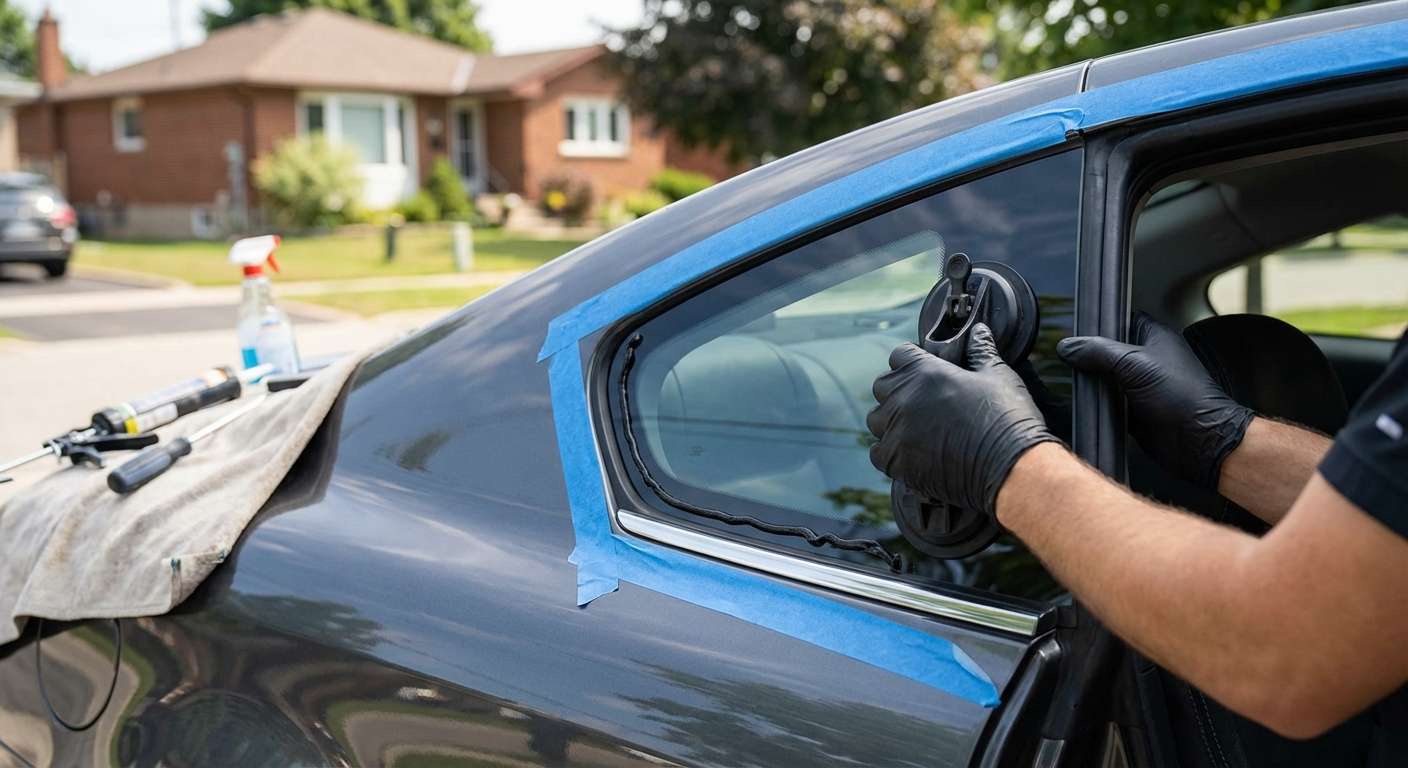
Before any tools are lifted, we conduct a comprehensive assessment of the damage. We inspect the vehicle's exterior paint, the surrounding weatherstripping, and the chrome or black window moldings specific to the G37 trim. Protecting your luxury interior is our immediate priority. We utilize heavy-duty protective drop cloths and specialized automotive covers to drape over your G37’s premium leather seats, center console, and floor mats. We also apply high-grade automotive painter’s tape around the exterior window frame to ensure your vehicle's clear coat remains completely safe from any accidental tool contact during the extraction process.
Step 2: Interior Door Panel and Trim Removal
To access the mounting points of the vent glass and properly clear out the debris, we must carefully disassemble the interior components. The Infiniti G37 features high-quality interior panels secured by hidden Torx screws, specialized plastic retaining clips, and delicate wiring harnesses for the power locks and windows. Using specialized, non-marring nylon pry tools, we meticulously unclip the interior door panel or rear quarter trim (depending on whether your G37 is a sedan or coupe). We carefully disconnect all electrical harnesses to completely remove the interior panel, exposing the inner metal framework of the door.
Step 3: Comprehensive Glass Shard Remediation (Vacuuming)
This is arguably one of the most vital steps in a vent, door, or back glass replacement. Tempered glass shards migrate into the deepest crevices of the vehicle's door cavity. If left unattended, these shards will cause frustrating rattling noises every time you close the door or drive over a bump, and they can potentially jam the window regulator mechanism. We utilize high-powered, industrial-grade HEPA vacuums equipped with micro-crevice attachments to aggressively suction every single piece of broken glass. We vacuum the interior floorboards, the folds of the leather seats, the window tracks, and the very bottom of the internal door cavity until the area is clinically clean.
Step 4: Extraction of the Old Frame and Urethane
With the debris cleared, we turn our attention to the broken vent glass frame. The vent glass on the G37 is securely bonded to the vehicle's pinch weld using factory urethane, and often encapsulated in a rubber or hard plastic molding. Using professional-grade cold knives, wire cutting systems, or powered cut-out tools, we carefully slice through the old, hardened urethane bead. We then extract the remaining glass fragments and the old mounting frame. Once removed, we use sharp technician chisels to trim down the existing urethane bead on the vehicle's pinch weld to a thin, uniform layer of about 1-2 millimeters, which creates the optimal foundation for the new adhesive bond.
Step 5: Surface Preparation and Primer Application
A new piece of auto glass is only as secure as the surface it is bonded to. We thoroughly clean the newly trimmed pinch weld and the surrounding framework using specialized, alcohol-based auto glass cleaners to remove any dirt, moisture, or grease. If the extraction process revealed any bare metal on the vehicle's frame, we immediately apply a specialized anti-corrosion pinch weld primer. This step is non-negotiable for a master technician; the primer prevents future rust from developing around the window frame and acts as a vital chemical bonding agent between the vehicle's metal and the new urethane adhesive.
Step 6: Prepping the New Vent Glass
We source only premium, OEM-equivalent or original equipment replacement glass that perfectly matches the factory tint, acoustic properties, and exact curvature of your 2008-2013 Infiniti G37. The new vent glass is placed on a secure glass stand, and the bonding perimeter is vigorously cleaned. We then apply a specialized glass prep primer to the frit (the black painted band on the edge of the glass). This glass primer activates the surface, ensuring the urethane adhesive achieves a maximum-strength molecular bond.
Step 7: Applying High-Quality Adhesive and Precision Installation
We utilize only premium, fast-curing, automotive-grade polyurethane adhesive. Using an electric caulking gun with a customized V-notch nozzle, we lay down a precise, continuous, and high-profile bead of urethane directly onto the prepared pinch weld. Timing and precision are critical here. The new vent glass is carefully lifted and guided perfectly into the vehicle's frame. We press the glass into the urethane bed with exact, even pressure, ensuring it aligns flawlessly with the G37’s exterior body lines and factory moldings. The high-quality adhesive we use ensures rapid curing, structural integrity, and a completely waterproof and windproof seal.
Step 8: Reassembly, Final Cleanup, and Quality Assurance
Once the glass is set and the adhesive begins its rapid curing process, we meticulously reassemble the interior of your Infiniti G37. The wiring harnesses are reconnected, the moisture barrier is resealed, and the interior trim panels are clipped back securely into their factory positions without a single missing fastener. We perform a secondary vacuuming of the vehicle interior to ensure absolute perfection. Finally, we clean the newly installed vent glass to a streak-free shine and conduct a rigorous quality assurance check, testing the surrounding power windows and ensuring all panel gaps are factory-tight.
Why the Right Adhesive and Materials Matter
- Structural Safety: In modern luxury vehicles like the G37, the auto glass contributes to the overall structural rigidity of the cabin. Inferior adhesives can fail during a collision. We use industry-leading urethane that meets or exceeds federal motor vehicle safety standards.
- Acoustic Integrity: The G37 has a whisper-quiet cabin. Proper installation and high-grade sealants prevent the irritating wind whistling and highway noise that commonly plague sub-par glass replacements.
- Water Leaks: A poorly prepped pinch weld or an uneven urethane bead will inevitably lead to water intrusion, which can destroy the G37's expensive interior electronics and leather. Our precision V-notch application guarantees a watertight seal.
- Fast Drive-Away Times: We use advanced, fast-cure adhesives that drastically reduce the safe drive-away time, allowing you to get back on the roads of the GTA safely and swiftly.
Trust AlexWindshield: Your Elite Auto Glass Experts in the GTA
Your 2008-2013 Infiniti G37 deserves the skilled hands of a master technician. Do not compromise the safety, luxury, or aesthetic value of your vehicle by settling for cut-rate glass repairs. At AlexWindshield, we treat every vehicle that we service as if it were our own, utilizing only the finest materials, strictly adhering to factory-approved installation methods, and executing an obsessive level of detail from the initial interior protection to the final glass polishing.
Our commitment to excellence extends far beyond the technical installation. We take immense pride in offering the most convenient and reliable mobile service across the entire Greater Toronto Area (GTA). Whether you need immediate emergency vent glass replacement at your office in Markham, a scheduled appointment in Vaughan, or mobile service in Richmond Hill, our specialized fleet is ready to deploy directly to your location. We stand firmly behind the quality of our craftsmanship and materials, which is why every single installation we perform is backed by our comprehensive Lifetime Warranty against leaks, wind noise, and workmanship defects. When you choose AlexWindshield, you are choosing ultimate peace of mind, uncompromising quality, and the trusted local authority in auto glass restoration.


