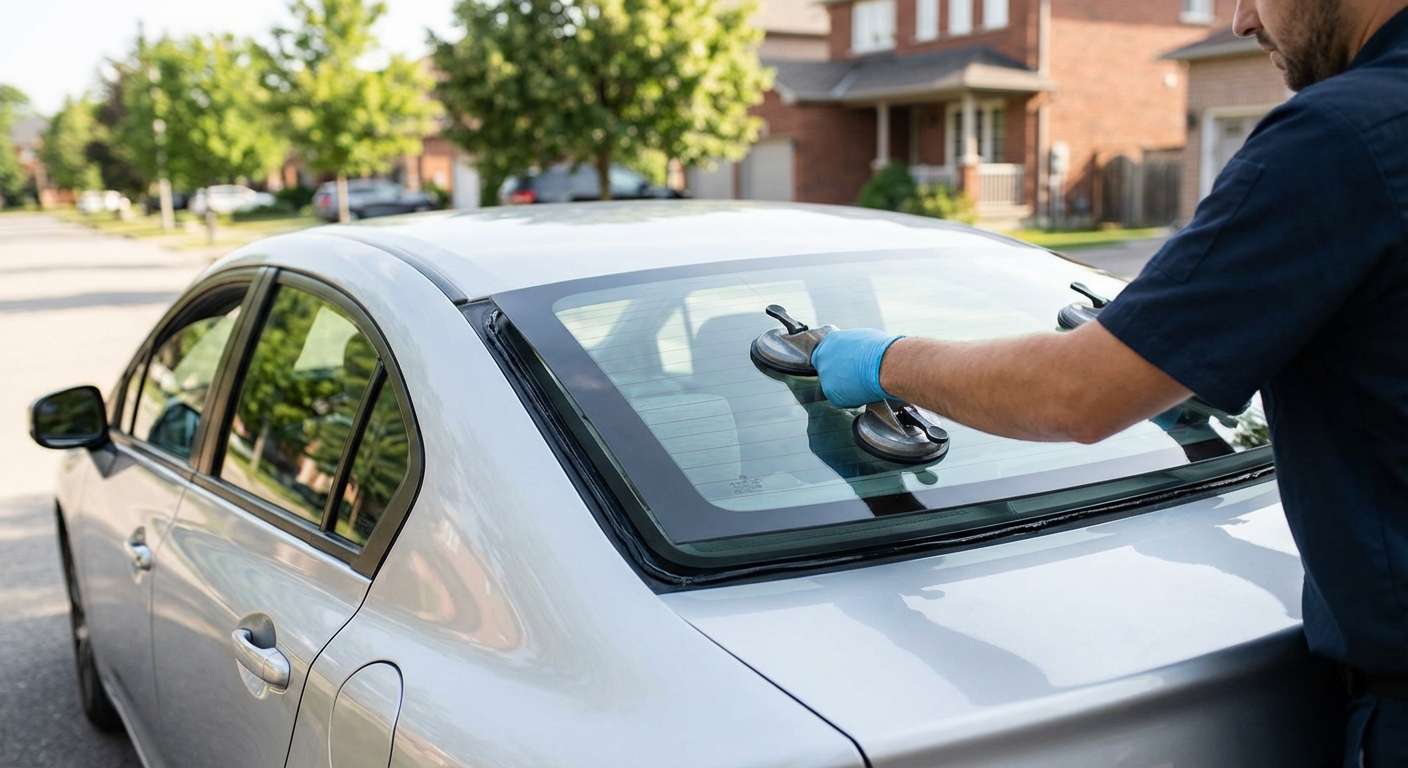
The 9th Generation Vulnerability: Mastering Back Glass Replacement for the 2012-2015 Honda Civic
The 9th generation Honda Civic, produced between 2012 and 2015, is celebrated for its fuel efficiency, reliability, and aerodynamically raked roofline. However, this sloping, sleek profile means the rear window acts as a structural shield that absorbs significant aerodynamic pressure and is uniquely susceptible to shattered stress fractures from extreme temperature shifts and flying road debris. When the rear window of your Civic shatters, it is not merely an aesthetic nightmare; it completely compromises your vehicle's security, exposes the cabin to harsh weather, and creates a hazardous environment filled with thousands of tempered glass shards.
As a Master Technician at AlexWindshield, I have witnessed countless improperly installed rear windows that lead to water leaks, wind noise, and failing defroster grids. Replacing the back glass on a 2012-2015 Honda Civic requires meticulous precision, a deep understanding of the vehicle’s electrical integrations, and an uncompromising commitment to safety. We don’t just swap out a piece of glass; we restore the structural integrity and comfort of your beloved Civic to its original factory condition.
Premium Mobile Auto Glass Services Across the Greater Toronto Area (GTA)
Driving a vehicle with a shattered rear window is exceptionally dangerous and often illegal due to obstructed visibility. That is why AlexWindshield brings the repair shop directly to you. Our state-of-the-art mobile service units are fully equipped to handle complex back glass replacements on-site, providing unparalleled convenience without sacrificing quality.
We proudly offer comprehensive, rapid-response mobile auto glass replacement across the Greater Toronto Area (GTA). Our specialized technicians frequently dispatch to key suburban hubs, specifically highlighting our lightning-fast service in Vaughan, Richmond Hill, and Markham. Whether your Civic is parked at your driveway in Richmond Hill, an office building in Markham, or a shopping center in Vaughan, our mobile experts arrive equipped with premium tools, OEM-quality glass, and the exact adhesives required to complete the job safely and efficiently.
Why the 2012-2015 Honda Civic Back Glass Requires Expert Attention
The rear glass of this specific Civic generation is not just a standard pane of glass. It is a highly engineered component that includes several vital features:
- Tempered Glass Construction: Unlike the laminated windshield, the back glass is made of tempered glass designed to shatter into small, granular chunks to prevent deep lacerations during an accident.
- Integrated Defroster Grid: The rear window features a complex thermal grid essential for melting ice and clearing condensation during harsh Canadian winters.
- Integrated Radio Antenna: In many 2012-2015 Civic models, the AM/FM radio antenna is baked directly into the rear glass, meaning a flawed installation can result in total loss of radio reception.
- Acoustic and Structural Support: The back glass contributes significantly to the overall rigidity of the vehicle's roof and dampens outside road noise.
The AlexWindshield A-Z Back Glass Replacement Process
To guarantee a permanent, leak-proof, and structurally sound repair, our Master Technicians follow a strict, standardized A-Z replacement protocol. Here is the detailed step-by-step breakdown of how we restore your 2012-2015 Honda Civic.
Step 1: Pre-Inspection and Thorough Interior Protection
Before any tools are utilized, we conduct a comprehensive inspection of the vehicle frame to check for any hidden damage. Because tempered back glass shatters into thousands of pieces, our first priority is protecting the interior of your Civic. We drape heavy-duty protective blankets over the rear seats, the center console, and the exterior trunk lid to ensure no sharp edges scratch your paint or tear your upholstery during the extraction process.
Step 2: Massive Cleanup and Broken Glass Shard Vacuuming
When a back glass breaks, it explodes inward. This is a critical step that separates amateur installers from professionals. We meticulously remove the rear parcel shelf (the deck directly behind the rear seats) and the C-pillar interior trim panels to access hidden crevices. Using high-powered industrial vacuums, we extract every single broken glass shard from the vehicle's interior. We vacuum the rear seats, fold them down to access the trunk cavity, vacuum the trunk floor, and carefully clean inside the rear seatbelts mechanisms. Leaving even a single shard behind can cause annoying rattles, damage the new glass, or pose a severe safety risk to your passengers.
Step 3: Disconnecting Electrical Components
With the area safely cleared of glass debris, we carefully detach the wiring harnesses connected to the old glass. For the 2012-2015 Civic, this involves unclipping the electrical leads for the rear defroster grid and the integrated radio antenna. We inspect these connectors for corrosion or damage to ensure they will mate perfectly with the new back glass.
Step 4: Removing the Old Urethane Sealant and Glass Remnants
Using specialized auto glass cutout tools—such as a cold knife or a specialized wire extraction system—we carefully cut through the existing polyurethane bead that held the original glass in place. We remove the remaining frame of shattered glass, taking extreme care not to scratch the vehicle's painted pinch weld. The old urethane is then precisely trimmed down to a thin, even base layer of about 1-2 millimeters. This "close-cut" method provides the optimal bonding surface for the fresh adhesive.
Step 5: Pinch Weld Preparation, Surface Cleaning, and Primer Application
The structural integrity of the new installation relies entirely on chemical bonding. We thoroughly clean the perimeter of the pinch weld with a specialized, alcohol-based glass cleaner to remove any dirt, dust, or grease. If any bare metal was exposed during the removal process, we apply a premium, fast-drying auto glass primer to the area. This primer serves a dual purpose: it acts as a powerful chemical bridge between the metal and the new adhesive, and it acts as an impenetrable barrier against rust and corrosion, ensuring the longevity of your vehicle’s frame.
Step 6: Prepping the New OEM-Quality Glass
We unwrap your new 2012-2015 Honda Civic back glass, which meets or exceeds all Original Equipment Manufacturer (OEM) specifications. The interior edge of the new glass—known as the frit band—is scrubbed vigorously with an abrasive pad and glass prep solvent to remove any manufacturing mold-release agents. We then apply a specialized glass primer to the frit band to activate the surface for maximum adhesion.
Step 7: Applying High-Quality Polyurethane Adhesive
Using a precision electric caulking gun, our technician applies a continuous, uniform, V-shaped bead of highly advanced, fast-curing automotive polyurethane adhesive directly onto the prepared pinch weld. At AlexWindshield, we exclusively use premium-grade urethane that boasts incredible tensile strength and a rapid Safe Drive-Away Time (SDAT), ensuring the vehicle is structurally sound almost immediately after curing.
Step 8: Precision Installation of the New Back Glass
Handling the heavy rear window with specialized suction cup grips, two technicians carefully lower the new back glass into position. We align the glass perfectly within the Civic's rear aperture, ensuring even gaps on all sides. Gentle, even pressure is applied around the perimeter to compress the urethane bead, creating a watertight, airtight, and structurally sound seal. We secure the glass temporarily with specialized auto glass retention tape to prevent any slipping while the urethane begins its curing process.
Step 9: Reconnecting Defrosters and Final Reassembly
Once the glass is set, we reconnect the vital electrical components. We firmly attach the leads for the rear defroster and the radio antenna, testing the connections to ensure flawless operation. We then reinstall the rear parcel shelf, the C-pillar interior trim panels, and any rubber exterior moldings that were removed, returning the rear of your Civic to its factory aesthetic.
Step 10: Final Inspection and Post-Installation Cleanup
We conclude the process with a final, meticulous wipe-down of the new glass using streak-free foaming cleaner. We run our vacuums through the cabin and trunk one last time to ensure absolute cleanliness. Our technician will then walk you through the completed job, explaining the curing time and post-care instructions.
Crucial Aftercare for Your New Honda Civic Back Glass
To ensure the premium urethane adhesive cures flawlessly, we provide strict guidelines for the first 24 to 48 hours following your replacement:
- Leave the Tape On: Do not remove the retention tape holding the top of the glass for at least 24 hours.
- Keep Windows Slightly Open: Leave a door window cracked open about an inch for the first day. This prevents air pressure spikes from slamming doors from pushing the new back glass outward and breaking the seal.
- Avoid Car Washes: Do not use high-pressure automatic car washes for at least 48 hours to allow the chemicals in the urethane to cross-link and cure completely.
- Drive Gently: Avoid massive potholes, off-roading, and aggressive driving that could flex the vehicle's frame while the adhesive sets.
Your Trusted Partner for Auto Glass Excellence
Replacing the back glass on a 2012-2015 Honda Civic is a highly technical procedure that demands the touch of a seasoned professional. By choosing AlexWindshield, you are opting for unparalleled expertise, meticulous attention to detail, and a commitment to your family's safety. Our intensive shard-removal process, combined with our use of premium primers and fast-curing urethane, guarantees an airtight installation that will stand the test of time.
As the premier provider of mobile auto glass services throughout the GTA—delivering unmatched convenience to our clients in Vaughan, Richmond Hill, and Markham—we stand confidently behind our craftsmanship. Every back glass replacement we perform is backed by our comprehensive Lifetime Warranty, which protects you against any leaks, wind noise, or manufacturer defects for as long as you own your vehicle. Trust the Master Technicians at AlexWindshield to restore your Honda Civic with precision, speed, and absolute reliability. Contact us today to schedule your mobile back glass replacement!


