Restoring the Sleek Profile of Your 1st Generation Fusion
The 2006-2012 Ford Fusion redefined the mid-size sedan segment with its bold, three-bar chrome grille, athletic stance, and undeniable dependability. Built on the acclaimed CD3 platform, this vehicle proved that an American family car could be both incredibly resilient and stylistically sharp. However, when the sleek, aerodynamic profile of your first-generation Fusion is violently interrupted by a shattered quarter glass, it instantly transforms your reliable commuter into an eyesore and a glaring security vulnerability. Because quarter glass panels are frequently targeted during vehicle break-ins or damaged by high-velocity road debris, driving with a compromised side window exposes your pristine interior to harsh weather elements, road noise, and the very real threat of theft.
As a Master Technician at AlexWindshield, I have witnessed firsthand how often this specific piece of automotive glass is overlooked until disaster strikes. A shattered quarter glass on your 2006-2012 Ford Fusion is not merely a cosmetic issue; it is an open invitation to moisture damage and unauthorized access. Replacing this encapsulated, specialized glass requires rigorous technical precision, profound knowledge of the vehicle's structural layout, and an uncompromising commitment to using premium materials. We do not cut corners—we restore your vehicle's factory-level security and aesthetic brilliance.
Premium Auto Glass Services Across the Greater Toronto Area (GTA)
A broken window never happens at a convenient time. That is why AlexWindshield brings top-tier auto glass repair and replacement directly to your doorstep. We proudly serve the entire Greater Toronto Area (GTA), offering specialized mobile services that cater to your busy lifestyle. Whether you are parked at a residential driveway in the expanding neighborhoods of Vaughan, situated at a commercial office complex in Richmond Hill, or stranded at a shopping center in Markham, our fully equipped mobile service vans arrive ready to perform a master-level installation on-site.
Navigating the bustling highways and local roads of the GTA requires a vehicle that is fully sealed and structurally sound. Our localized expertise means we understand the environmental stresses your Ford Fusion faces—from freezing winter temperatures to humid summer afternoons. We ensure that every quarter glass replacement we execute in Vaughan, Richmond Hill, Markham, and the surrounding GTA is fully optimized to withstand the demanding Canadian climate.
The AlexWindshield Standard: Step-by-Step Quarter Glass Replacement Process
Replacing the quarter glass on a 2006-2012 Ford Fusion is a highly technical procedure that demands meticulous attention to detail. Unlike a standard roll-up window, this stationary glass is heavily integrated into the vehicle's bodywork and interior trim. Below is our comprehensive, step-by-step master technician process to guarantee a flawless, factory-quality installation.
Step 1: Comprehensive Vehicle Inspection and Interior Protection
Before any tools are deployed, we conduct a thorough inspection of the damage. We assess the window frame for impact dents and check the surrounding paintwork. Because tempered quarter glass shatters into thousands of tiny, sharp cubes, our first operational priority is protecting your vehicle's interior. We carefully apply heavy-duty automotive painter's tape to the exterior paint surrounding the window opening to prevent any accidental scratches. Inside the cabin, we lay down high-grade protective drop cloths over the rear seats, floor mats, and center console. This meticulous preparation ensures that the pristine condition of your Ford Fusion's interior is preserved throughout the replacement procedure.
Step 2: Safe Removal of Interior Trim and Door Panels
To access the mounting points, hidden bolts, and urethane channels of the quarter glass, we must meticulously disassemble the interior components. Using specialized, non-marring nylon pry tools, our technicians carefully detach the interior C-pillar trim panels and, when working on the rear door-mounted vent/quarter sections, the removal of door panels is mandatory. We carefully extract all Torx screws and release the delicate plastic retaining clips without snapping them. By safely bypassing the interior weatherstripping and division bars, we gain full, unobstructed access to the structural framework holding the damaged glass assembly in place.
Step 3: Meticulous Vacuuming and Debris Extraction
When tempered glass breaks, the shards infiltrate every conceivable crevice of the vehicle's interior. As part of our strict protocol for door and side glass replacement, vacuuming all broken glass shards from the vehicle's interior and internal door cavities is absolutely essential. We utilize industrial-strength shop vacuums equipped with specialized micro-nozzles to extract debris from the deep recesses of the door frame, the window tracks, the seat folds, and the floor carpeting. Failing to remove these shards can lead to rattling noises, damaged window regulators, and severe safety hazards for your passengers. We leave the interior spotless.
Step 4: Cutting the Old Urethane and Removing the Damaged Glass
With the area prepped and clean, we proceed to the removal of the old glass and its surrounding encapsulation. For the body-mounted quarter panels of the Ford Fusion, the glass is bonded directly to the vehicle's pinch weld using high-strength factory polyurethane. Using an advanced cold knife or a precision wire-cutting system, we meticulously slice through the original urethane bead from the inside out. This technique allows us to sever the chemical bond without applying excessive force, completely eliminating the risk of bending the pinch weld or scratching the exterior clear coat. The remnants of the shattered glass and its rubber molding are then safely extracted.
Step 5: Pinch Weld Preparation and Surface Cleaning
A new piece of glass is only as secure as the surface it is bonded to. Once the old assembly is out, we perform a precise "trim-down" of the existing polyurethane on the pinch weld, shaving it down to a uniform 1-2 millimeter base. This thin layer of original adhesive provides the ideal substrate for the new urethane to bond with. Following the trim-down, rigorous surface cleaning begins. We use specialized, lint-free wipes and an alcohol-based, automotive-grade glass cleaner to remove all dust, microscopic debris, and hand oils from both the vehicle's pinch weld and the bonding surface of the brand-new OEM-quality quarter glass.
Step 6: Primer Application for Ultimate Adhesion
Chemical preparation is the secret to a leak-proof, lifetime seal. We conduct a detailed primer application using a two-part priming system. First, if any bare metal was exposed on the pinch weld during the cutting process, we apply an anti-corrosion metal primer. This step is critical in preventing future rust formation, which can compromise the structural integrity of the vehicle frame. Next, we apply a high-grade black glass primer (frit primer) to the bonding edge of the new quarter glass. This primer acts as an essential chemical bridge, promoting a rapid, molecular-level bond between the smooth glass surface and the polyurethane adhesive.
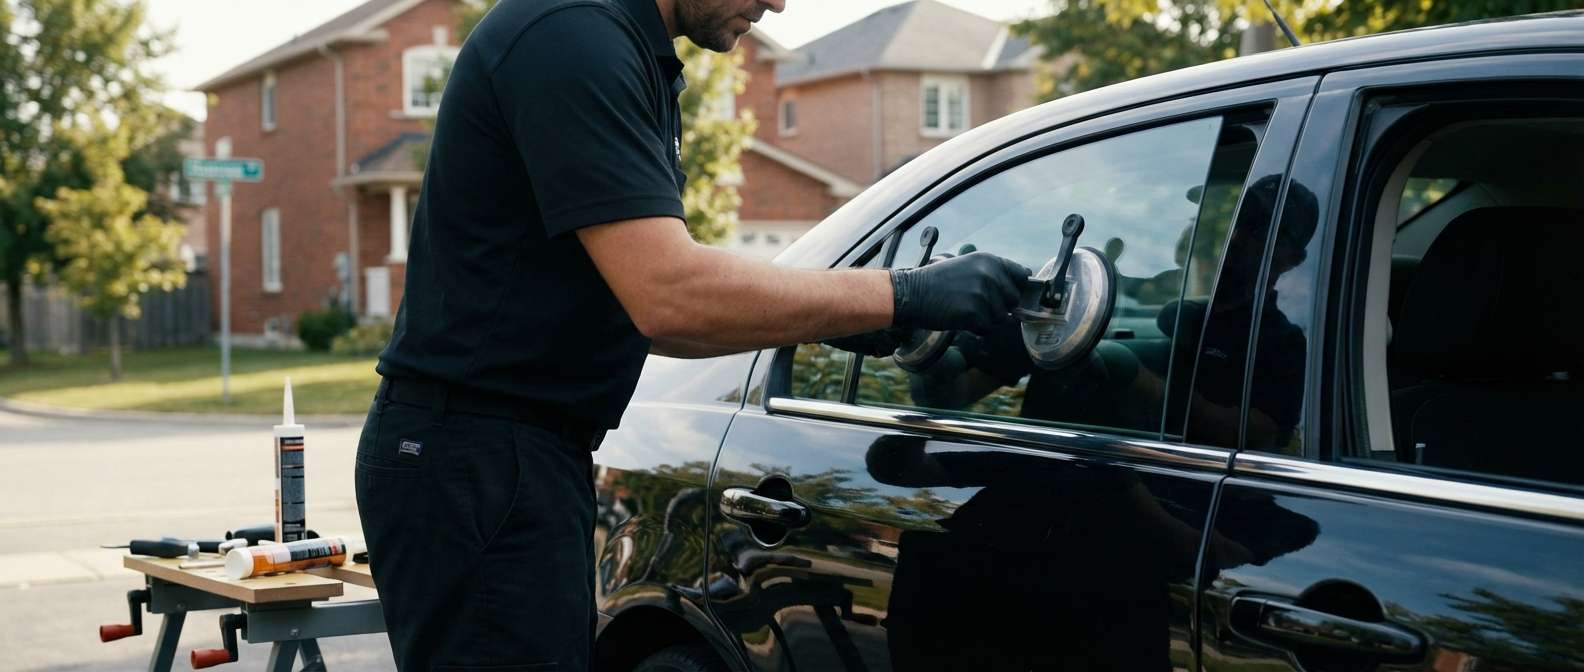
Step 7: Installation Using High-Quality Adhesive
With the primer flashed and fully cured, we are ready for the installation. Using an electric caulking gun for absolute consistency, we apply a precise, triangular V-bead of fast-curing, high-quality adhesive (automotive-grade polyurethane) directly onto the prepared pinch weld. The V-bead ensures a uniform compression when the glass is seated, preventing air gaps and water leaks. Using heavy-duty suction cups, our technicians carefully align the new quarter glass with the aerodynamic contours of the Ford Fusion’s bodywork and gently press it into the adhesive bed. We secure the glass with specialized retention tape to hold it perfectly in alignment while the urethane undergoes its initial curing phase.
Step 8: Reassembly, Final Cleaning, and Quality Assurance
While the adhesive sets, we reverse the disassembly process. We reinstall the interior trim, securely fasten the door panels, and ensure all weatherstripping is perfectly seated to prevent wind noise. Once the vehicle is reassembled, we perform a final exterior and interior wipe-down, polishing the new quarter glass to a brilliant, streak-free shine. A comprehensive quality assurance check is conducted to verify that the glass is flush, the structural seal is perfect, and the interior is entirely free of glass debris.
Why Choose AlexWindshield for Your Ford Fusion Auto Glass Needs?
Trusting your 2006-2012 Ford Fusion to just anyone can result in whistling wind noises, chronic water leaks, and structural vulnerabilities. At AlexWindshield, we elevate auto glass replacement to an exact science.
- Master Technicians: Our installers possess years of dedicated experience and localized expertise, ensuring every vehicle is treated with the highest level of respect and technical precision.
- OEM-Quality Materials: From our superior, distortion-free glass to our advanced, rapid-curing urethane adhesives, we utilize only the finest materials the industry has to offer.
- Unparalleled Convenience: As a premier mobile service provider, we bring the glass shop to you—saving you time, money, and towing fees across the GTA.
- Comprehensive Interior Care: We don't just replace the glass; we meticulously remove door panels and vacuum out every hidden shard of glass, ensuring your cabin is safe and pristine.
Contact AlexWindshield Today
Do not let a shattered quarter glass compromise the security, comfort, and aesthetic appeal of your 2006-2012 Ford Fusion. When you require prompt, professional, and uncompromising auto glass services in the GTA—whether you are located in Vaughan, Richmond Hill, or Markham—look no further than the industry experts. AlexWindshield is your trusted specialist for mobile auto glass services, backing every single replacement with a comprehensive Lifetime Warranty against leaks and workmanship defects. Reach out to us today to schedule your mobile quarter glass replacement and experience the pinnacle of automotive glass repair.


