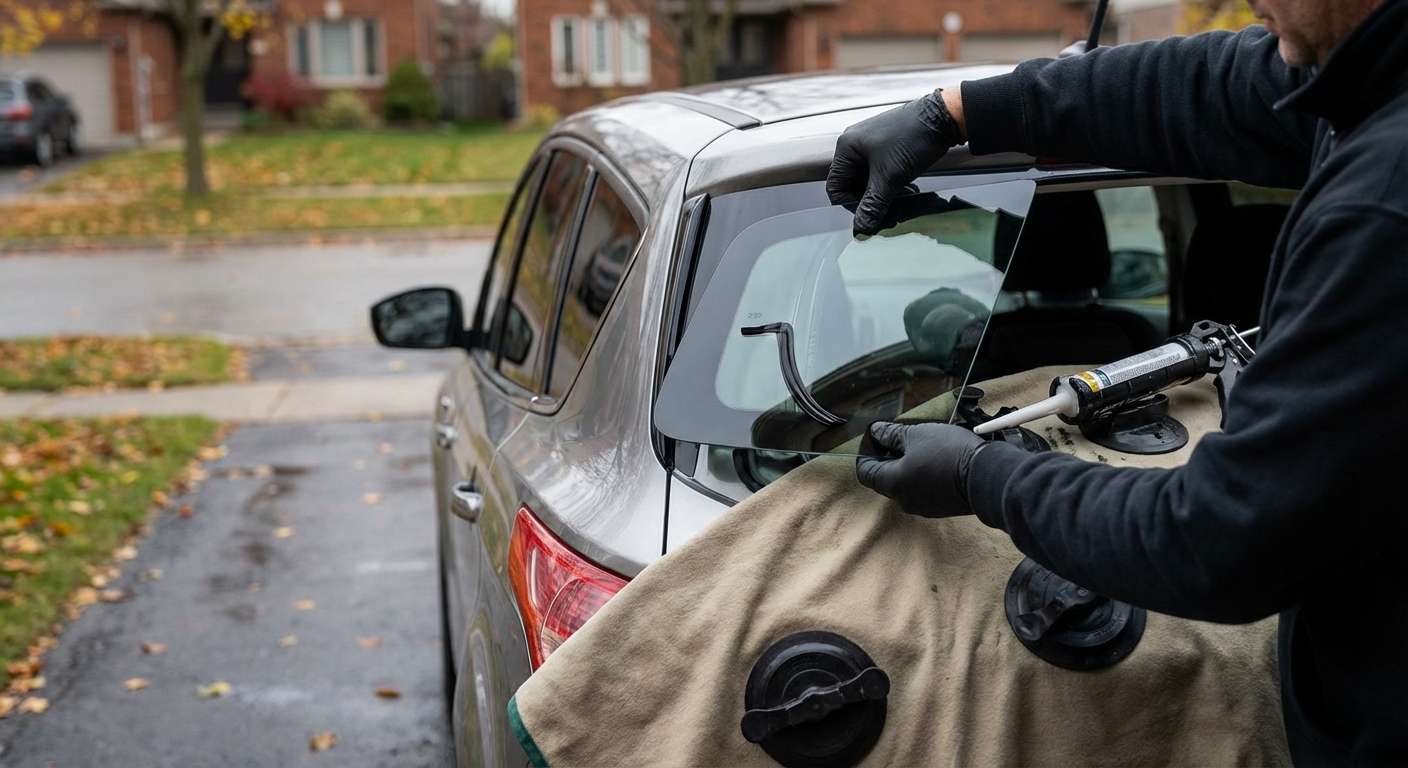
Expert Vent Glass Replacement for the 2013-2019 Ford Escape
The third-generation 2013-2019 Ford Escape is an undisputed favorite on Ontario roads, celebrated for its nimble handling, reliability, and versatile cargo space. However, its rear vent glass—that small, seemingly inconspicuous pane located on the rear doors or rear quarter—is notoriously one of the most frequently targeted entry points for vehicle break-ins. Thieves are well aware that shattering this specific piece of tempered glass provides quick, unobstructed access to the interior door latch. When you walk out to find your Ford Escape compromised, you need more than just a quick fix; you need a precise, technically flawless restoration to ensure your vehicle's security, acoustics, and structural integrity are fully reinstated.
As a Master Technician at AlexWindshield, I have replaced hundreds of vent glasses on this specific generation of the Ford Escape. The process is far more complex than simply pressing a new piece of glass into a frame. It requires meticulous extraction of microscopic glass shards from complex door mechanisms, precise preparation of the pinch weld, and expert application of advanced structural adhesives. Our mobile service brings this master-level craftsmanship directly to you across the Greater Toronto Area (GTA), ensuring you never have to drive a compromised vehicle.
Why the Ford Escape Vent Glass Requires Specialist Attention
The vent glass on the 2013-2019 Ford Escape is manufactured from tempered safety glass. Unlike your laminated windshield, which cracks and stays intact upon impact, tempered glass is designed to instantly shatter into thousands of small, blunt pebble-like pieces. While this prevents severe lacerations during a collision, it creates an absolute nightmare inside the cabin and within the internal cavities of the vehicle's door.
Furthermore, depending on the exact trim and placement, the vent glass on this vehicle is often bonded directly to the vehicle's body using heavy-duty automotive urethane, or securely bolted and guided within the door's run channel. Improper installation can lead to severe wind noise, water leaks that fry electrical components, and premature rusting of the vehicle's frame. At AlexWindshield, we utilize factory-approved techniques to ensure your new vent glass performs exactly as it did the day your Ford Escape rolled off the assembly line.
Complete Step-by-Step Technical Process: From A to Z
Transparency is the cornerstone of our service. As a senior auto glass specialist, I believe our clients deserve to understand the rigorous technical procedures we execute to restore their vehicles. Here is the comprehensive, step-by-step process we follow for a Ford Escape vent glass replacement.
Step 1: Comprehensive Damage Assessment and Interior Protection
Before any tools are utilized, we secure the working environment. We conduct a thorough inspection of the vehicle's exterior paint and interior trim surrounding the damaged vent glass. We apply specialized automotive-grade protective tape to the painted surfaces of the door and C-pillar to prevent any accidental scratching during the extraction process. Heavy-duty protective drop cloths are then meticulously draped over the Ford Escape's seats, center console, and floor mats to protect the interior upholstery from stray glass shards and urethane smudges.
Step 2: Door Panel Removal and Exhaustive Glass Vacuuming
Because the vent glass shatters inward, gravity pulls thousands of glass granules down into the intricate mechanics of the door shell. Leaving these shards behind is unacceptable; they will cause persistent, maddening rattles and can severely jam the window regulator or door lock actuators.
- Panel Disassembly: We carefully remove the interior door panel of your 2013-2019 Ford Escape. This involves extracting the hidden Torx screws located behind the interior door handle trim and the armrest cavity, followed by using specialized nylon pry tools to safely disengage the plastic retaining clips without snapping them.
- Vapor Barrier Peeling: We carefully peel back the weather-sealing vapor barrier, ensuring the butyl adhesive remains intact for resealing later.
- Deep Vacuuming: Using a high-powered industrial HEPA vacuum with specialized micro-crevice attachments, we extract every single shard of broken glass from the interior cabin, the seat crevices, and most importantly, the deep internal cavities of the door shell. We manipulate the door back and forth to ensure no hidden shards are trapped in the drainage weep holes.
Step 3: Removing the Old Glass Frame and Residual Urethane
With the interior safe and clear, we address the perimeter of the broken vent glass. Using an advanced cold knife or a specialized braided wire cutting system, we slice through the original factory polyurethane adhesive that held the vent glass module in place. We meticulously cut away the remaining encapsulation and rubber molding, taking extreme care not to damage the structural pinch weld (the metal frame where the glass sits). Once the bulk of the broken module is removed, we use a razor-sharp technician's scraper to pare down the old urethane bead to a flat, uniform thickness of about 1-2 millimeters, creating the perfect base for the new adhesive bond.
Step 4: Pinch Weld Preparation and Surface Cleaning
A flawless installation relies entirely on chemical adhesion, which means the bonding surfaces must be microscopically clean. We scrub the freshly pared urethane track and the surrounding metal framework using a specialized, alcohol-based auto glass cleaner that leaves zero chemical residue. If our scraper revealed any bare metal scratches on the pinch weld—a common occurrence when removing factory glass—we immediately address it to prevent future corrosion.
Step 5: Primer Application for Optimal Adhesion
This is a critical step that inferior shops often skip to save time. We apply a premium, fast-flashing black glass primer to both the vehicle's pinch weld and the bonding edge of the new OEM-quality vent glass. The primer serves two vital functions: it chemically activates the surface to cross-link with the polyurethane adhesive, and it acts as an impenetrable barrier against UV rays, which would otherwise degrade the urethane over time. We also apply a specialized anti-rust metal primer to any exposed scratches on the vehicle frame, safeguarding your Ford Escape against the harsh Ontario winters.
Step 6: Precision Installation with High-Quality Adhesive
Once the primer has properly flashed off (cured), we prepare our adhesive. At AlexWindshield, we exclusively use premium, high-viscosity, fast-curing automotive polyurethane adhesive. Using an electric caulking gun equipped with a precision V-notch nozzle, we lay down a perfectly uniform, triangular bead of urethane along the vehicle's pinch weld.
Handling the new vent glass with specialized suction cups to avoid contaminating the primed edges with the oils from our hands, we carefully align the glass with the contour of the Ford Escape's bodylines. The glass is pressed firmly into the urethane bead, collapsing the V-notch to create a watertight, airtight, and structurally sound chemical seal. We secure the glass with specialized retention tape while the adhesive begins its rapid curing process.
Step 7: Reassembly and Final Quality Inspection
While the heavy-duty adhesive sets, we reverse the disassembly process. We meticulously reseal the door's vapor barrier, reconnect all electrical harnesses for the power windows and door locks, and snap the interior door panel perfectly back into place, securing all Torx screws to factory torque specifications. Finally, we perform a comprehensive quality check. We clean the new vent glass to a streak-free shine, test the door's lock mechanisms, and ensure all interior trims sit flush. The result is a seamless repair that looks and functions as if the damage never occurred.
Unmatched Mobile Auto Glass Services Across the GTA
Dealing with a smashed vent glass is stressful enough without having to arrange a tow truck or drive a drafty, unsecure vehicle across town to a repair shop. That is why AlexWindshield operates a fully equipped fleet of mobile auto glass repair units, designed to bring our Master Technicians directly to your location anywhere in the Greater Toronto Area (GTA).
- Vaughan: Whether you suffered a break-in at a busy shopping plaza or need a replacement in your own driveway, our mobile units arrive in Vaughan fully stocked with the exact vent glass for your 2013-2019 Ford Escape.
- Richmond Hill: Commuters and residents in Richmond Hill can rely on our rapid dispatch times. We can perform the entire technical replacement in your office parking lot while you continue your workday uninterrupted.
- Markham: From residential neighborhoods to commercial districts in Markham, we provide swift, secure, and professional auto glass replacements, ensuring your vehicle is safe to drive the moment we hand you back the keys.
The AlexWindshield Guarantee: A Lifetime Warranty You Can Trust
Your vehicle's glass is a critical component of its structural integrity and your personal safety. Never compromise by choosing cut-rate installations that skip vital steps like thorough glass vacuuming, rust-preventative priming, or the use of high-quality adhesives. When you choose AlexWindshield, you are choosing decades of technical expertise, premium materials, and an unwavering commitment to automotive excellence.
We stand proudly behind our craftsmanship. Every vent glass replacement performed by our technicians comes backed by our comprehensive Lifetime Warranty. This guarantee covers against any wind noise, water leaks, or manufacturer defects for as long as you own your 2013-2019 Ford Escape. Do not leave your vehicle vulnerable to the elements or future theft. Trust the senior SEO specialists and Master Technicians at AlexWindshield to restore your vehicle with precision, care, and unparalleled local service across the GTA.


