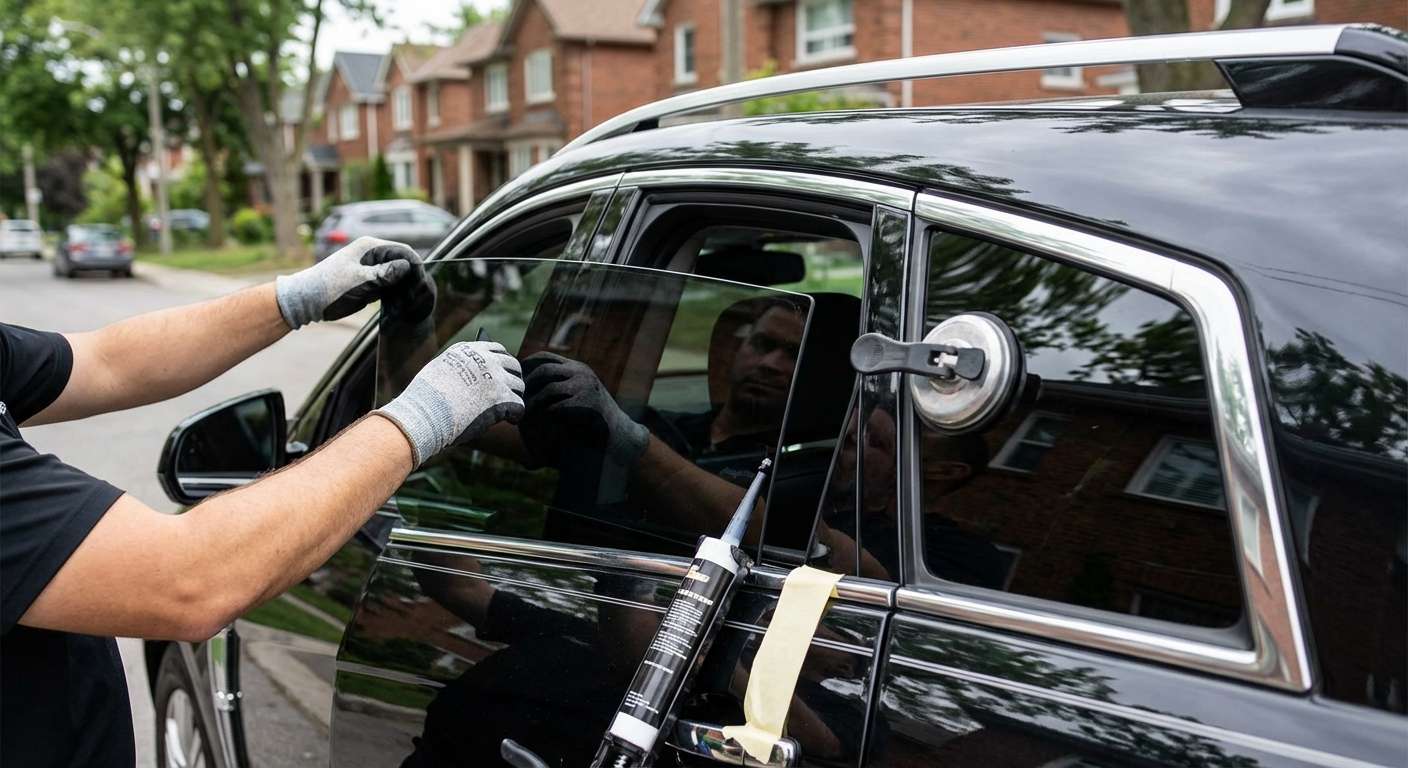
Expert Vent Glass Replacement for Your 2010-2016 Cadillac SRX
The 2010-2016 Cadillac SRX redefined the luxury crossover segment with its chiseled "Art and Science" design language, characterized by sharp, angular lines and a striking, aerodynamic profile. However, this iconic geometric styling relies heavily on the precise fitment of its uniquely contoured auto glass. When the vent glass—the smaller, often stationary window positioned on the rear doors or rear quarter sections—is shattered by an unfortunate break-in or random road debris, it does more than just ruin the pristine aesthetic of your luxury SUV. It instantly compromises your vehicle's sophisticated climate control, exposes your premium leather interior to the unpredictable Canadian elements, and creates a significant security vulnerability. At AlexWindshield, we understand that a high-end vehicle demands a high-end solution. Restoring the structural integrity and factory-fresh look of your SRX is a task that requires absolute precision, specialized tools, and an uncompromising dedication to master craftsmanship.
Dedicated Mobile Auto Glass Service Across the GTA
Driving a Cadillac SRX means you appreciate comfort, performance, and convenience. We believe your auto glass repair experience should reflect those exact same values. Dealing with a shattered vent window is stressful enough without the added hassle of navigating city traffic with a plastic bag taped over your door. That is exactly why AlexWindshield brings our state-of-the-art auto glass shop directly to your doorstep.
Our fully equipped, specialized mobile service vans operate seamlessly across the entire Greater Toronto Area (GTA). Whether you are parked in a commercial plaza in Vaughan, safely tucked in your residential driveway in Richmond Hill, or at your corporate office in Markham, our Master Technicians arrive fully prepared to execute a flawless, factory-standard replacement on-site. We eliminate the downtime and the inconvenience, ensuring your Cadillac SRX is secure and road-ready without you ever having to leave your location.
A to Z: Our Master Technician's Vent Glass Replacement Process
Replacing the vent glass on a 2010-2016 Cadillac SRX is not a simple "plug-and-play" procedure. Depending on the exact door configuration, this stationary glass is either encapsulated in heavy weatherstripping, secured by a complex divider bar, or permanently bonded to the vehicle frame with industrial-grade polyurethane. Because the vent glass sits flush with intricate chrome moldings and sensitive interior electronics, it requires a meticulous, multi-stage technical process. Here is the step-by-step methodology our Master Technicians employ to ensure a flawless installation.
Step 1: Comprehensive Damage Assessment and Interior Protection
Before any tools are lifted, we conduct a thorough assessment of the damage. We inspect the surrounding painted pillars and the delicate chrome window trim for any pre-existing impact damage. Because shattered tempered glass explodes into thousands of tiny, sharp cubes, our very first physical step is interior protection. We lay down heavy-duty protective drop cloths over your SRX’s premium leather seats, center console, and floor mats. We also apply low-tack protective automotive tape around the exterior window frame to ensure that our cutting tools and extractors never make contact with your pristine clear coat or luxury trim.
Step 2: Door Panel Removal and Deep Cavity Vacuuming
Unlike a windshield replacement, dealing with a broken side vent glass mandates extensive interior disassembly. Our technicians use specialized, non-marring nylon pry tools to carefully unseat the interior door trim panel. We meticulously locate and remove the hidden retaining screws (typically hidden behind the door handle bezel and armrest) and gently disengage the plastic retaining clips without breaking them.
Once the door panel is suspended or safely removed, we disconnect the power window switch wiring harnesses and carefully peel back the factory vapor barrier. This grants us access to the inner cavity of the door shell. This step is absolutely critical: using high-powered industrial shop vacuums fitted with flexible micro-crevice nozzles, we extract every single shard of broken glass from the bottom of the door shell, the window regulator tracks, and the interior cabin. Failing to completely vacuum this debris would result in a highly irritating rattling sound every time you drive or close the door, and could potentially damage the main roll-down window mechanism.
Step 3: Removing the Damaged Glass Frame and Old Adhesive
With the interior cleared and the track exposed, we proceed to remove the remnants of the broken vent glass. If the Cadillac SRX vent glass is secured by a vertical divider bar (run channel), we unbolt the mounting hardware at the base of the door to loosen the track, allowing the broken encapsulated frame to slide out. If it is a urethane-bonded quarter vent glass, we employ specialized cold knives, automated wire-cutting systems, or power extractors to carefully slice through the original factory polyurethane bead from the inside out. We extract the shattered frame with immense care to avoid distorting the vehicle's pinch weld.
Step 4: Pinch Weld Preparation and Surface Cleaning
A new piece of glass is only as secure as the surface it is bonded to. Once the old vent glass is removed, we meticulously trim down the old urethane adhesive left on the pinch weld, leveling it to a precise thickness of 1 to 2 millimeters. This remaining bead acts as an ideal base for the new adhesive to grip. Next, we rigorously clean the entire mounting area using alcohol-based, lint-free automotive glass cleaners to remove all dirt, road grime, moisture, and natural oils.
Step 5: Precision Application of Black Glass Primer
During the cutting process, it is common for microscopic scratches to occur on the metal pinch weld. To prevent any future oxidation or rust—which can lead to catastrophic adhesive failure and water leaks—our technicians apply a premium, fast-drying black glass primer to any exposed bare metal. We also apply this specialized primer to the ceramic frit band (the black painted border) of the brand-new replacement vent glass. This chemical bonding agent dramatically increases the adhesion properties of the polyurethane and protects the adhesive layer from degrading under harmful UV rays.
Step 6: Applying High-Quality Polyurethane Adhesive
With the surfaces flawlessly prepped and primed, we load our electric caulking guns with industry-leading, OEM-grade, fast-curing polyurethane adhesive. Our Master Technicians extrude a perfectly uniform, continuous V-shaped bead of urethane along the perimeter of the pinch weld or the glass encapsulation. The consistency and height of this bead are vital; an uneven application can result in annoying wind noise, severe water leaks, or a total loss of structural integrity in the event of a rollover collision.
Step 7: Installation of the Premium Vent Glass and Reassembly
Handling the new, premium-quality vent glass with industrial suction cups, we carefully align it with the complex curves of the Cadillac SRX frame. We gently but firmly press the glass into the fresh urethane bed, ensuring it sits perfectly flush with the adjacent roll-down door glass and exterior chrome moldings. We secure the glass temporarily with specialized retention tape to prevent any micro-shifting while the urethane begins to cross-link and cure.
Once the glass is set, we meticulously reverse the disassembly process. We reinstall the divider bars, tightly secure the interior mounting bolts, reseal the vapor barrier to keep moisture out of the cabin, reconnect all electrical wiring harnesses, and snap the luxury interior door panel back into its rightful place. A final wipe-down is performed on both the inside and outside of the new window, leaving it completely spotless.
The Hidden Risks of Ignoring a Broken Vent Window
Many drivers mistakenly assume that because a vent glass is small, replacing it is not an urgent priority. This is a dangerous misconception, particularly for a vehicle as sophisticated as the 2010-2016 Cadillac SRX. Here is why immediate replacement is non-negotiable:
- Severe Security Vulnerabilities: The vent glass is notoriously targeted by thieves. Leaving it broken or temporarily patched with plastic makes your vehicle an open invitation for theft, compromising your personal belongings and the vehicle itself.
- Interior Water Damage: The Greater Toronto Area is subjected to heavy rainstorms and harsh winter snow. A broken vent glass allows moisture to pour directly into your door cavity, potentially short-circuiting expensive power lock actuators, window regulators, and premium audio speakers.
- Compromised Cabin Climate: Your Cadillac is designed with advanced, dual-zone climate control. A breach in the auto glass forces your HVAC system into overdrive, wasting fuel and failing to keep the cabin comfortable.
- Safety and Structural Hazards: Modern auto glass is a structural component of your vehicle. Compromised glass can negatively affect the deployment trajectory of side-curtain airbags and weakens the door’s resistance to side-impact collisions.
Why Choose AlexWindshield for Your Cadillac SRX?
When it comes to servicing a premium vehicle like the 2010-2016 Cadillac SRX, amateur repairs simply do not cut it. You need a team that combines technical mastery with an unwavering commitment to customer satisfaction. AlexWindshield has established itself as the most trusted authority for mobile auto glass services across the GTA.
Whether you require a complex windshield replacement—complete with mandatory ADAS (Advanced Driver Assistance Systems) camera calibration to ensure your lane departure and forward collision alerts function flawlessly—or a meticulous side door and vent glass replacement, we deliver dealership-quality results right to your driveway in Vaughan, Richmond Hill, or Markham. We use only OEM-equivalent or superior glass, industry-leading adhesives, and the most advanced tools available on the market.
We stand firmly behind the precision of our Master Technicians, which is why every single vent glass replacement we perform is backed by our comprehensive Lifetime Warranty against water leaks, wind noise, and workmanship defects. Do not let a shattered window compromise the luxury, safety, and striking design of your vehicle. Trust the leading experts at AlexWindshield to restore your Cadillac SRX to absolute perfection today.


