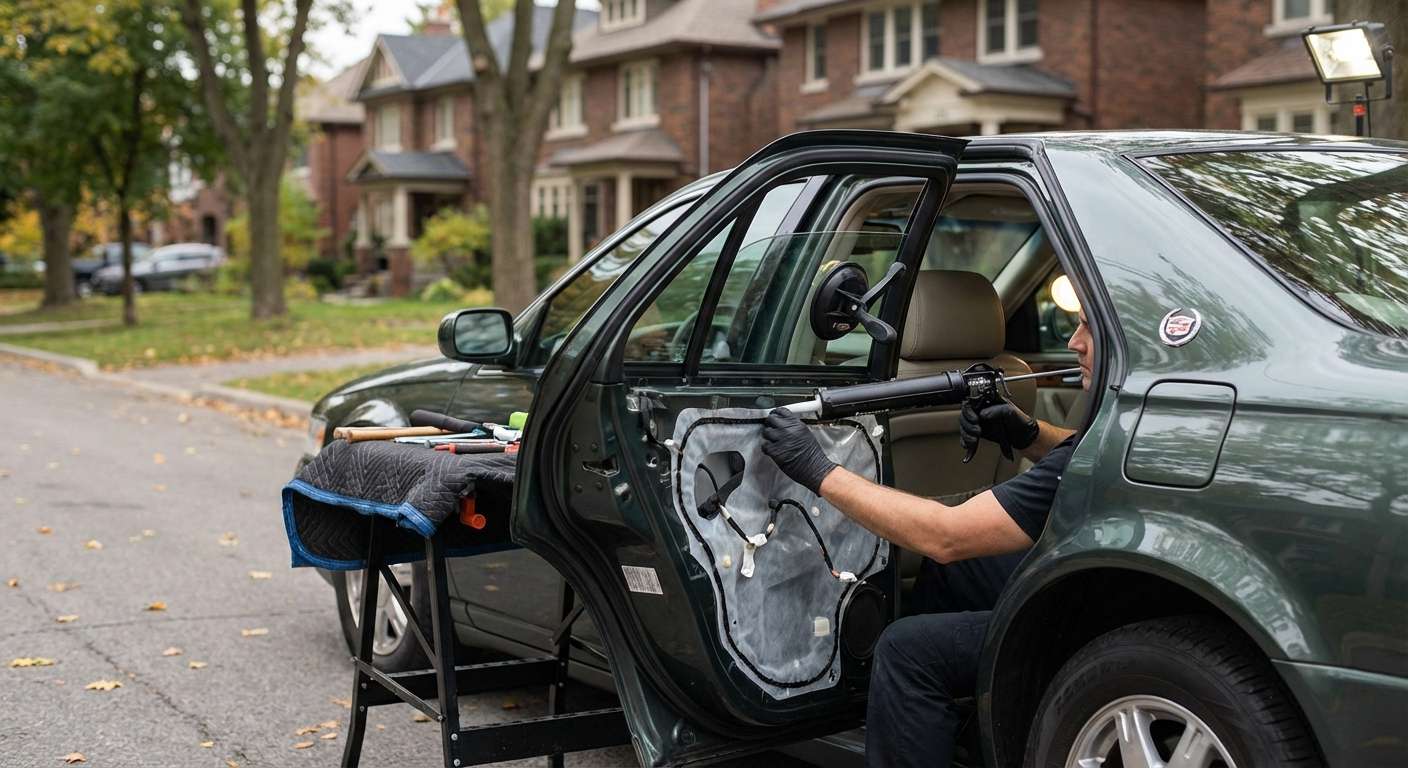
Restoring the Whisper-Quiet Ride of the 1998-2004 Cadillac Seville
The 1998-2004 Cadillac Seville represents a pivotal era in American luxury engineering, seamlessly merging the raw power of the legendary Northstar V8 engine with an exceptionally refined, acoustically insulated cabin. Designed to rival elite European sedans, the fifth-generation Seville was built to deliver a driving experience free from outside interference. However, that whisper-quiet, climate-controlled sanctuary is instantly shattered when your vehicle’s vent glass is compromised. Whether it is the result of a targeted break-in, an unfortunate encounter with flying road debris, or accidental impact, a shattered vent glass on your classic Seville demands immediate, specialized attention.
At AlexWindshield, we understand that servicing a luxury vehicle from the turn of the millennium requires far more than a generic approach. The stationary vent glass on the Cadillac Seville plays a critical structural and aesthetic role, completing the sleek exterior profile while tightly sealing out moisture and wind noise. As a Master Technician, I have seen firsthand the long-term damage caused by improper auto glass replacements on older luxury vehicles. That is why our comprehensive vent glass replacement service guarantees precision, deep interior cleaning, and high-performance bonding.
Why Immediate Vent Glass Replacement is Crucial for Your Seville
Driving with a broken or temporarily patched vent glass is not just a cosmetic eyesore; it presents several severe risks to the integrity of your 1998-2004 Cadillac Seville. Delaying a professional replacement can lead to cascading issues that compromise both your safety and your vehicle's value.
- Interior Weather Damage: The plush leather seating, electronic door modules, and premium carpeting in your Seville are highly vulnerable to rain and snow. Even a small gap in the vent glass area can allow moisture to penetrate the cabin, leading to irreversible water damage, electrical shorts, and mold growth.
- Security Vulnerabilities: Vent glass is frequently targeted by thieves because it provides quick access to the interior door handles and lock mechanisms. Leaving this glass broken or taped over acts as an open invitation for further vandalism or vehicle theft.
- Acoustic Degradation: Cadillac engineered the 1998-2004 Seville with advanced sound-deadening materials. A compromised vent glass seal allows highway wind, traffic noise, and exhaust fumes to flood the cabin, destroying the luxury driving experience.
- Climate Control Inefficiency: Your vehicle's automated climate control system works overtime to heat or cool the cabin when there is a breach in the glass, putting unnecessary strain on the HVAC system and reducing fuel efficiency.
The Master Technician's Approach: Step-by-Step Vent Glass Replacement
Replacing the stationary vent glass on a 1998-2004 Cadillac Seville requires an intimate understanding of late-90s General Motors engineering. Because automotive vent glass is constructed from tempered safety glass, it does not crack like a windshield; it detonates into thousands of small, granular shards. Our A-to-Z replacement protocol ensures not only a perfect seal but a pristine, glass-free interior.
Step 1: Meticulous Preparation and Interior Protection
Before any mechanical work begins, we prioritize the protection of your Cadillac’s interior. We carefully lay down heavy-duty protective blankets over the premium leather seats, the center console, and the interior carpeting. We also apply protective automotive tape to the exterior painted surfaces surrounding the door frame to ensure our tools do not scratch or scuff the clear coat during the extraction process.
Step 2: Safe Removal of Door Panels and Interior Trim
To properly access the mounting points of the vent glass and clear out fallen debris, the interior door panel must be removed. Working with 1998-2004 vehicle plastics requires a delicate, expert touch. Using specialized non-marring trim removal tools, we carefully detach the interior door panel, unseat the window switch modules, and disconnect the wiring harnesses. We then carefully peel back the vapor barrier, exposing the inner cavity of the door. If necessary, the main window regulator and division bar are temporarily loosened to allow unimpeded access to the stationary vent glass frame.
Step 3: Comprehensive Vacuuming of Broken Glass Shards
When tempered vent glass shatters, the majority of the sharp, granular pieces fall directly down into the door cavity, while others scatter across the back seats and floorboards. We perform a deep, rigorous vacuuming of all broken glass shards from the vehicle's interior. Using industrial-grade extraction vacuums, we clean the seats, the carpet, and deep inside the internal door shell. Failing to remove glass from the door cavity will result in a maddening rattling sound every time you close the door, and worse, the shards can jam the primary window regulator or clog the water weep holes at the bottom of the door, leading to severe rust.
Step 4: Extracting the Old Glass Frame and Residual Urethane
With the door cavity cleared of dangerous debris, we proceed to remove the remnants of the old vent glass assembly. Some vent glasses are bolted in, while others rely heavily on an adhesive bond. We carefully unbolt any retaining hardware and use precision cut-out tools to slice through the old, hardened factory urethane adhesive. We extract the encapsulated rubber molding and completely clear the pinch weld (the metal frame where the glass sits) of any remaining broken glass edges or degraded rubber.
Step 5: Surface Preparation and Primer Application
The secret to a lifetime seal lies in meticulous surface preparation. We trim down the old urethane bead to a flat, uniform base of one to two millimeters. We then clean the entire pinch weld and the surrounding metal frame with a specialized, alcohol-based auto glass cleaner to remove dirt, grease, and moisture. Next, we apply a high-grade automotive glass primer to any exposed bare metal on the pinch weld. This vital step prevents long-term oxidation and rust formation—a common issue in older vehicles—and creates a chemically active surface that will bond flawlessly with the new adhesive.
Step 6: Installing the New Vent Glass with High-Quality Adhesive
Once the primer has properly flashed off (dried), we prepare the replacement vent glass. We source only premium, OEM-equivalent auto glass that perfectly matches the factory tint, curvature, and acoustic properties of the Cadillac Seville. We apply a precise, uniform bead of high-quality, fast-curing automotive urethane adhesive around the perimeter of the bonding surface. The new vent glass is then carefully maneuvered into the frame, perfectly aligned with the exterior bodylines, and firmly pressed into the urethane bed. We hold it in place with retention tape while the molecular cross-linking of the adhesive begins.
Step 7: Reassembly and Final Quality Check
With the new vent glass securely bonded, we begin the reassembly process. The division bar and main window tracks are re-secured. We run the main door glass up and down to guarantee there is no binding from leftover shards and that the weatherstripping is seated perfectly. We reapply the vapor barrier, carefully snap the interior door panel back into its original position, and reconnect all electronic switch panels. Finally, we clean all the windows with a streak-free, ammonia-free solution, leaving your Cadillac Seville looking pristine and factory-fresh.
Elite Mobile Auto Glass Services Across the Greater Toronto Area (GTA)
Dealing with a shattered vent glass is stressful enough without having to navigate a drafty, vulnerable vehicle through heavy traffic. That is why AlexWindshield brings our master-level auto glass repair facility directly to you. We proudly offer comprehensive mobile auto glass services throughout the Greater Toronto Area (GTA).
Whether you are parked at your home in the quiet suburbs of Vaughan, working at a corporate office in Richmond Hill, or out running errands in Markham, our fully equipped mobile service vans arrive on-site with all the premium tools, vacuums, adhesives, and replacement glass necessary to complete the job. The volatile weather of the GTA—from freezing, icy winters to humid, blistering summers—demands an auto glass seal that can withstand extreme temperature fluctuations. Our high-quality urethane adhesives are specifically chosen for their exceptional performance in the Canadian climate, ensuring your newly installed vent glass will never leak, whistle, or fail.
Why Choose AlexWindshield for Your Cadillac Auto Glass Needs?
When it comes to servicing a classic luxury sedan like the 1998-2004 Cadillac Seville, you cannot afford to trust cut-rate technicians. The complex door panels, aging plastics, and strict acoustic requirements demand a specialist's touch. Here is why AlexWindshield remains the top-rated auto glass replacement service in the GTA:
- Master Technician Expertise: We possess deep, specialized knowledge of late-model luxury vehicles, ensuring that your door panels, clips, and trim are handled with the utmost care and respect.
- Comprehensive Debris Removal: We never cut corners. Our obsessive vacuuming protocol guarantees your vehicle's interior and internal door mechanisms are completely free of hazardous shattered glass.
- Premium Materials: From OEM-quality replacement glass to advanced rust-preventative primers and fast-curing urethane, we utilize only the finest materials available in the automotive industry.
- Unbeatable Convenience: Our mobile service covers Vaughan, Richmond Hill, Markham, and the wider GTA, saving you time and money on towing or unsafe driving.
- The AlexWindshield Lifetime Warranty: We stand behind our craftsmanship. Every vent glass replacement we perform is backed by an ironclad Lifetime Warranty against air leaks, water leaks, and manufacturer defects for as long as you own the vehicle.
Contact AlexWindshield Today for Expert Vent Glass Replacement
Do not let a shattered vent glass ruin the sophisticated elegance, security, and comfort of your classic 1998-2004 Cadillac Seville. Restore your vehicle to its original factory condition with the help of dedicated auto glass artisans. Trust the experts who combine cutting-edge automotive adhesives with old-school customer service and meticulous attention to detail.
If you are located in Vaughan, Richmond Hill, Markham, or anywhere within the GTA, contact AlexWindshield today. Experience the convenience of our premium mobile service, the assurance of our Lifetime Warranty, and the peace of mind that comes from knowing your luxury vehicle is in the hands of a Master Technician. Reach out now to secure your quote and schedule your professional vent glass replacement.


