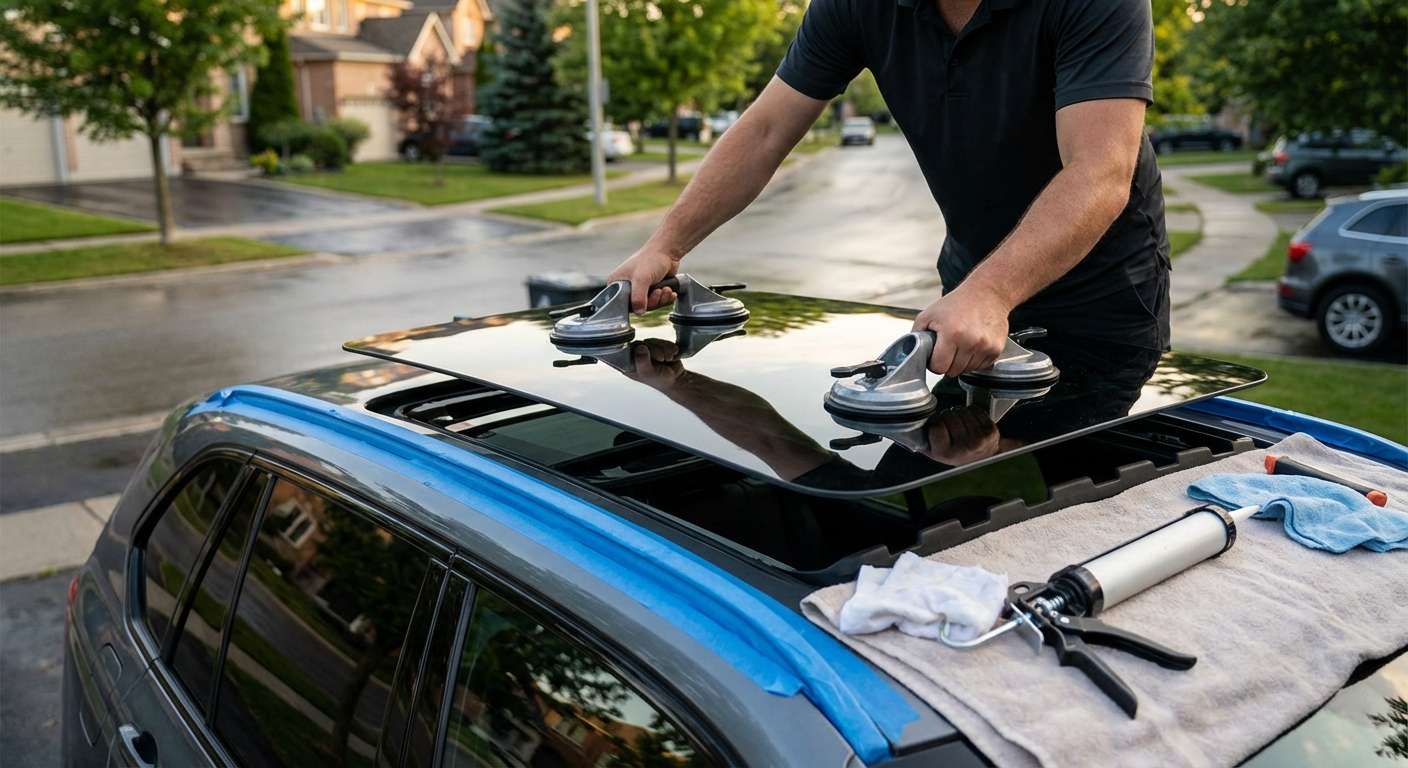
Panoramic Glass Failures and Track Binding on Option S402A
The vast tempered glass overhead on this vehicle takes immense torsional stress from the body shell, which frequently turns a minor gravel impact or sudden temperature swing into a completely shattered panel. Under BMW factory option code S402A, the system divides the roof into an active sliding front section (cataloged under NAGS part number SR11442) and a stationary rear panel (NAGS part number SR11443). When the movable front glass shatters, thousands of tempered fragments collapse into the cassette tray, jamming the aluminum guide rails and falling behind the rolling cloth sunshade.
Mechanical track failure often precedes or accompanies glass breakage. The plastic guide brackets and sliding lifters pulled by the drive cables fatigue over time. If a bracket snaps, the front panel twists diagonally across the roof opening, binding hard against the sheet metal. Forcing the roof switch when the lifters are cocked will twist the glass frame, strip the drive cables, and risk cracking the deep-tinted panel against the cassette perimeter.
Mechanical Height Alignment and Rain Channel Mechanics
Securing a replacement panel requires resetting the mechanical Torx machine screws concealed behind the rubber side bellows, followed by strict height staging against the roofline. Aerodynamic buffeting and cabin whistling develop quickly if the front glass sits flat with the steel. I set the leading edge of the front panel one millimeter lower than the steel roof edge to deflect oncoming airflow up and over the gap, while the trailing edge sits slightly higher than the stationary rear glass. When customers call with a shattered roof or a stuck assembly, I can generally be on-site within about an hour of the booking to vacuum out the track channels and swap the glass.
Water control relies entirely on perimeter rubber encapsulation paired with the cassette’s four internal drain lines rather than a sealed glue joint. Rain naturally bypasses the outer weatherstrip by design, running into plastic collector troughs that funnel into two lines descending through the A-pillars and two draining behind the rear wheel arches. If track debris from broken glass enters those openings, water pools along the headliner and drops into the floor pans where critical control modules reside. Once the hardware is set, the electric motor requires a full normalization run—either manually holding the vent switch or executing the service function through ISTA diagnostics—so the anti-pinch sensors recognize the true travel limits and stop positions.
Post-Replacement Inspection for F15 Sunroof Assemblies
Before putting the vehicle back into regular highway driving, inspect how the glass panels, mechanisms, and interior trims integrate:
- Inspect the flushness along the roof seam; the leading edge of the front panel must sit slightly recessed beneath the roofline, never proud.
- Observe the travel of the cloth roller blind beneath the headliner to confirm the fabric glides smoothly without snagging on residual glass particles in the cassette track.
- Examine the flexible side accordions (bellows) flanking the movable panel to ensure the rubber ribs are seated neatly in their retaining clips and not caught in the lifting arms.
- Test both the tilt-vent and full slide-back cycles to confirm the front pop-up wind deflector rises cleanly at the leading edge without binding.
- Verify that the rear stationary glass panel sits completely parallel to the roof opening with even perimeter seal compression on both sides.


