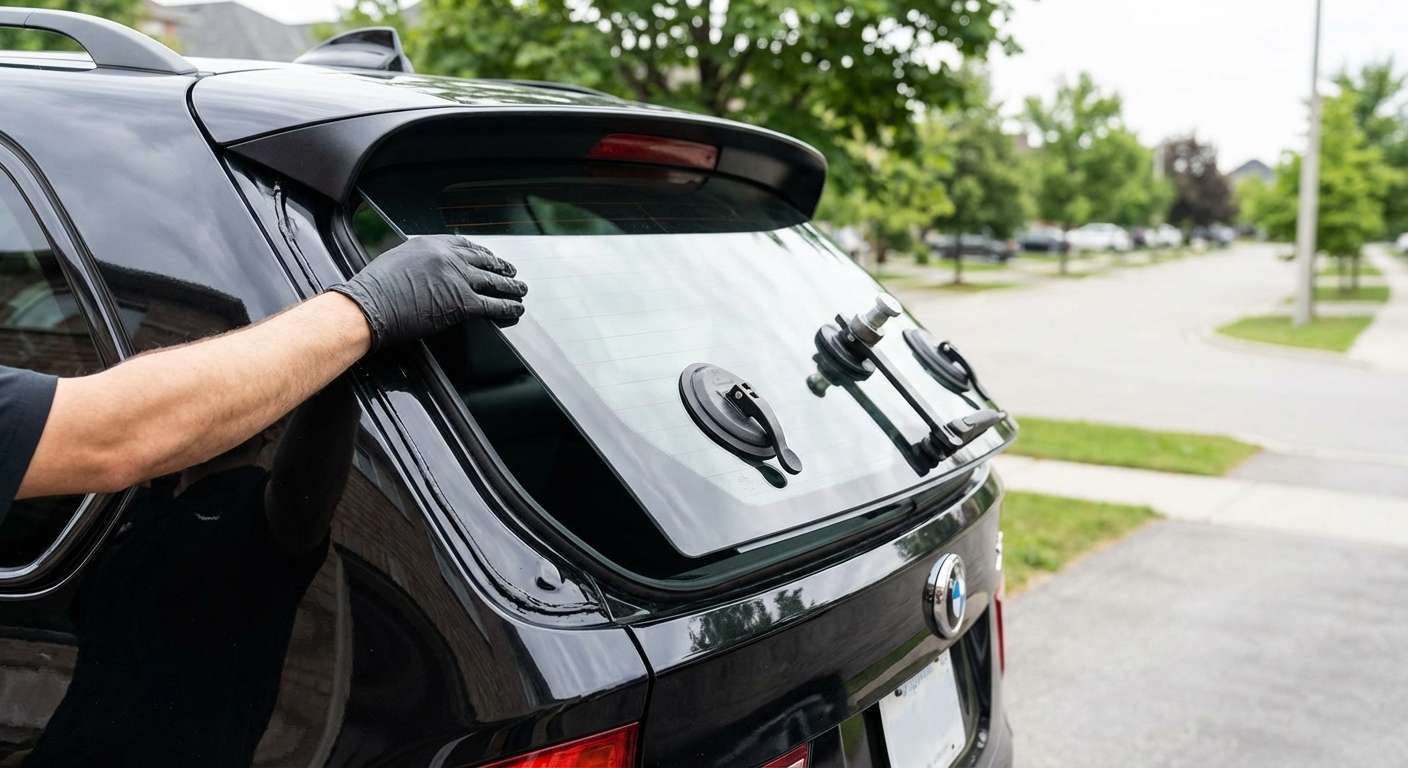
Restoring the Integrity of Your Ultimate Driving Machine: Rear Windshield Solutions for the BMW X5 E70
The BMW X5 (E70), produced between 2007 and 2013, is more than just an SUV; it is the vehicle that solidified the concept of the "Sports Activity Vehicle." With its aggressive stance, luxurious interior, and superior handling, the E70 generation remains a favorite among automotive enthusiasts in the Greater Toronto Area. However, the sophisticated design of the X5 features a unique split-tailgate system, making the rear glass a critical structural and aesthetic component. When this glass is compromised, it disrupts not only the sleek lines of your Bavarian machine but also the security of your cabin.
Unlike a front windshield which typically cracks or chips, the back glass is comprised of tempered safety glass. When impacted, it is designed to shatter into thousands of granular chunks to prevent injury. While safe, this creates an immediate crisis involving exposure to the elements and a massive mess. At AlexWindshield, we specialize in the intricate requirements of German engineering. This guide details our master-technician approach to Back Glass Replacement for the BMW X5 2007-2013.
Mobile Auto Glass Services Across the GTA: We Come to You
Driving a BMW X5 with a shattered rear window is dangerous and impractical. The aerodynamic drag can blow glass shards further into the cabin, and the lack of security leaves your vehicle vulnerable. That is why AlexWindshield offers premium mobile service throughout the Greater Toronto Area (GTA).
We understand the busy lifestyles of our clients. You do not need to tow your vehicle or waste hours in a waiting room. Our fully equipped mobile units bring the shop to your location.
- Vaughan: From the busy streets near Vaughan Mills to the residential driveways of Kleinburg, our technicians provide rapid response times.
- Richmond Hill: We service all neighborhoods along Yonge Street and Bayview Avenue, ensuring your X5 is secured quickly.
- Markham: Whether you are at a tech office or your home in Unionville, we handle the replacement on-site with factory-level precision.
The Anatomy of the BMW X5 E70 Rear Glass
Before diving into the replacement process, it is essential to understand what makes the BMW X5 E70 back glass unique. This generation features a "clamshell" tailgate, where the top section lifts up and the bottom section drops down. The glass is bonded to the upper liftgate.
This glass unit is complex. It contains an integrated heating element (defroster grid) and, depending on your specific trim package, may house diversity antenna lines for your radio and GPS systems. Furthermore, the rear wiper assembly passes directly through a hole in the glass. Replacing this requires more than just gluing in a new window; it requires the careful disassembly of the rear wiper motor mechanics and electronic connections.
Step-by-Step Technical Process: BMW X5 E70 Back Glass Replacement
As a Master Technician at AlexWindshield, I follow a rigorous protocol to ensure your BMW is returned to OEM specifications. Below is the detailed A-Z process we utilize for the 2007-2013 X5.
Phase 1: Site Preparation and Safety
Upon arrival at your location in Vaughan, Richmond Hill, or Markham, safety is our priority. We begin by inspecting the damage.
- Exterior Protection: We apply protective tape and heavy-duty coverings to the rear spoiler, the lower tailgate, and the rear quarter panels. This prevents scratches from tools or falling glass shards during the removal process.
- Interior Protection: We cover the rear cargo area and the back seats with industrial blankets to catch any debris that may fall during the frame cleaning.
Phase 2: The Critical Cleanup (Debris Removal)
The most tedious part of a back glass replacement is the cleanup. Tempered glass explodes into virtually every crevice of the vehicle's rear interior.
- Initial Vacuuming: We use high-powered industrial vacuums to remove the bulk of the glass from the cargo mat, spare tire well, and rear seats.
- Detailing the Tailgate: When the glass shatters, shards often fall inside the metal shell of the upper liftgate. We repeatedly open and close the tailgate to dislodge hidden pieces, vacuuming continuously until the "rattle" sound is eliminated.
- Panel Vacuuming: We carefully vacuum the carpeted liners and the gap between the rear seats and the trunk floor to ensure no glass remains to injure passengers or damage cargo later.
Phase 3: Disassembly of Rear Components
To access the bonding surface and remove the remaining glass fragments, we must dismantle specific components of the E70 upper liftgate.
- Wiper Arm Removal: We flip the cap on the rear wiper arm, remove the retaining nut, and use a specialized puller tool to gently detach the wiper arm from the motor shaft without damaging the splines.
- Interior Trim Removal: Using non-marring plastic pry tools, we carefully release the clips holding the upper interior trim panels of the liftgate. This exposes the wiper motor assembly and the wiring harness for the defroster.
- Wiper Motor Isolation: On the E70, the wiper motor shaft protrudes through the glass. We must disconnect the motor assembly or the grommet seal to ensure the new glass can be seated correctly without interference.
- Wiring Disconnection: We unplug the heating element connectors and the antenna amplifiers located near the glass edge.
Phase 4: Removing the Old Adhesive and Glass
With the path cleared, we proceed to remove the jagged remains of the old glass and the original factory seal.
- Cutting the Bond: We use a specialized cold knife or a wire cutting system. The blade is inserted between the vehicle frame (pinch weld) and the remaining glass/urethane. We carefully slice through the old polyurethane adhesive around the entire perimeter of the window frame.
- Extraction: The remaining glass perimeter is removed.
- Trimming the Urethane: We trim the old adhesive down to a height of approximately 1mm to 2mm. This old urethane serves as the best base for the new adhesive to bond to, provided it is clean and stable. This is known as the "full cut" method, ensuring a fresh bond surface.
Phase 5: Surface Preparation and Priming
A leak-free, safe installation depends entirely on chemical preparation. We do not skip steps here.
- Cleaning the Pinch Weld: We clean the frame aperture with a specialized bonding cleaner to remove dirt, road grime, and silicone residues.
- Primer Application: Any scratches on the metal pinch weld caused during removal are treated with a rust-inhibiting black primer. This prevents corrosion (rust) from forming under the glass years down the road. We also apply a glass activator/primer to the ceramic band (frit) of the new glass to ensure the adhesive grabs onto the glass surface molecularly.
Phase 6: Adhesive Application and Glass Installation
We use only high-modulus, non-conductive polyurethane adhesive (such as Sika or Dow) that meets BMW's rigidity requirements.
- V-Bead Application: Using a high-ratio electric caulking gun, we apply a high-profile "V-bead" of urethane directly onto the existing trimmed adhesive on the vehicle frame (or onto the glass, depending on the specific molding type of the E70). The V-shape ensures that when the glass is pressed down, the glue spreads evenly without trapping air bubbles, preventing potential leaks.
- Setting the Glass: Two technicians (or one using a specialized setting tool called a "Lil Buddy") carefully lift the new BMW X5 back glass. We guide the wiper motor shaft through the hole in the glass and align the glass with the roofline and quarter panels.
- Compression and Alignment: We gently press the glass into place to wet out the adhesive. We check the gaps on the left and right sides to ensure the glass is perfectly centered. Retention tape is applied to the top edge to prevent the glass from sliding down while the adhesive cures.
Phase 7: Reassembly and Final Checks
Once the glass is set, we reverse the disassembly process.
- Reconnecting Electronics: We reconnect the defroster tabs and antenna wires, ensuring a solid connection for clear radio reception and effective defrosting.
- Wiper Assembly: We reinstall the rubber grommet seal around the wiper shaft, reattach the wiper arm, and torque the nut to spec. We test the rear wiper to ensure it moves freely and does not strike the paint or the spoiler.
- Trim Installation: The interior plastic panels are snapped back into place.
- Final Polish: We clean the new glass inside and out with streak-free cleaner and do a final vacuum pass to ensure the car is cleaner than when we arrived.
Why Choose AlexWindshield for your BMW X5?
The BMW E70 is a sophisticated vehicle that relies on its structural glass for roof crush protection and chassis rigidity. Using a generalist mechanic or a budget glass shop can lead to disaster. Improper installation can result in water leaks that flow down into the trunk floor where the X5 houses critical electronic modules (including the battery and fuse box), leading to thousands of dollars in electrical damage.
Common issues with amateur installations include:
- Water Leaks: Resulting in mold and electrical shorts.
- Wind Noise: Whistling sounds at highway speeds due to gaps in the urethane.
- Rust: Caused by scratching the frame and failing to prime the metal.
- Malfunctioning Rear Defrost/Radio: Due to damaged connectors during the removal process.
The AlexWindshield Guarantee
When you choose AlexWindshield, you are choosing peace of mind. We are the trusted experts in the GTA for luxury vehicle glass replacement.
We offer a Lifetime Warranty on our workmanship for as long as you own your vehicle. This covers you against air leaks, water leaks, and loose moldings. Our technicians treat your BMW X5 with the respect a luxury vehicle deserves.
Ready to restore your view?
Don't let a shattered back glass compromise your safety or the look of your BMW. Contact AlexWindshield today for a quote. We are ready to deploy to Vaughan, Richmond Hill, Markham, and the surrounding GTA regions to get your X5 back on the road in pristine condition.


