The Ultimate Guide to Windshield Replacement for BMW X3 2018-2024 (G01)
The BMW X3 (G01 generation), produced from 2018 to 2024, represents the pinnacle of the "Sports Activity Vehicle" segment, blending rugged capability with the refined luxury expected of the Ultimate Driving Machine. However, the sophisticated engineering of the G01 extends far beyond its drivetrain and suspension; it includes the very glass that protects you. When the windshield of your BMW X3 is compromised by a stone chip or a spreading crack, it involves much more than swapping a piece of glass. It involves restoring the structural integrity of the cabin and the "eyes" of your vehicle’s advanced safety systems.
At AlexWindshield, we understand that a BMW X3 requires a technician who appreciates German engineering. A standard replacement won't suffice. You need OEM-specification glass that supports your Heads-Up Display (HUD), acoustic comfort, and the complex array of sensors located behind the rear-view mirror. Below, we detail our master-level process for restoring your vehicle to factory standards right here in the Greater Toronto Area.
Why the BMW X3 (G01) Windshield is More Than Just Glass
Before we touch a single tool, it is vital to understand the technology embedded in your 2018-2024 BMW X3 windshield. The G01 model often comes equipped with features that dictate the specific type of glass required for a successful replacement. Installing the wrong part number can lead to malfunctioning systems and visual distortions.
- Heads-Up Display (HUD): Many G01 models project speed, navigation, and media information directly onto the windshield. This requires a specially shaped wedge-layer within the glass laminate to prevent "ghosting" (double images). Standard glass will make the HUD blurry and unreadable.
- ConnectedDrive & KAFAS Cameras: The camera systems responsible for Lane Departure Warning, Speed Limit Info, and Pre-Collision Assist look through the windshield. The glass must have high optical clarity in the camera zone to ensure these safety systems react correctly.
- Rain & Light Sensors: The rain sensor on the X3 uses infrared light refraction to detect moisture. If the glass bracket or the gel pad interface is not perfectly installed, your automatic wipers will fail.
- Acoustic Interlayer: To maintain the quiet cabin characteristic of a luxury BMW, the windshield utilizes an acoustic vinyl layer that dampens wind noise and road vibration.
Our Master Technician Process: Step-by-Step Replacement
At AlexWindshield, we do not cut corners. We follow a strict, manufacturer-approved protocol to ensure safety and longevity. Here is the detailed A-to-Z process of how we replace the windshield on your BMW X3 2018-2024.
Phase 1: Pre-Inspection and Vehicle Protection
The difference between a amateur job and a professional installation starts with preparation. Before any removal begins, our technicians perform a comprehensive pre-scan of the vehicle.
We begin by protecting the interior and exterior of your luxury SUV. We apply protective covers to the front seats, steering wheel, and gear selector to prevent any debris or adhesive transfer. On the exterior, we use magnetic fender covers to protect your paint from belt buckles or tools. We also perform a pre-scan of the vehicle’s electronic systems to document any existing fault codes related to the ADAS (Advanced Driver Assistance Systems) before we begin work.
Phase 2: Disassembly of Cowl and Trim
To access the bottom edge of the glass, we must remove the components that obstruct the pinch weld. On the BMW X3 G01, this requires precision to avoid breaking brittle plastic clips.
- Wiper Arm Removal: We mark the precise "park position" of the wipers before removing the nuts. Using a specialized wiper puller tool, we lift the arms off the splines without damaging the threads or the cowl plastic.
- Cowl Grille Removal: The plastic cowling (the panel at the base of the windshield) is carefully unclipped. We disconnect the heated washer fluid nozzles and carefully set the cowl aside.
- Side Molding and Roof Trim: The G01 has specific side moldings that run along the A-pillars. These are removed using non-marring pry tools to expose the glass edge.
- Interior Sensor Housing: Inside the vehicle, we carefully disassemble the plastic housing surrounding the rear-view mirror. We disconnect the rain sensor, the condensation sensor, and the ADAS camera module, ensuring we do not touch the camera lens with bare fingers.
Phase 3: Safe Removal of the Damaged Glass
This is the most critical step for preventing future rust. Many budget shops use "cold knives" that can slice into the vehicle's paint on the pinch weld. At AlexWindshield, we use a Fiber Line or Wire Cutting System.
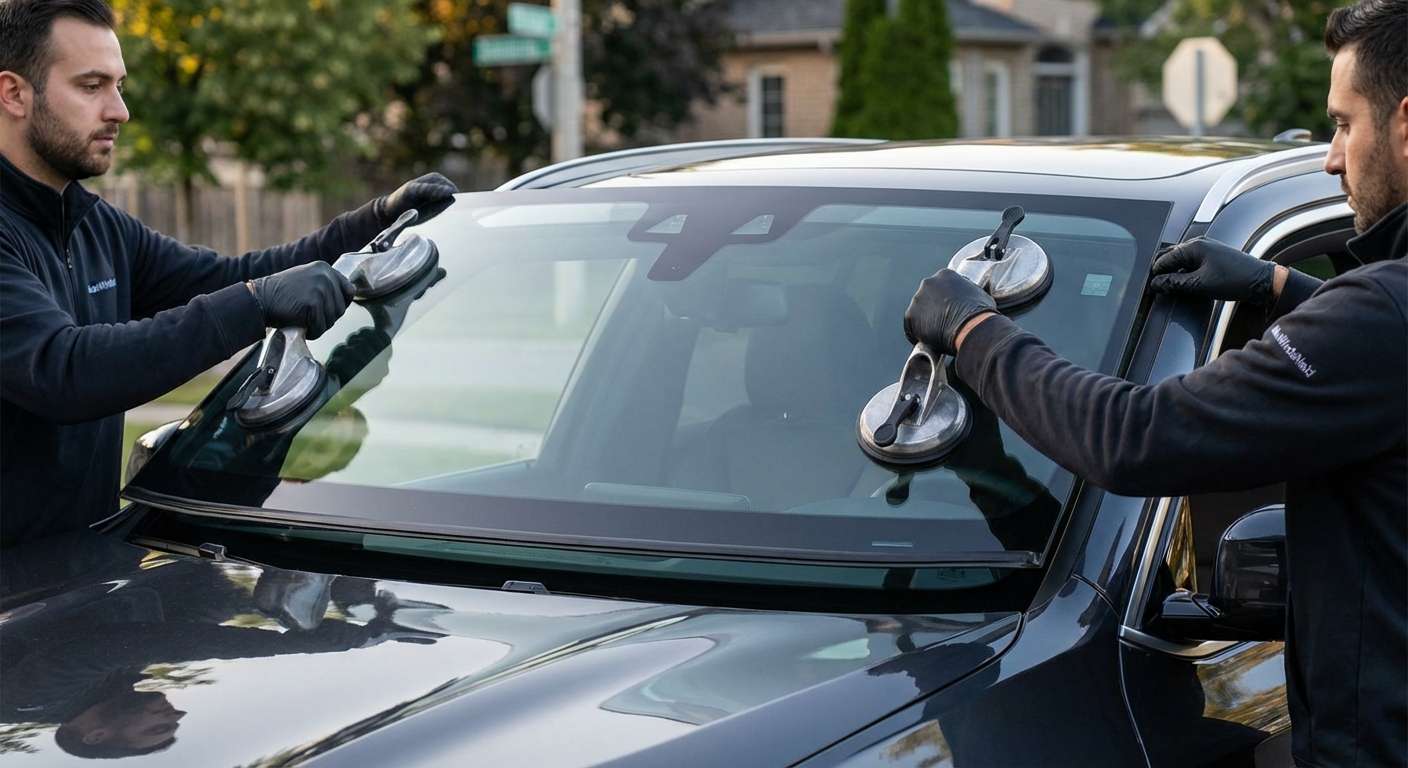
We thread a high-tensile cutting line through the adhesive bead. Using a pulley system, we slice through the old urethane sealant from the inside out. This method exerts zero pressure on the vehicle frame and ensures that the metal pinch weld is never scratched by a blade. Once the seal is severed, two technicians use heavy-duty vacuum cups to lift the broken glass away from the vehicle body.
Phase 4: Surface Preparation and Primer Application
With the old glass removed, we are left with the old urethane bead. We trim this down to a height of approximately 1mm to 2mm. This thin layer serves as the best bonding surface for the new adhesive. However, the most important step is cleaning and priming.
We thoroughly clean the aperture to remove dirt and contaminants. If there are any minor scratches or bare metal spots on the pinch weld (even microscopic ones), we apply a high-grade black primer. This primer serves two functions: it prevents rust formation that could destroy your vehicle's frame years down the line, and it acts as a chemical bonding agent for the new adhesive. We also prepare the new windshield by cleaning the frit band (the black ceramic edge) and applying a glass activator to ensure maximum adhesion.
Phase 5: High-Modulus Adhesive Application and Installation
BMW X3s require a high-modulus, low-conductive urethane adhesive. This adhesive is stiffer than standard glue, which is necessary because the windshield acts as a structural component, contributing up to 30% of the vehicle’s roof crush strength and supporting the passenger airbag deployment.
We apply a triangular bead of Sika or DuPont high-viscosity urethane using a powered caulking gun for a consistent, seamless bead. This triangular shape prevents air pockets and ensures a watertight seal. Using dual suction cups, our master technicians carefully position the new windshield onto the vehicle, aligning it perfectly with the VIN notch and the roofline. We press the glass firmly into place to wet out the adhesive bond.
Phase 6: Reassembly and Sensor Gel Replacement
Once the glass is set, we reinstall the cowl, wipers, and side trims. Inside the vehicle, we replace the gel pad on the rain sensor. The rain sensor cannot be reused with the old gel; a new, sterile silicone pad is required to ensure no air bubbles exist between the sensor and the glass. We then reattach the rear-view mirror and the camera modules.
Mandatory ADAS Camera Calibration
This is the step that separates AlexWindshield from general glass shops. Because your 2018-2024 BMW X3 is equipped with ADAS features like Lane Keep Assist and Emergency Braking, the camera attached to the windshield has been moved, even if only by a millimeter.
Recalibration is not optional; it is a safety requirement. If the camera is misaligned by just one degree, it can result in the vehicle failing to detect an obstacle or drifting out of its lane. We perform a precise calibration process:
- Diagnostic Setup: We connect our advanced calibration tablet to the BMW's OBDII port to access the KAFAS camera module.
- Target Placement: For static calibration, we set up manufacturer-specific targets at precise distances and heights relative to the vehicle's geometric centerline.
- Dynamic Calibration: Some G01 models require a dynamic calibration drive. Our technician drives the vehicle at specific speeds on well-marked roads (like Highway 404 or 407 in the GTA) to allow the camera to "learn" the road markers and synchronize with the new glass.
- Verification: We provide a calibration certificate proving that your safety systems are functioning within OEM tolerances.
Serving the Entire Greater Toronto Area (GTA)
We know that dealing with a broken windshield is inconvenient. That is why AlexWindshield brings our expertise directly to your driveway or workplace. We offer premium mobile service across the Greater Toronto Area.
Whether you are parked in a driveway in Vaughan, at an office complex in Markham, or residing in Richmond Hill, our mobile units are fully equipped to handle the complex replacement of a BMW X3 windshield. We operate efficiently across Toronto, North York, Scarborough, Brampton, and Mississauga. Our mobile vans are essentially workshops on wheels, carrying all the necessary power tools, lighting, and calibration equipment to perform a dealership-level job at your location.
Why Choose AlexWindshield?
Your BMW X3 is an investment, and maintaining its safety and value is our priority. When you choose AlexWindshield, you are choosing:
- Master Technicians: Our staff is certified and specifically trained on European luxury vehicles.
- OEM Quality Glass: We use glass from Original Equipment Manufacturers (OEM) such as Saint-Gobain Sekurit, Pilkington, or PGW to ensure perfect fitment and optical clarity.
- Lifetime Warranty: We stand behind our workmanship. We offer a Lifetime Warranty on the installation against air leaks, water leaks, and manufacturer defects for as long as you own the vehicle.
- Insurance Approved: We work with all major Canadian insurance providers and can handle the claim processing for you.
Do not compromise on safety or quality. If your BMW X3 2018-2024 (G01) needs a windshield replacement, trust the experts who understand the intricate technology of your vehicle.
Contact AlexWindshield today to schedule your mobile service in the GTA. Drive with clarity, drive with confidence.


